Reduce, Reuse, Recycle With Me, COME ON!
Lesson Objectives: How do I create works of art, using old pieces of rubbish to make a statement?
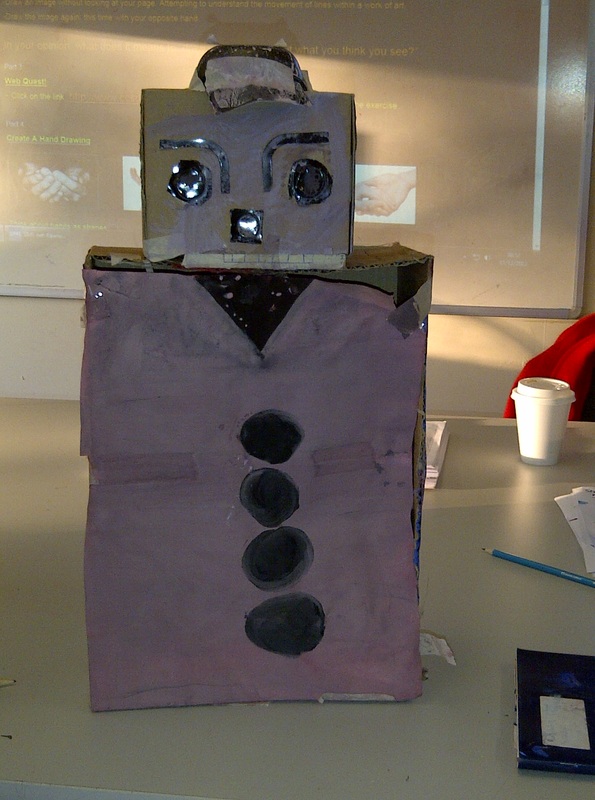
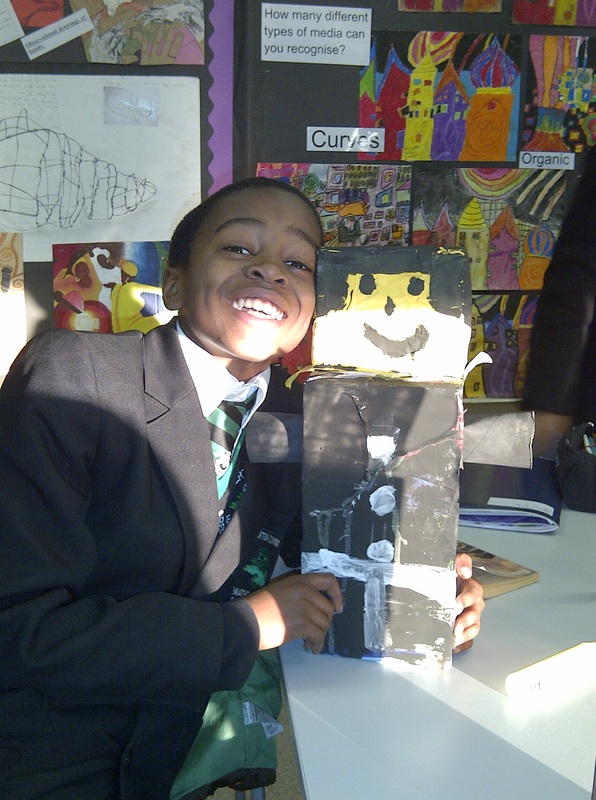
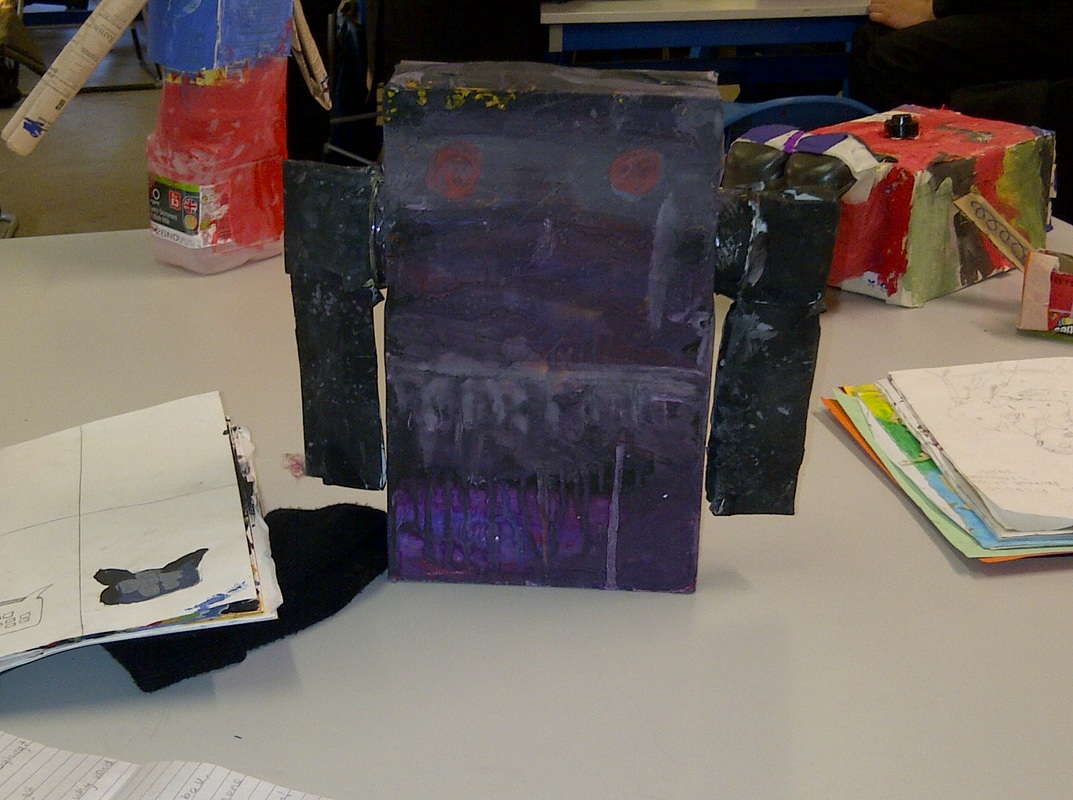
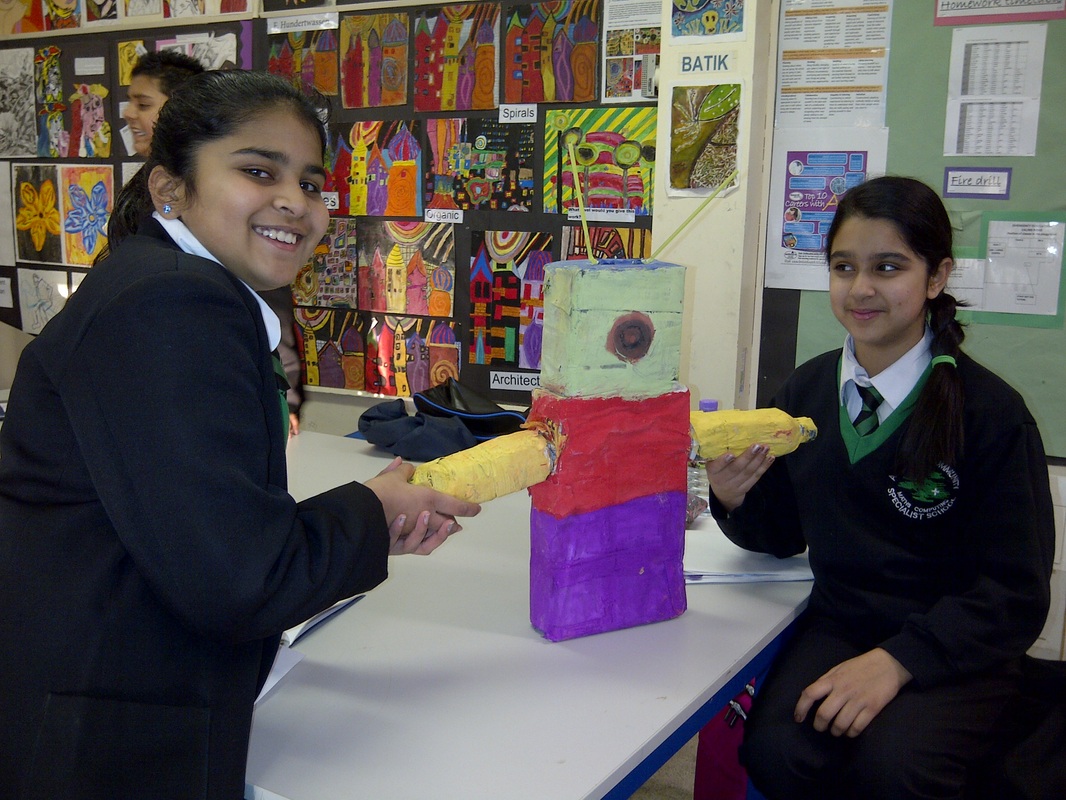
ROBOTS AND RUBBISH SCULPTURES
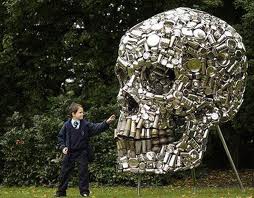
Inspiration for Work: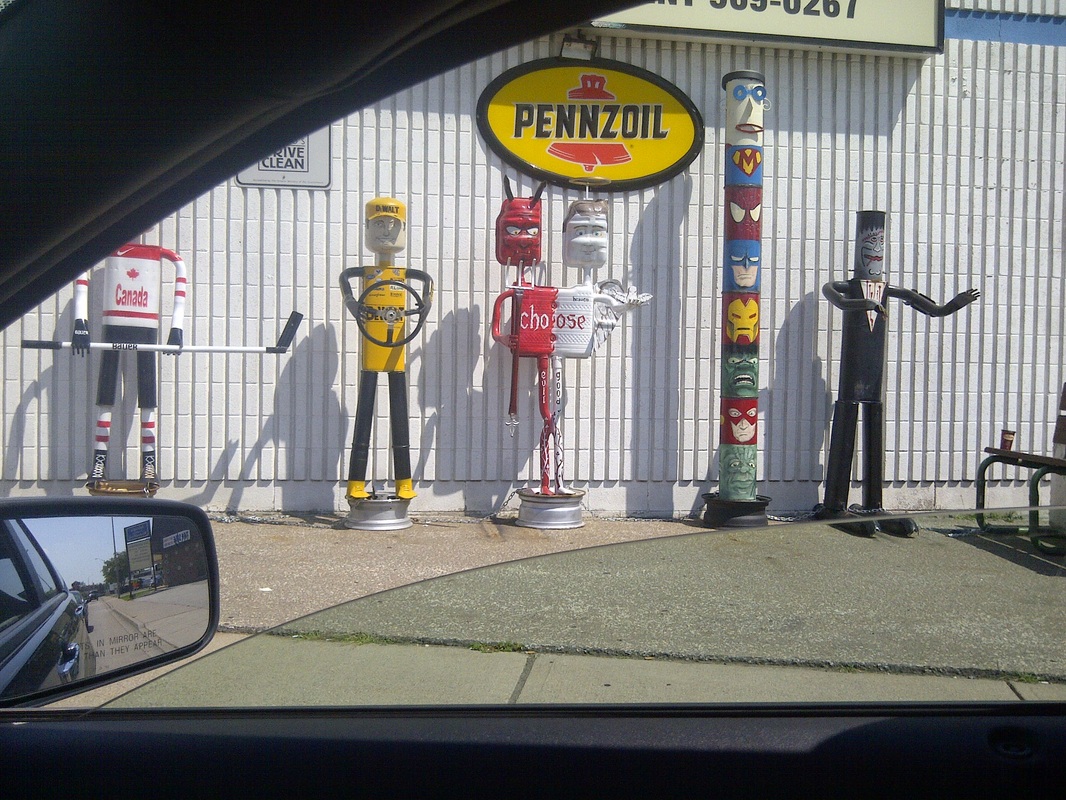
|
How to Begin and Assess Your Designs: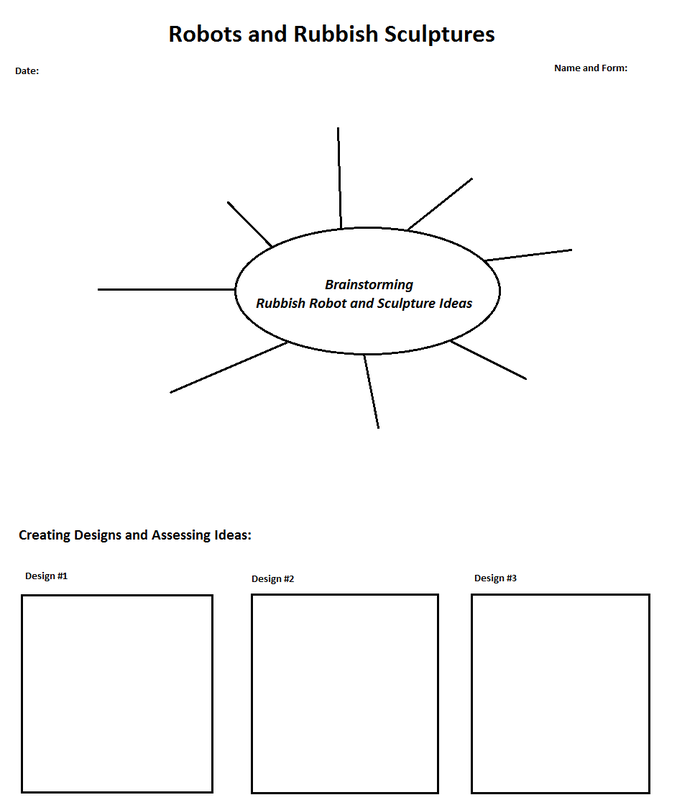
|
1. Collect recycled cans, boxes, paper, tins, boxes, pipes, toilet paper roles and rubbish you have around the house
and bring them into class.
2. Place your rubbish materials in front of you and observe them.
3. Brainstorm different 3-dimensional sculpture ideas that you can come up with using your rubbish materials. Be sure to write down your ideas into an anchor chart, using rubbish sculpture of rubbish robot as your beginning theme.
4. Underneath your brainstorming ideas, sketch out three different types of sculptures you can create using your rubbish materials. Be sure to divide your sketches into three seperate boxes and label them as "sketch one", "sketch two", "sketch three".
5. Begin crafting and creating your rubbish robot or sculpture, using glues, tapes, old materials to keep your items together.
6. Paint and design different elements of your sculpture to make your 3-dimensional image look more complete.
7. Name your rubbish sculpture or robot and take a photograph to document your finished product.
8. Put your name on your work and submit
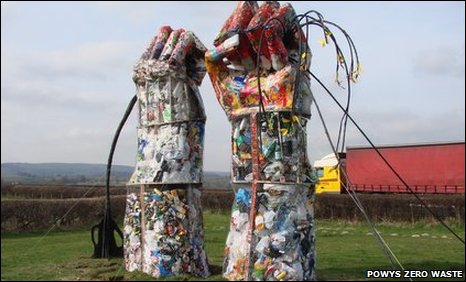
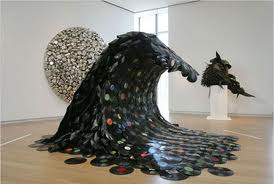
Rubbish into Works of Art: Other Artists' Work:
|

|
|
|
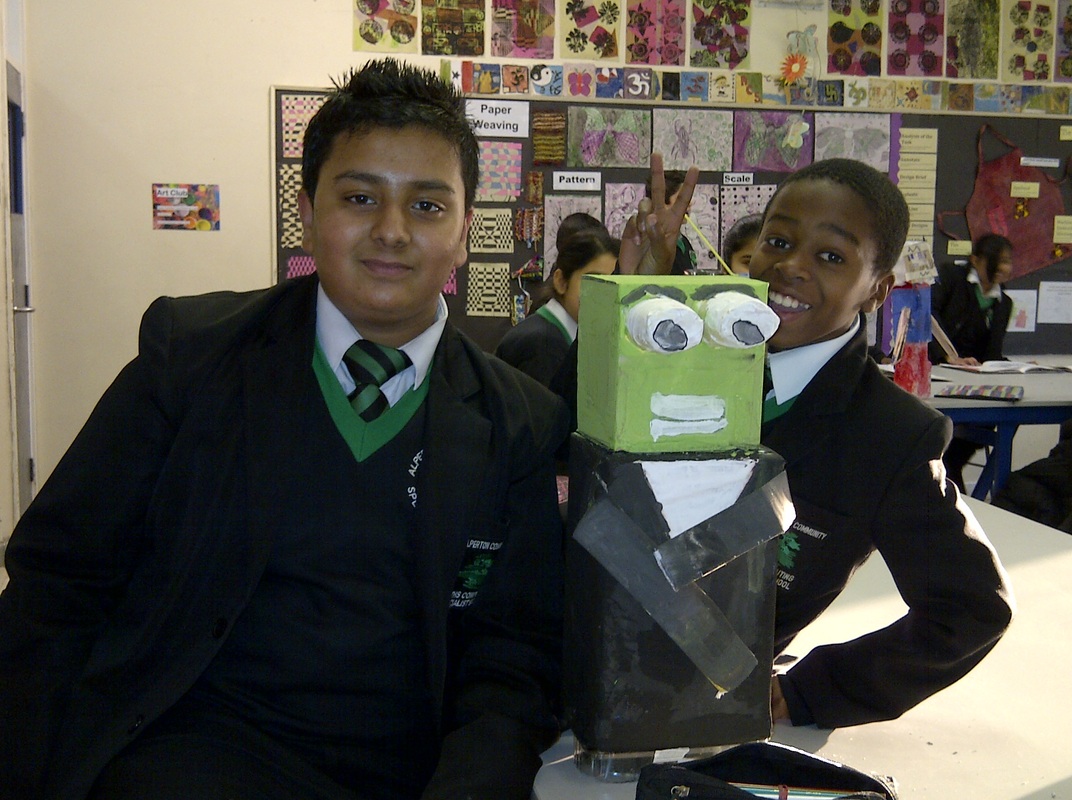
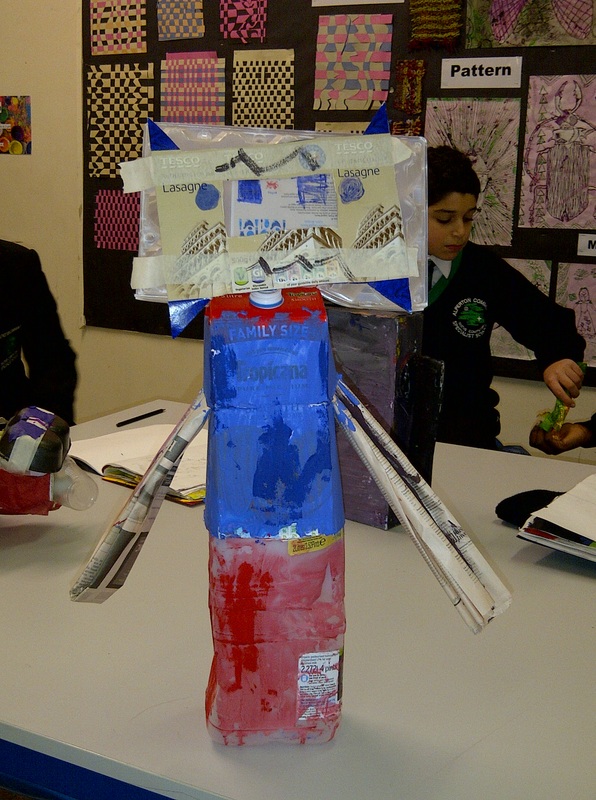
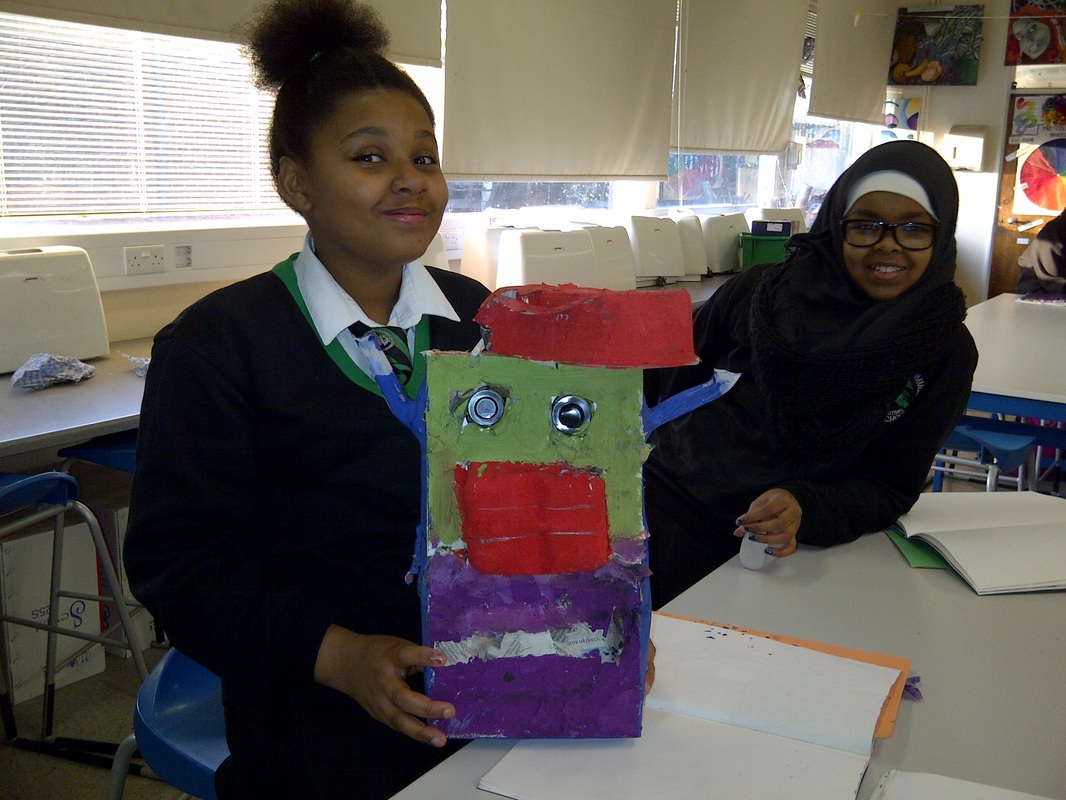
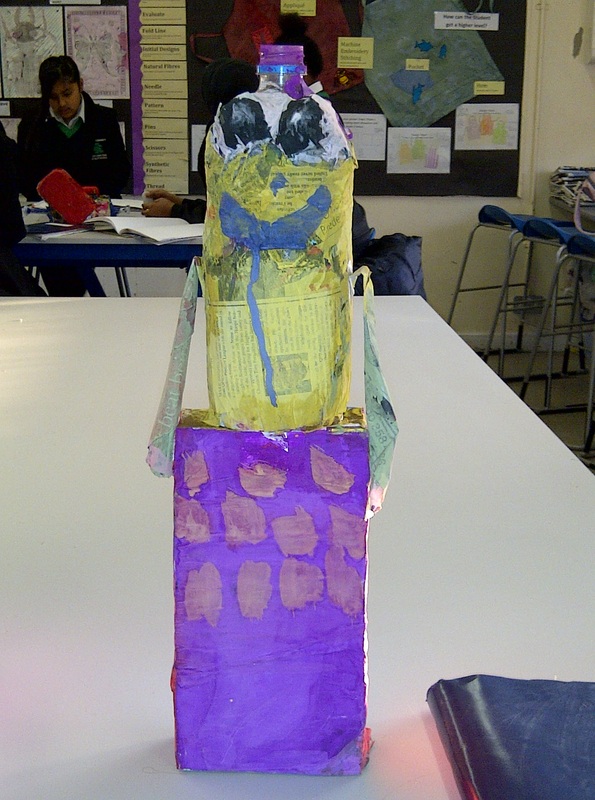
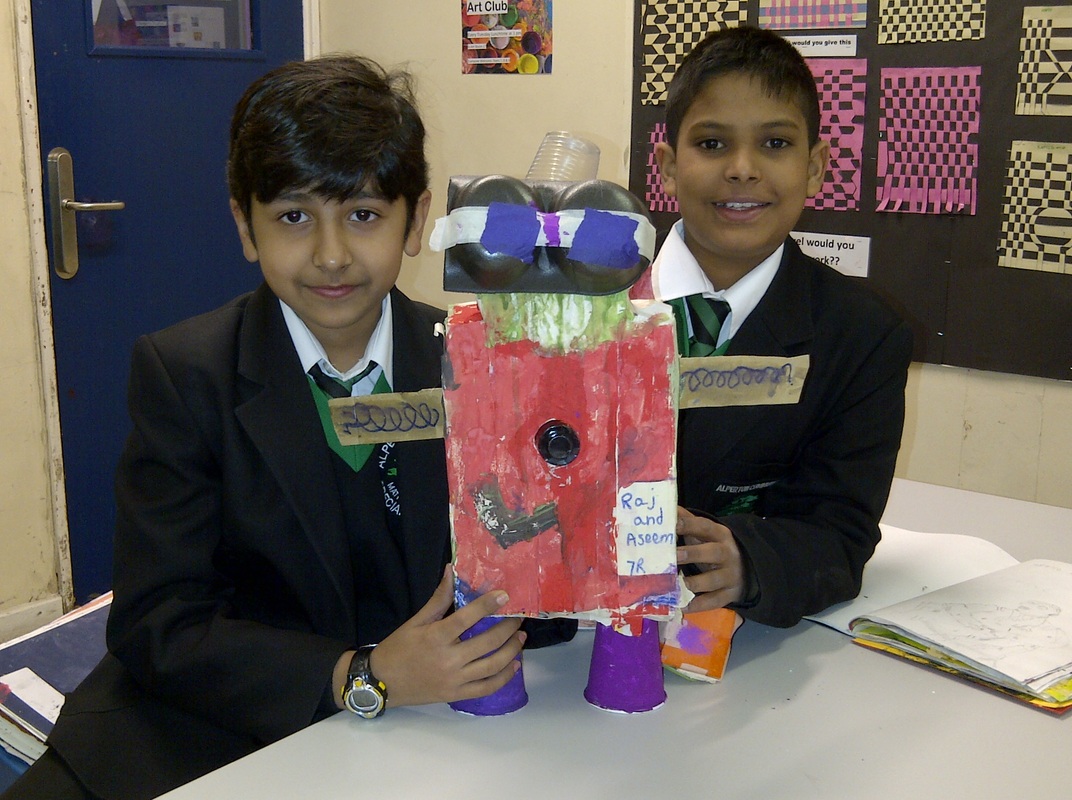
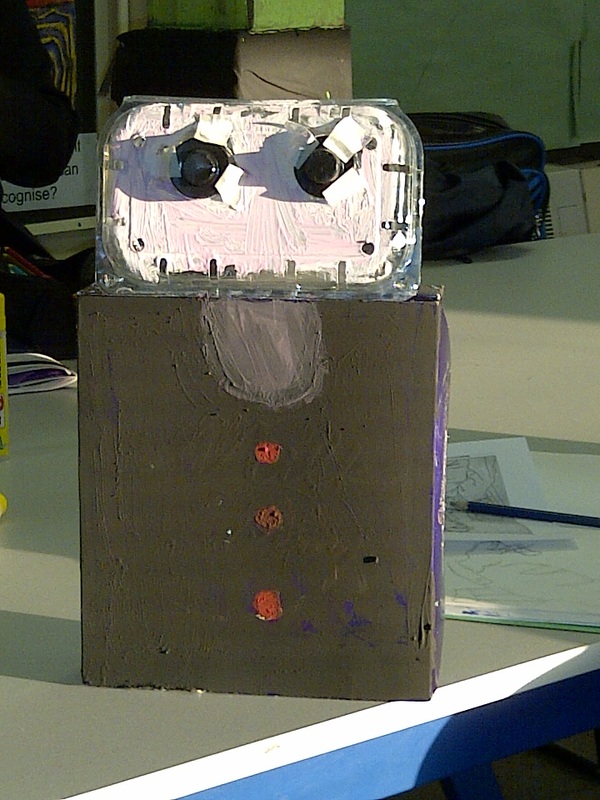
Year Seven Creates Robots of Rubbish! An Artistic and Environmental Statement
|
|
|
|
|
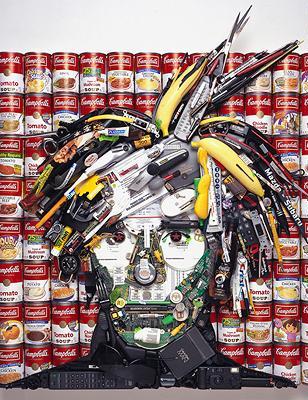
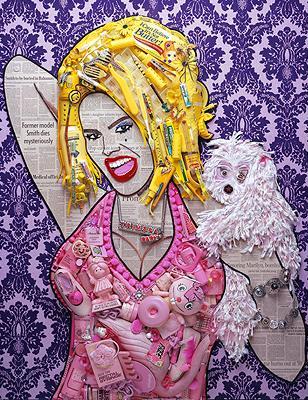
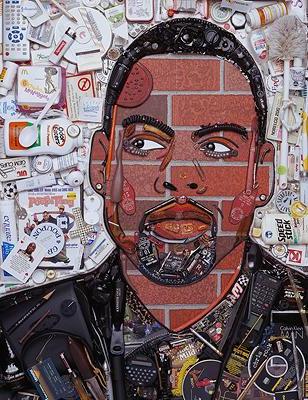
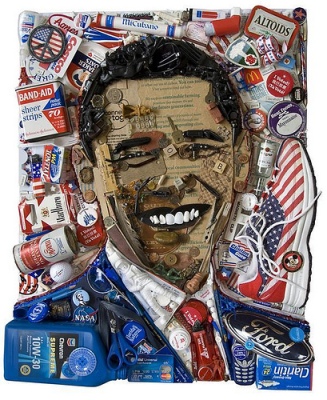
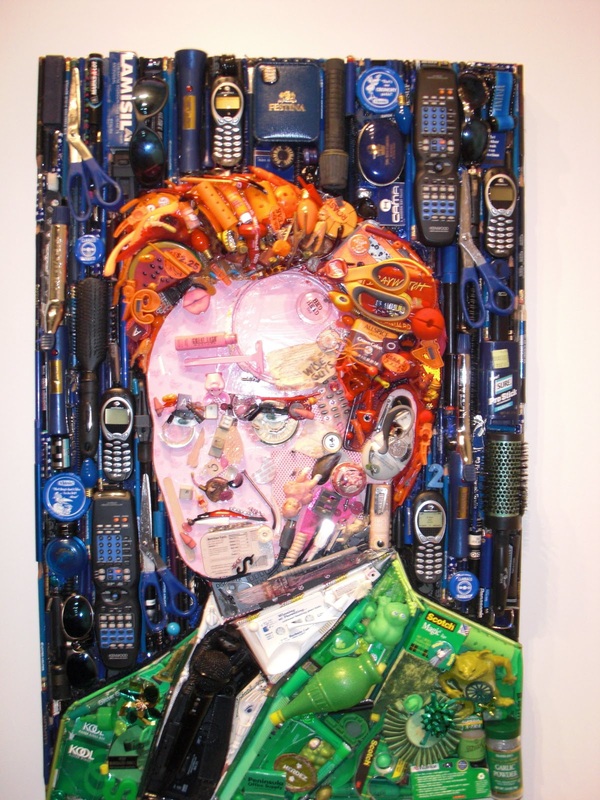
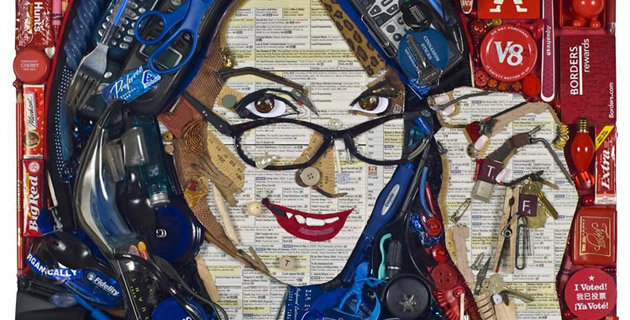
Creating Celebrity Portraits Using Rubbish Materials
|
|
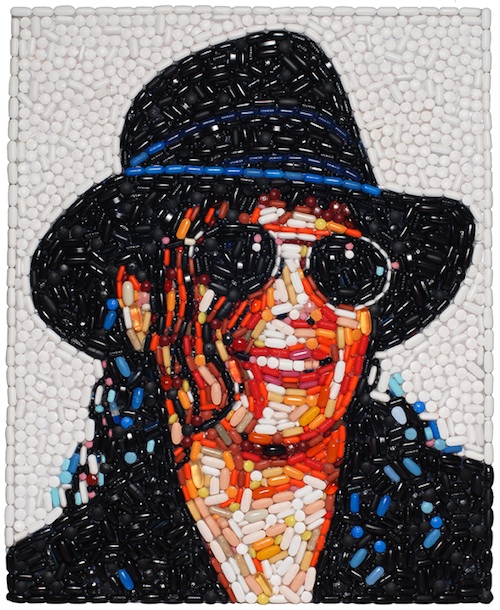
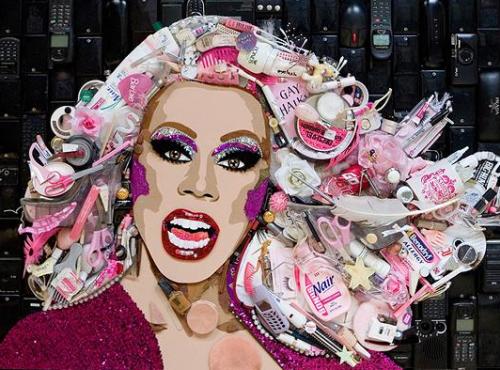
Jason Mecier
|
|
|
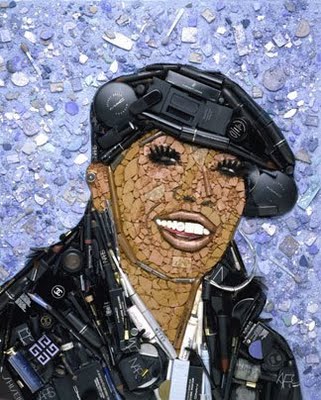
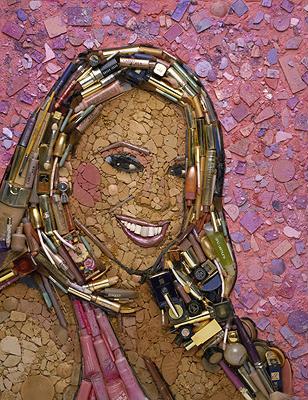
Take A Close Look: What do you see? Old rubbish materials that have been thrown away are strategically placed together in creation of a celebrity portrait.
Look Even Closer: What types of things characterize these famous members of society? How can they be represented?
THINK ON IT!
1. Who is YOUR Favourite celebrity icon? What materials could be used to represent this person? How can they be characterized?
2. Write one paragraph explaining who you have chosen as your favourite celebrity icon. Why did you choose to represent this person? What types of materials will you use to compile a portrait image of this person? Explain your answers in detail.
3. Sketch or trace out a drawing of your chosen icon.
Do not worry about filling in the details, as you will use your different materials to do so.
4. Collect the rubbish materials you have chosen from your list and bring them into class.
5. Comile a composition (layout) of your portrait. Think about colours, shapes, areas of the page, lines etc...
6. Begin filling in the areas of your portrait composition using your found rubbish materials using glue.
7. Outline and paint to edit the composition and create balance and flow within the work to complete it.
8. Write your name on your work with a title to submit at the end of class.
|

|
|
|
|

|
|
|
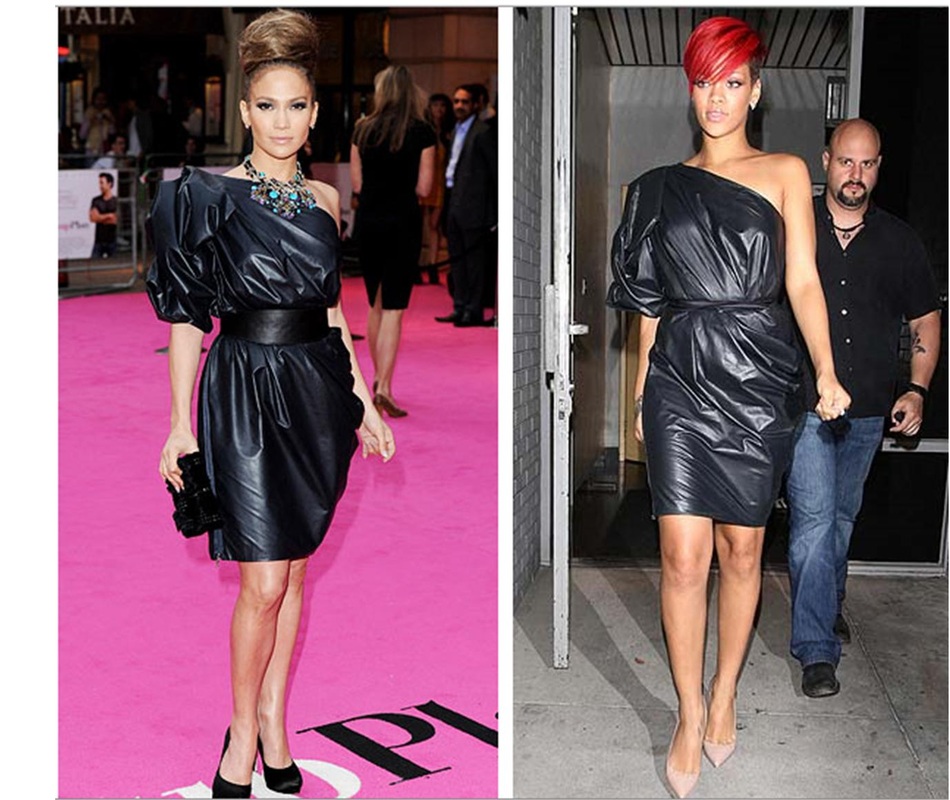
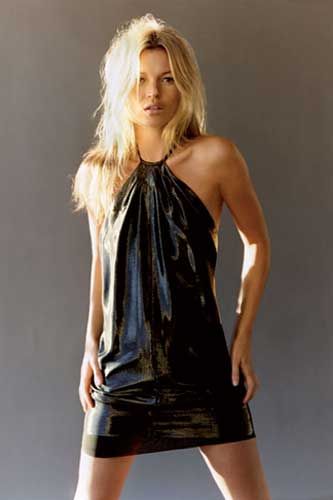
Doing A Load of Rubbish
You can never use the excuse, "I have nothing to wear!"
When you can recycle your trash bags into fashion savvy outfits!
Part One:
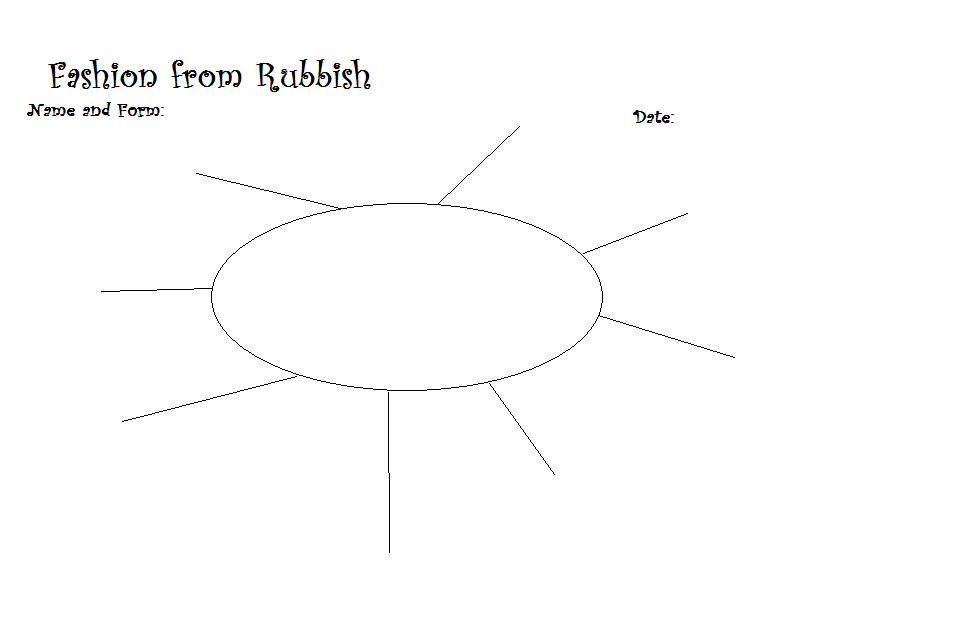
Begin brainstorming ideas.
1. What are the different features of your closet, what kinds of clothes do you like to wear? (Athletic wear, comfortable fit, form-fitting, flowy, sheer material, t-shirts, jumpers etc...)
2. Can you list the types of accessories you would include in your wardrobe? (Jewlery, boots, shoes, trainers, eye or sun glasses, watches, etc...)
3. Do you choose clothes that represent who you are, or do you choose clothes purposely for functionality? What facts can you compile to support your choice?
4. If you could select only 10 items or articles of clothing, (including accessories), which 10 items would you choose and why? What justifications could you make for your choices?
Part Two:
|
Marc Jacobs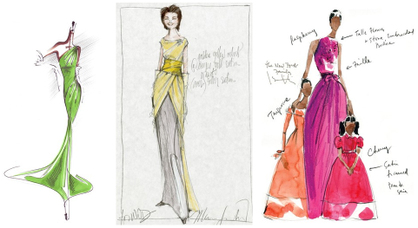
Other Artist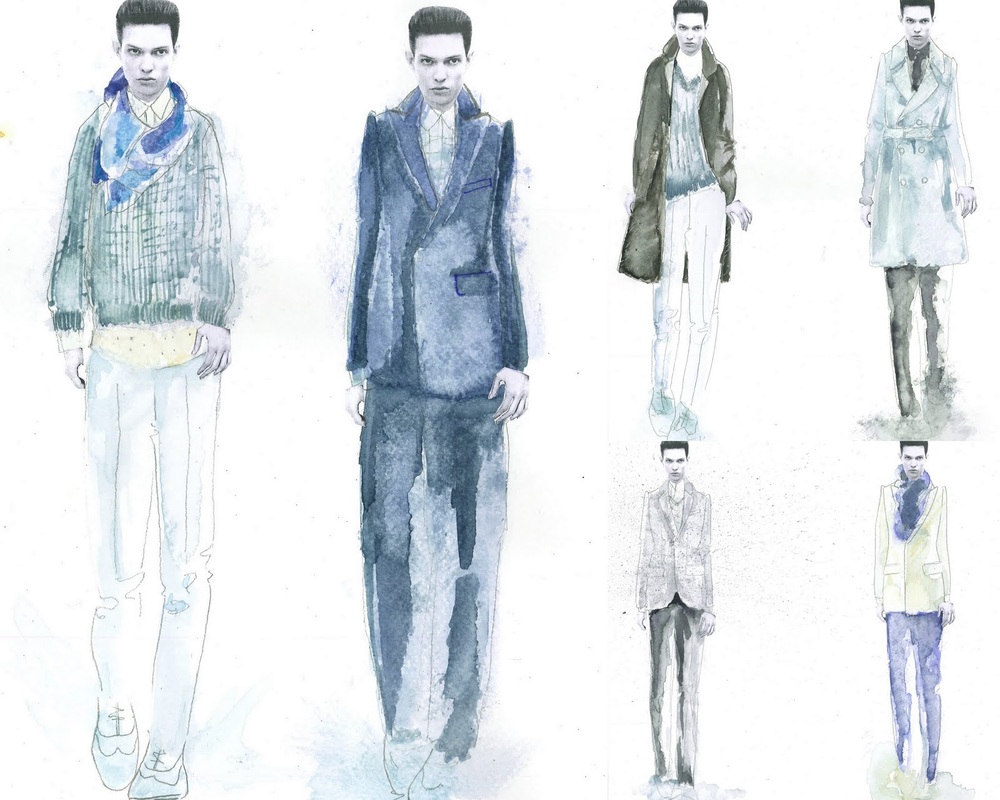
|
Christian Lacroix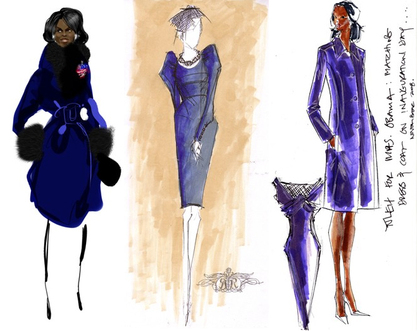
Other Artist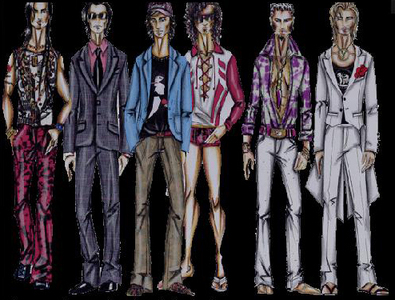
|
Part Three:
1. What different elements of rubbish can be used in your final designs to put your 3-Dimensional images together?
2. Compile a list of different materials that could be used and what their function would be, (what would you use them for?)
3. Create one final sketch of your model wearing rubbish materials.
2. Compile a list of different materials that could be used and what their function would be, (what would you use them for?)
3. Create one final sketch of your model wearing rubbish materials.
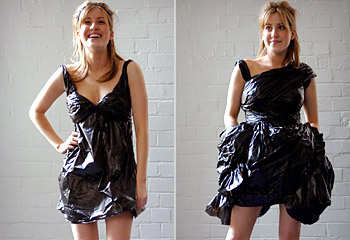
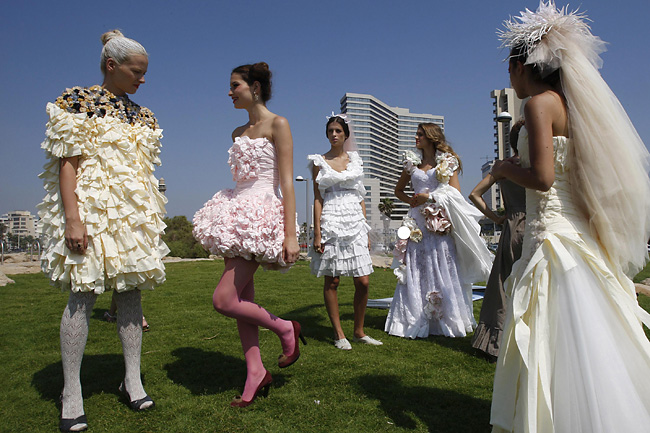
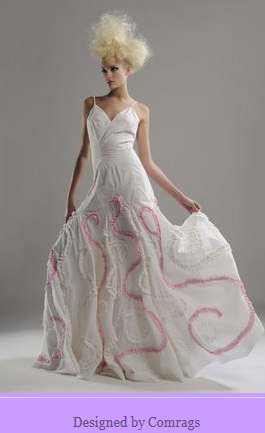
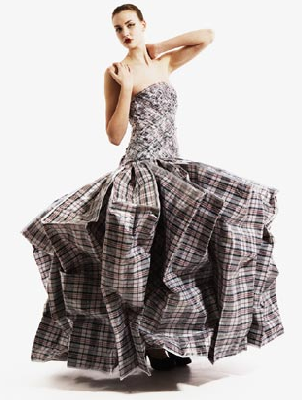
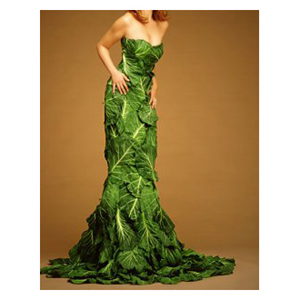
Some Inspiration:
Trash Bag Dresses
|
Toilet Paper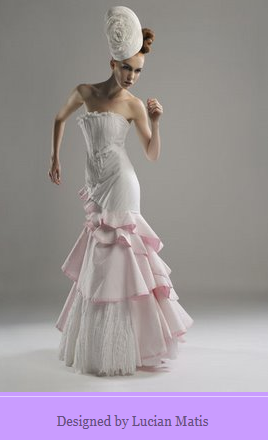

|
Dresses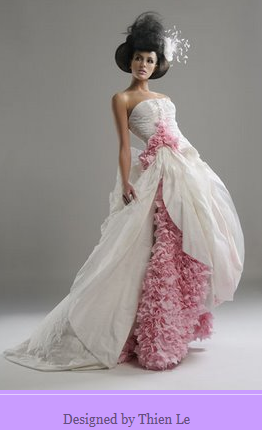

|
Other Recycled Material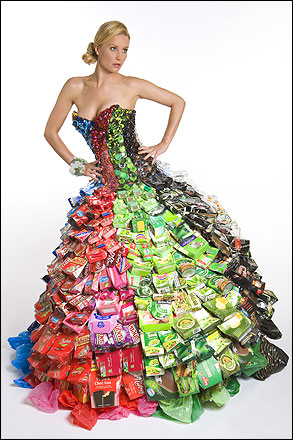
|
Newspaper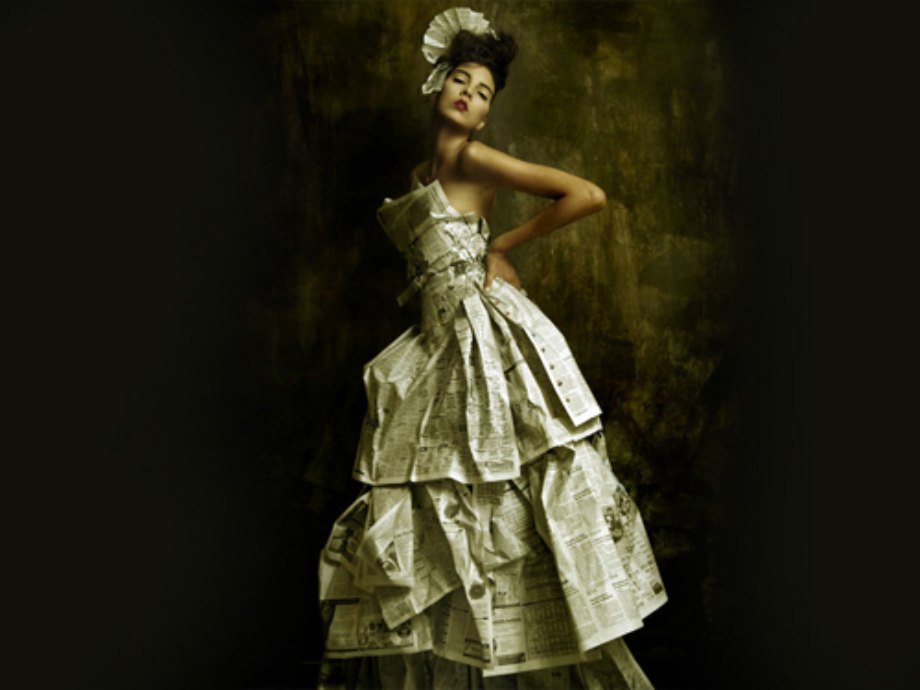
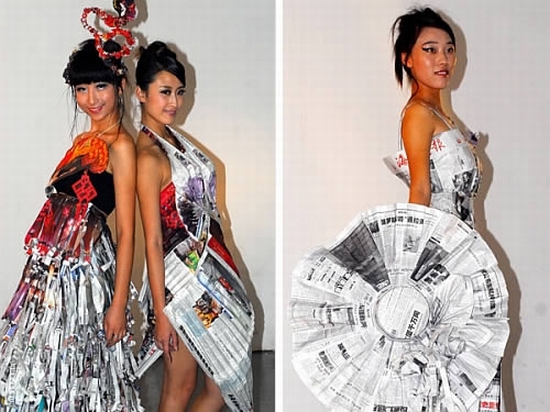

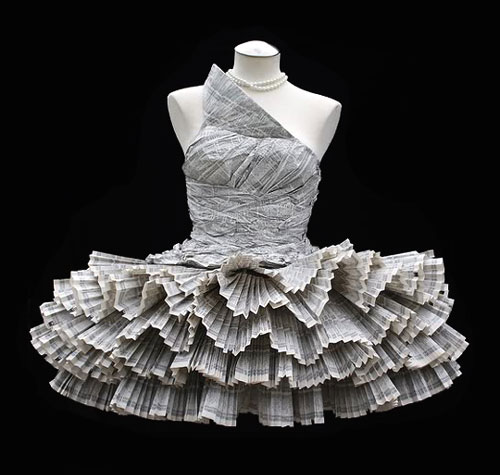
|
4. Begin crafting your 3-Dimensional Rubbish Fashions out of your recycled material, according to your sketch. (No it doesn't have to be life-sized, but it can if you wish), yes it must be complete and neatly done).
5. Complete your work with a title and your name to submit.
5. Complete your work with a title and your name to submit.
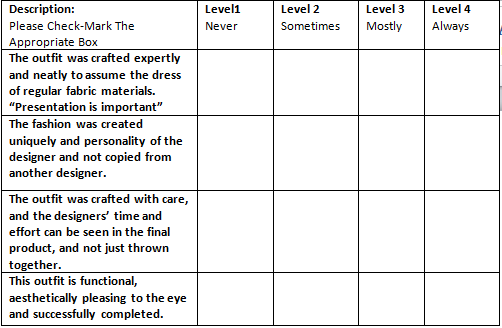
6. Fashion Show and Peer Assessment
Students will display their works in a fashion show, either wearing the clothes, or demonstrating their designs in a unique way.
Students will work in groups to prepare their work as a collection, deciding on the run way, music and how their fashion will be shown to the whole of the class.
Each student gets one minute to display their designs, while the other students' give a peer assessment of their work from levels 1-4, (1 being the lowest, 4 being the highest).
Students will rotate and assess one anothers' work.
Part Four:
We Be Representin'
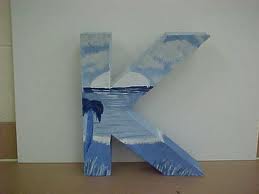
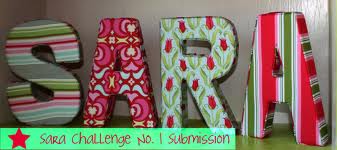
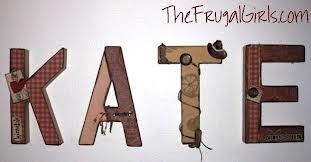
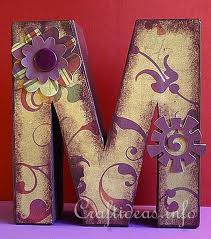
Paper Mache Initial Letter
Paper Mache Initial Letter
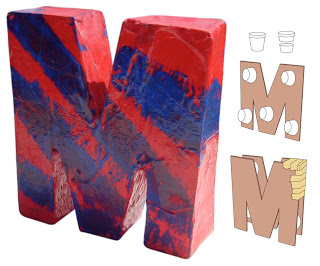
Step One: Begin by drawing the first initial of your name in a big block letter on your cardboard. Make your letters no less than 9" in size.
Step Two: Cut out your initial, and trace it onto a seperate piece of cardboard.
Step Three: Use your styrofoam cups and glue the bottoms to one side of your initial letter. Let Dry.
Step Four: Apply glue to the opposite side of the cups and press your second letter against them to attach them like a sandwich.
Step Five: Make sure your letters are aligned perfectly (symmetric) in order to do the work properly and cover the edges with masking tape.
Step Six: Mix your mache mix, using white glue and water; mix well.
Step Seven: Using your recycled newspaper, brush the mache mix on one side of the paper and stick it onto the cardboard letters.
Step Eight: Use your mache mix and apply the mix to the outside of your newspaper on your letters to secure the hold.
Step Nine: Continue step seven and eight until the letter is completely filled with newspaper. Go over your newspaper one last time with a final coat of mache mix.
Step Ten: In your sketchbook, write down different characteristics in a chart, such as (sports, fashion, colours, arts, maths, books, films, video games, hobbies, words, cultures, traditions, things that are important to you, etc...), that represent you.
Step Eleven: Bring your ideas into 3-Dimensional Form, by painting the characteristics that represent you on your paper mache initial.
Step Twelve: If you wish, glue on different elements such as flowers, materials, nature etc... that represent you to complete your work.
Step Thirteen: Add a layer of mod podge to your final product to create a glossy shine and finished look.
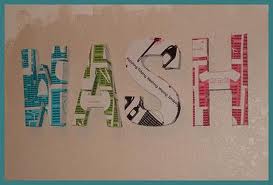
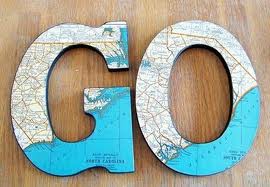
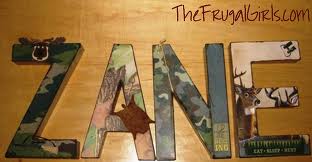
Some Design Ideas For Your Letters:


|
|
|
|
|
Part Five:
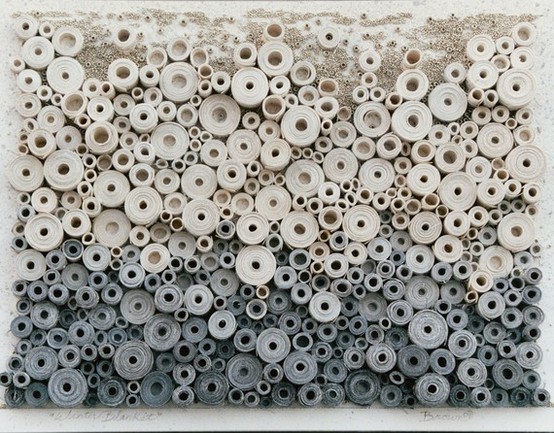
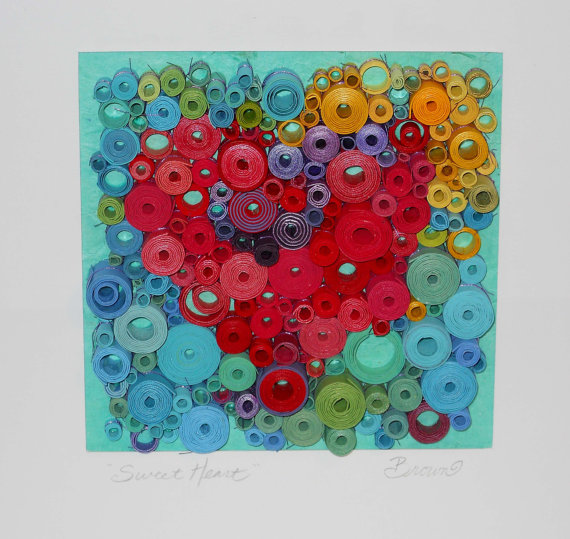
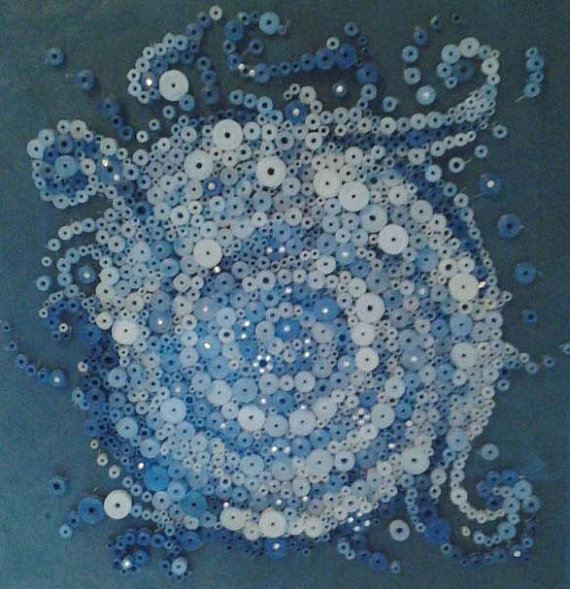
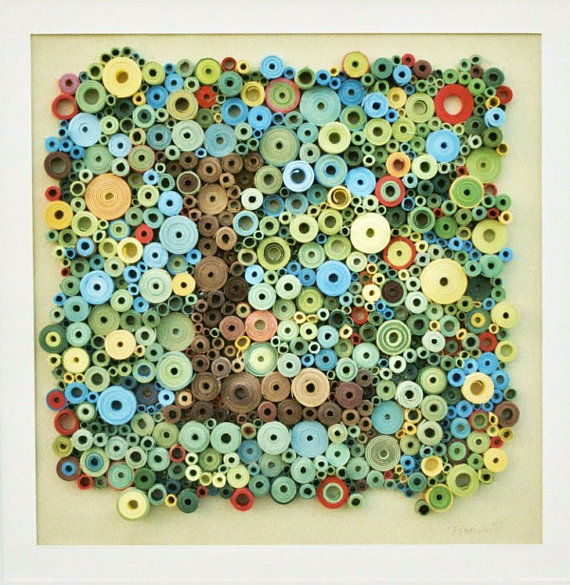
Keep Rollin', Rollin', Rollin', Rollin'...
Using old roles of small printer paper, card found around the house, or old recycled paper that would put in the bin, create a unique 3-Dimensional work of art, that can be displayed at home.
|
|
|
|
How can I turn regular sheets and rolls of paper into an artist work of work?
On a seperate piece of paper, record different ideas of designs you can produce, and sketch your design into a 5 inch by 5 inch box.
Observe your work and ask yourself:
*What colours can I use that work well together?
*Do I want to use a range of various colours or use monochromatic tones?
*What sort of image am I trying to represent? Do I want my work to be more abstracted or realistic?
*Will my 3-Dimensional representation be simple or complicated in design?
*How can I position my paper rolls to create a well-thought out design?
*Will my work be displayed and created neatly? PRESENTATION IS IMPORTANT.
