
|
|
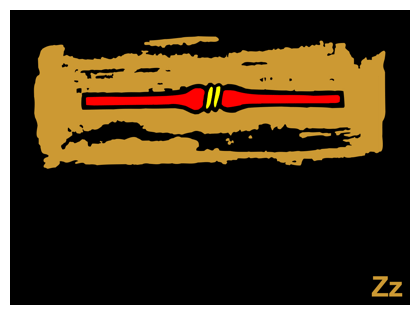
Lesson Objectives: Do I understand how Egyptian language symbols represent words?
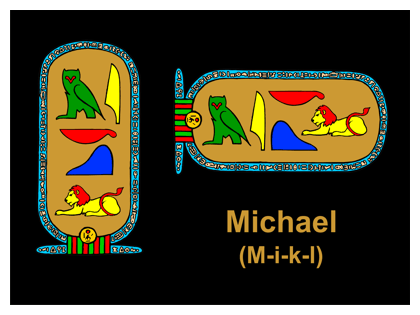
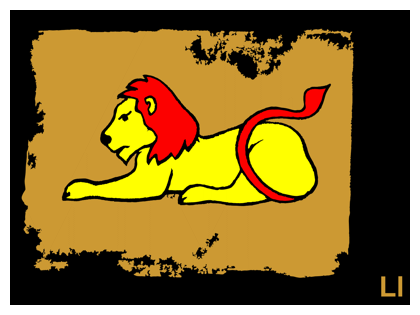
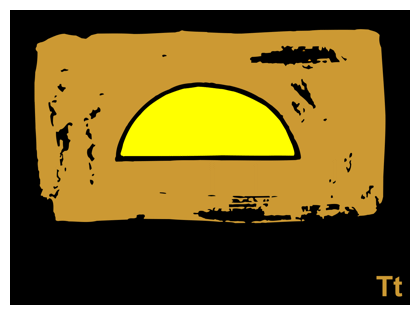
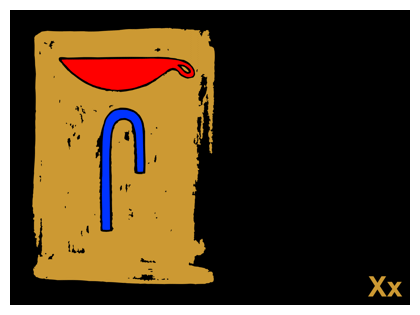
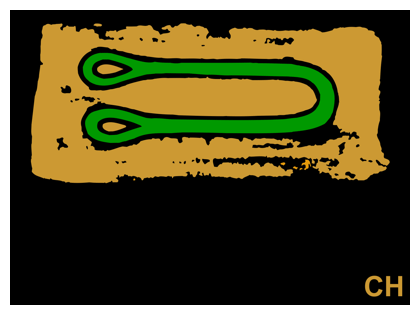
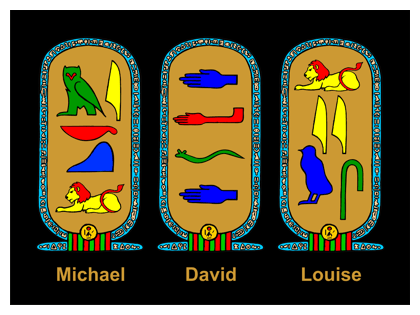
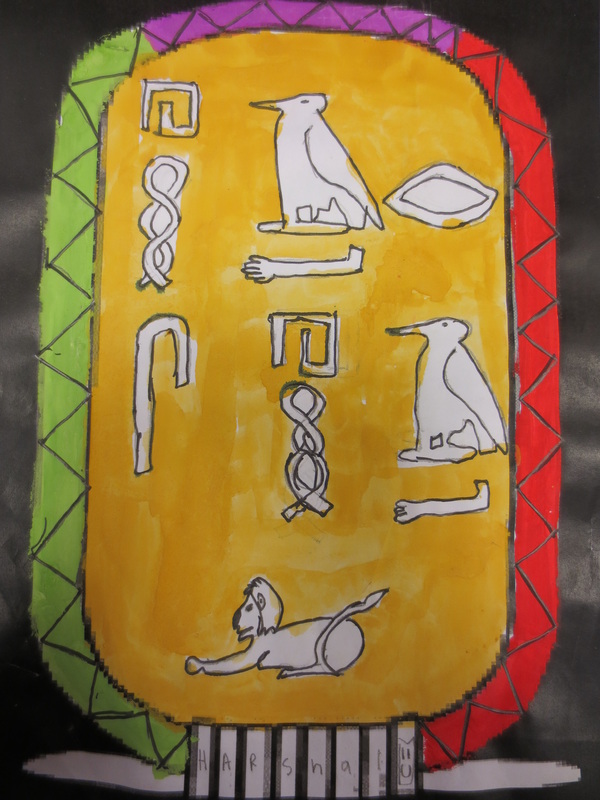
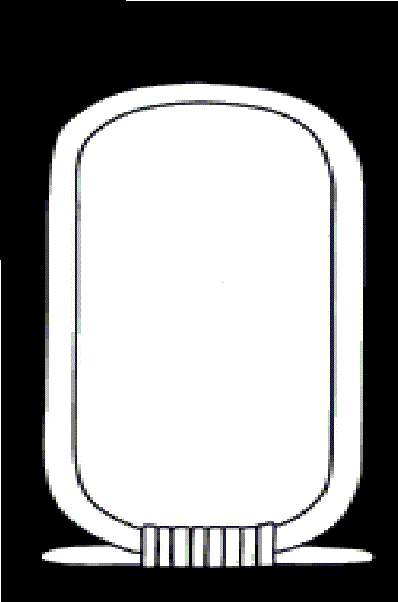
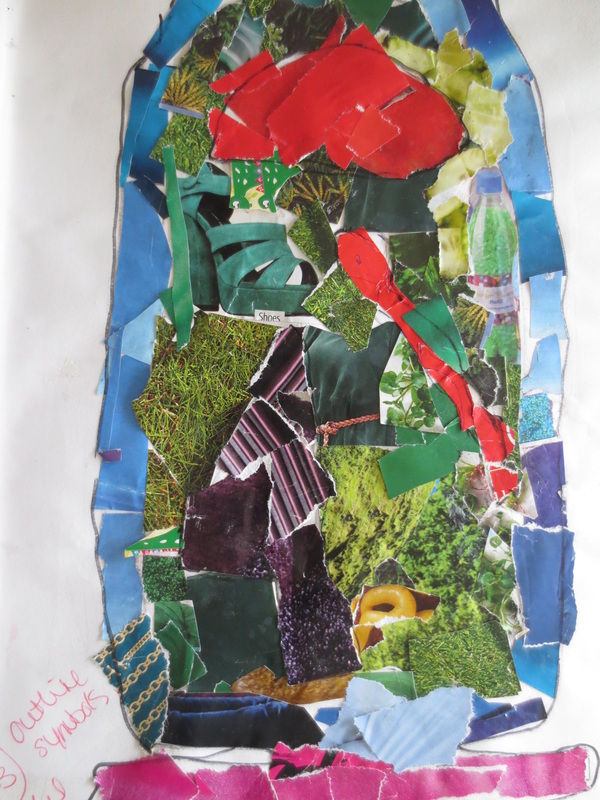
Identifying Ourselves with Ancient Egyptian Cartouche
Let's Take A Look!!
http://prezi.com/iaegrx1-kxju/untitled-prezi/
Let's Refresh Our Memories!
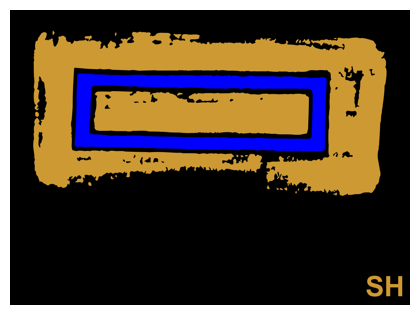
Key Words:
|
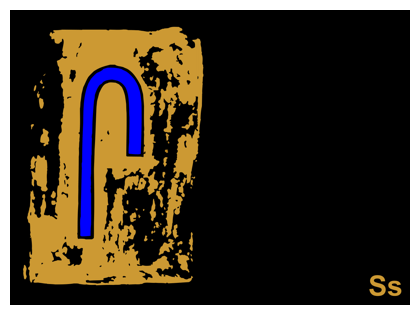
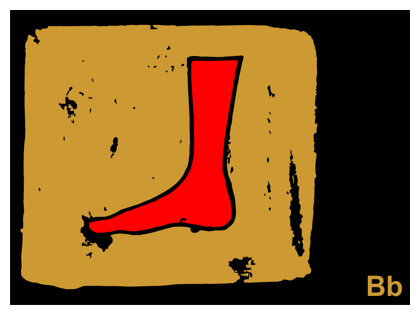
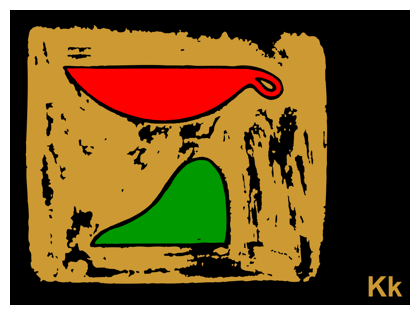
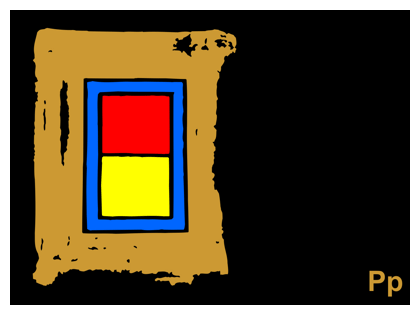
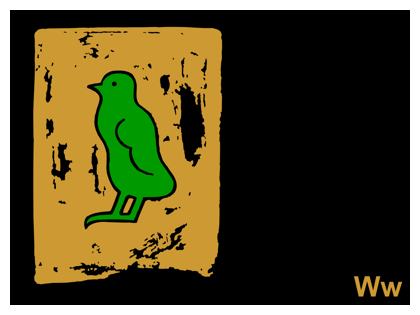
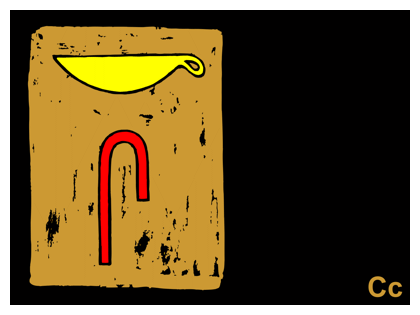
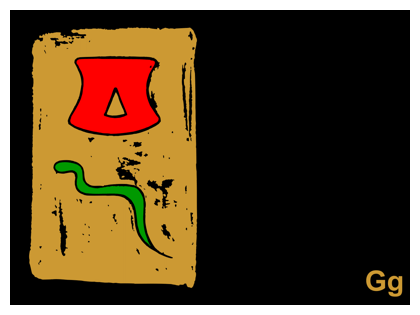
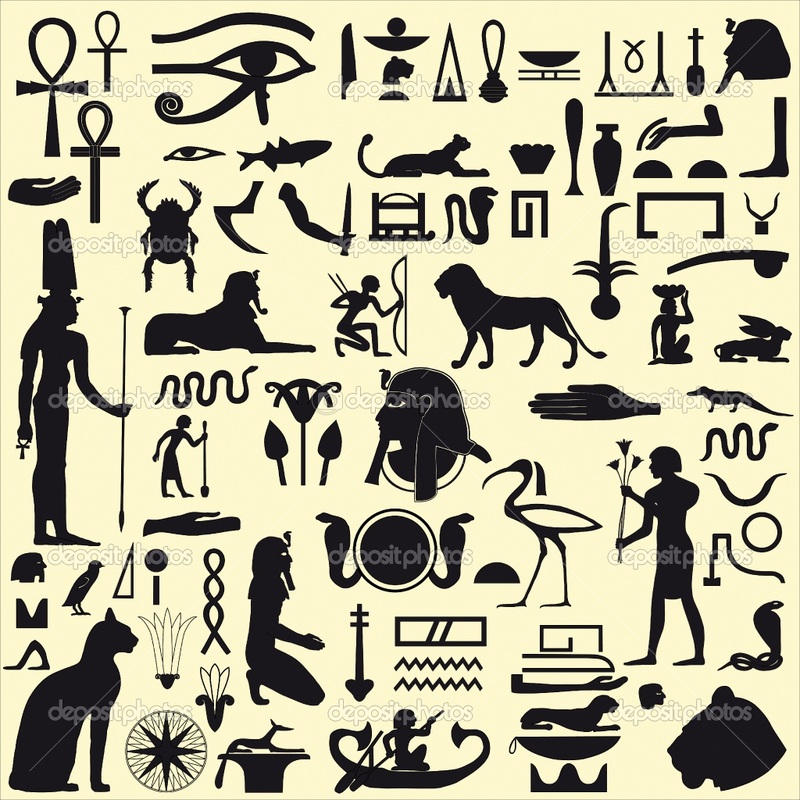
Key Visuals: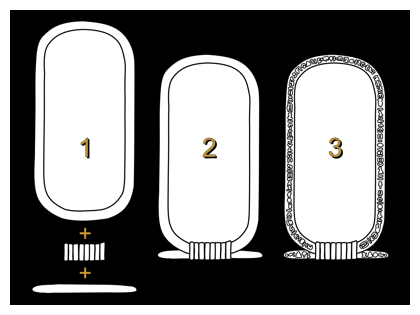
|
Lesson Objective: Can I write my name in hieroglyphics by using the principles of printmaking?
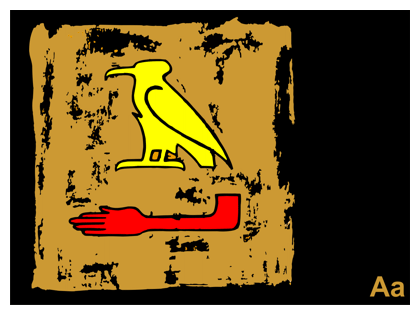
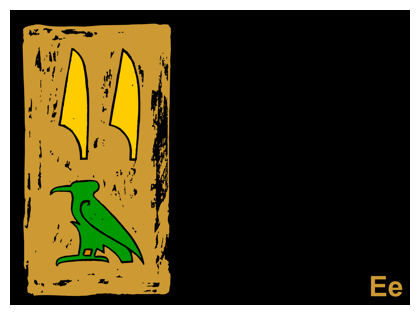
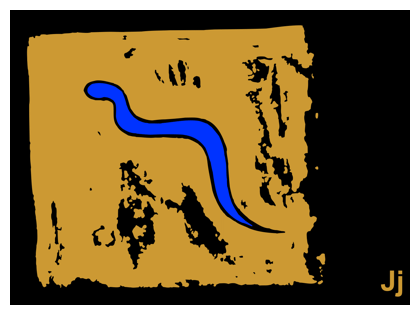
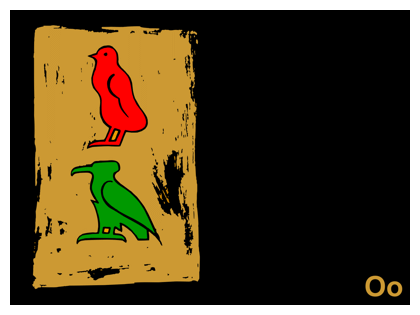
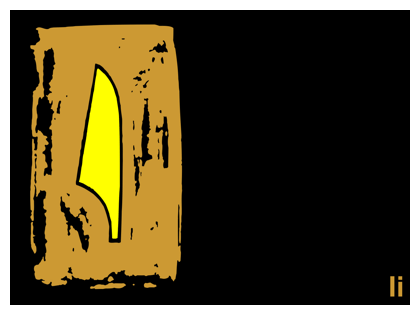
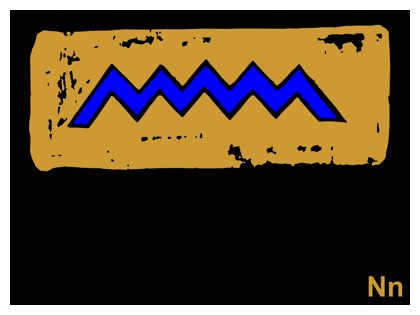
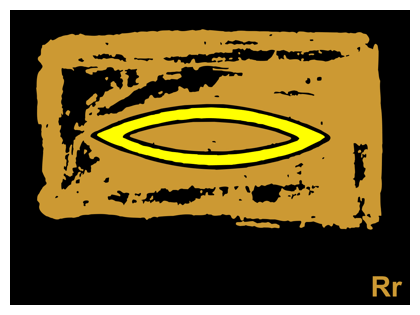
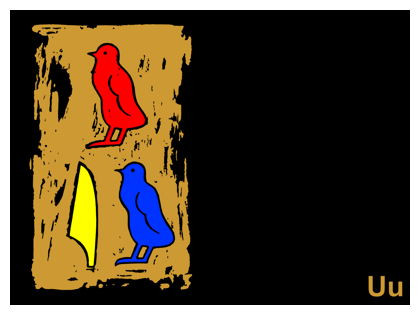
Hieroglyphics

|

|

|


|
|
Let's Get Symbolic!!
1. On a blank sheet in your sketchbook, write down your name in bubble letters. For example: "Miss. Diana"
2. The write down the way your name is spelt by using sounds. For example: "M-S-D-I-N-A".
3. Then practice drawing the symbols of your name, starting from the first letter and placing your symbols in order, (horizontally). Be sure to use up the blank areas of your sketchbook, and present your work neatly.
4. Colour in the symbols of your name, using watercolour paints, and outline in black felt-tip.
|
|

|
|
|
|
|
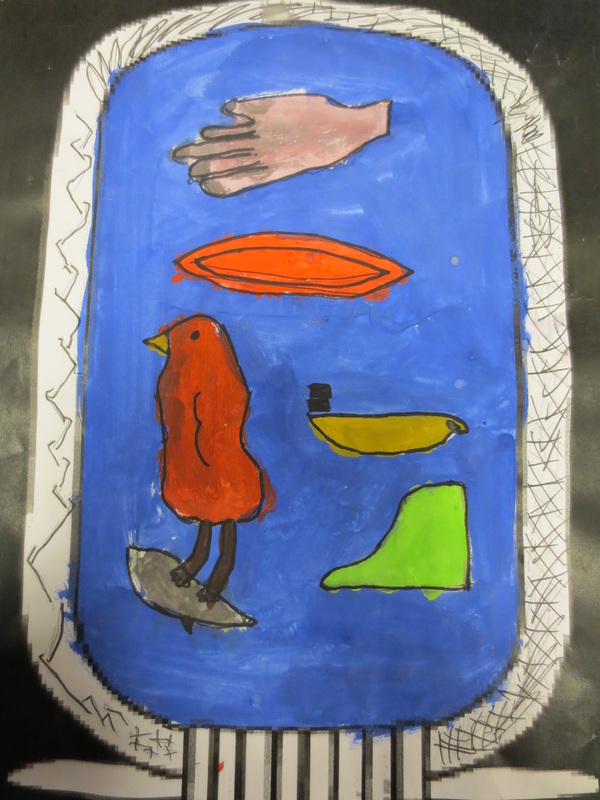
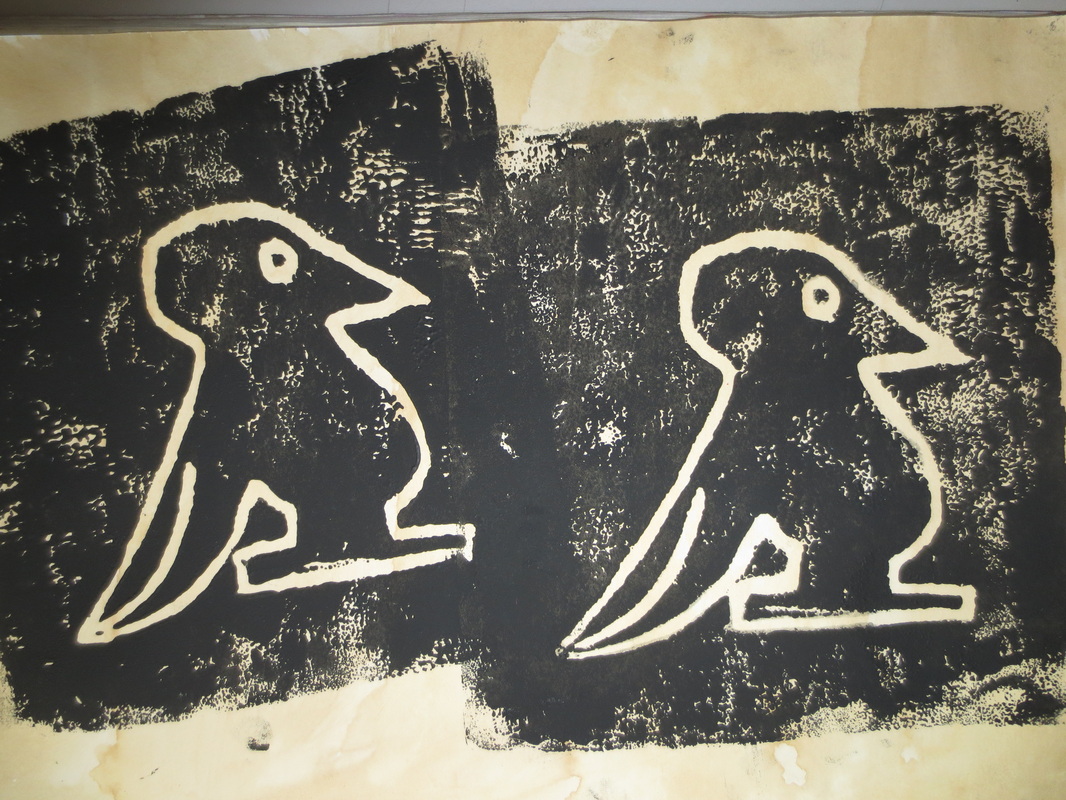
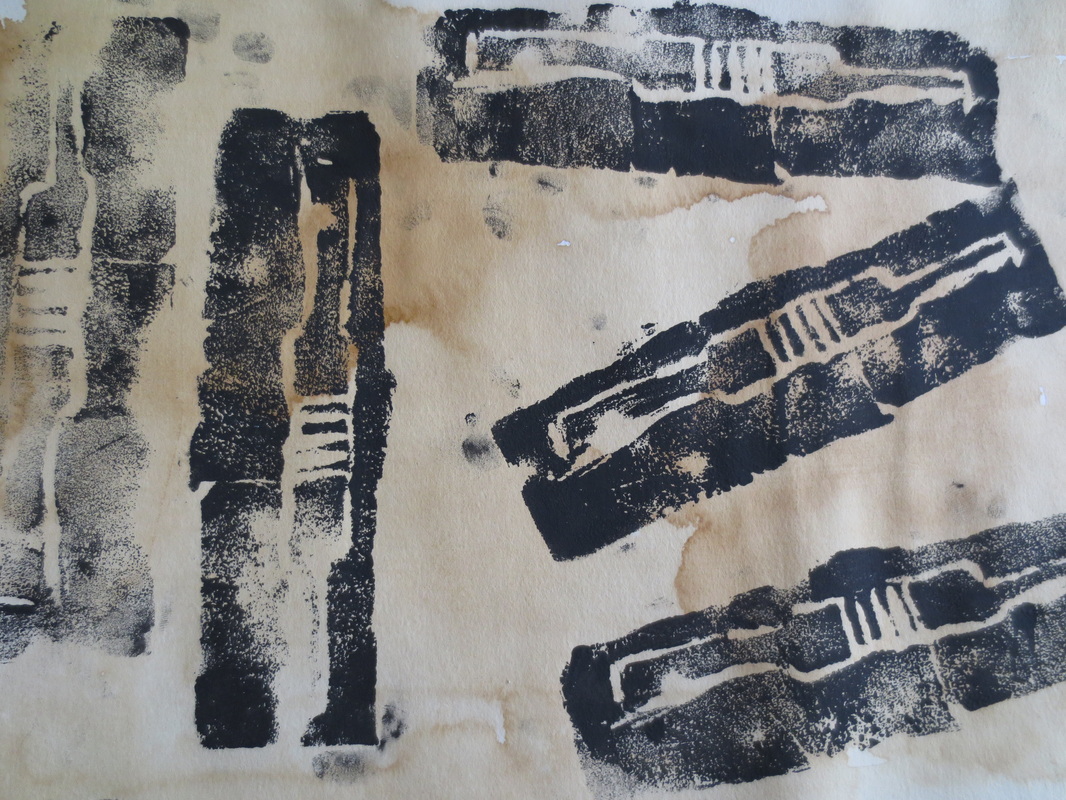
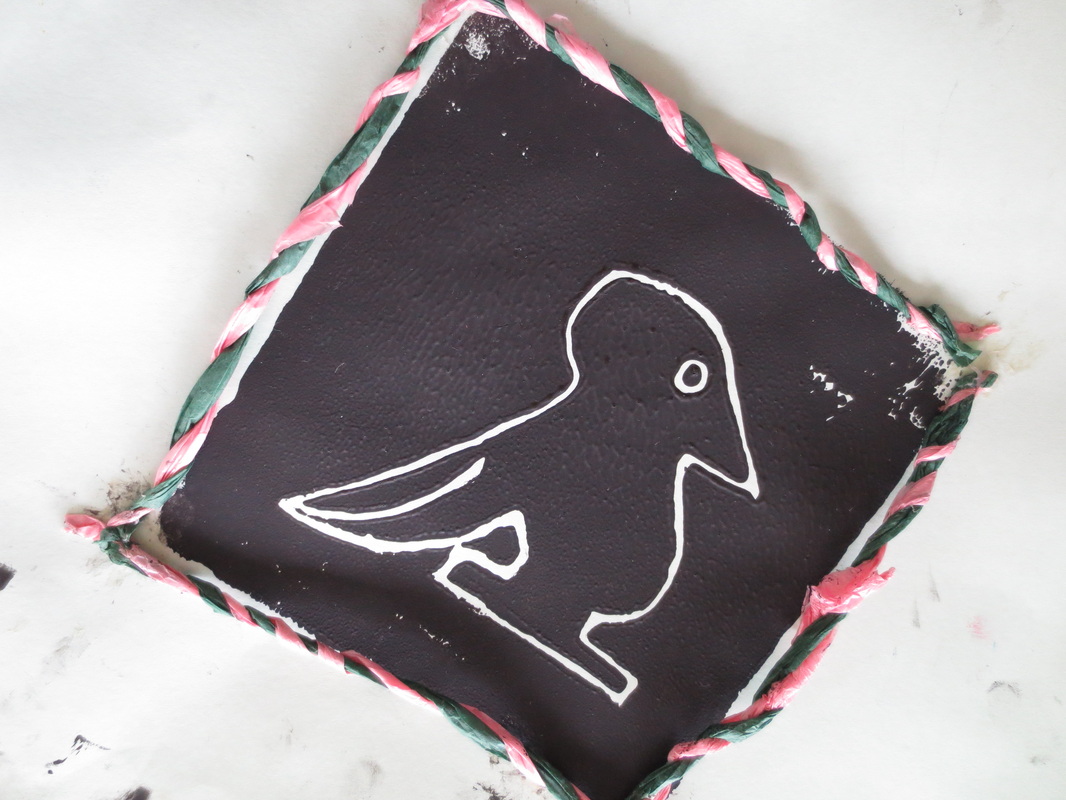
Print Your Symbols! Represent Your Name!
REFER TO PRINTMAKING LESSON ON THE COVERING THE BASICS LINK
Step One: Using a pencil, carve your symbol into your styrofoam card.
Be sure to draw your symbol backwards you print the mirror image.
Step Two: Choose your ink colour, and roll your ink on your palette with your roller.
Step Three: Gently roll the ink onto the symbol of your styrofoam card, ensuring you cover the entire card with a thick layer of evenly spread ink.
Step Four: Place the side of your card with ink, directly onto your black construction sheet, (in order of your letters).
Step Five: Press down and rub the styrofoam gently to allow the ink to stay on your construction paper.
Step Six: Gently lift the styrofoam card off your construction paper.
Step Seven: Repeat steps 1-6 for each symbol of your name. Use the proper colour ink to represent your symbol.
Be sure to present your work neatly and outline your prints with felt-tip to make your symbols stand out on the page.
|
|
|

|
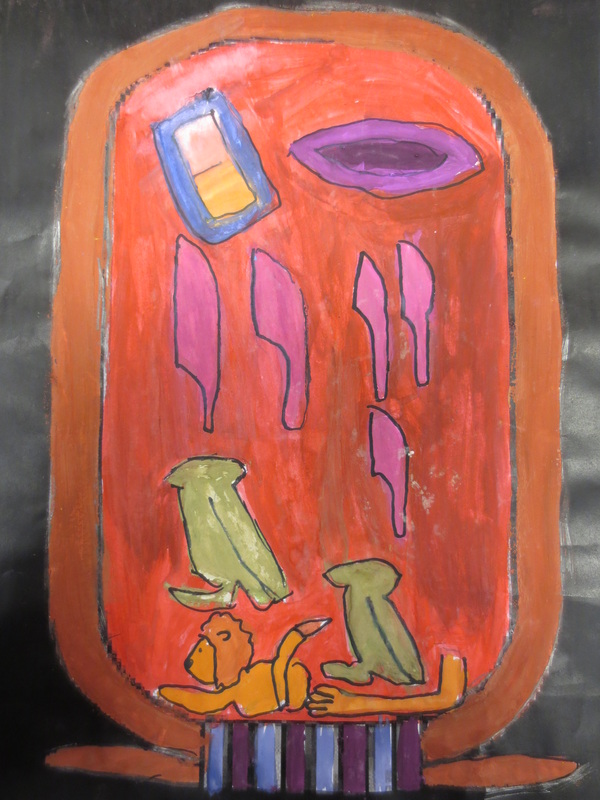
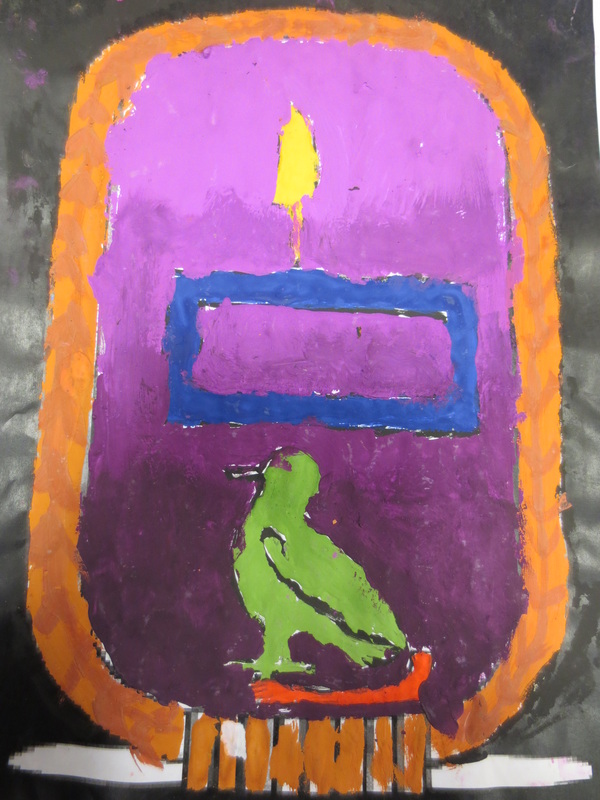
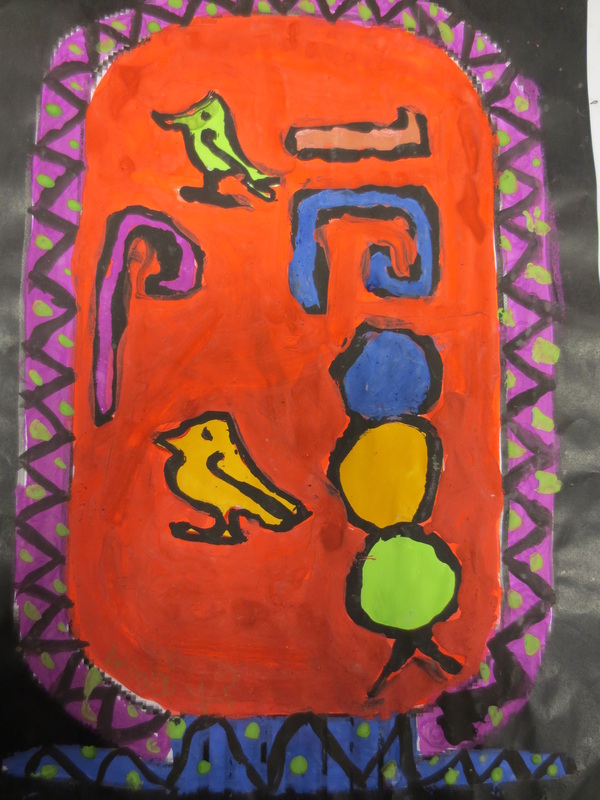
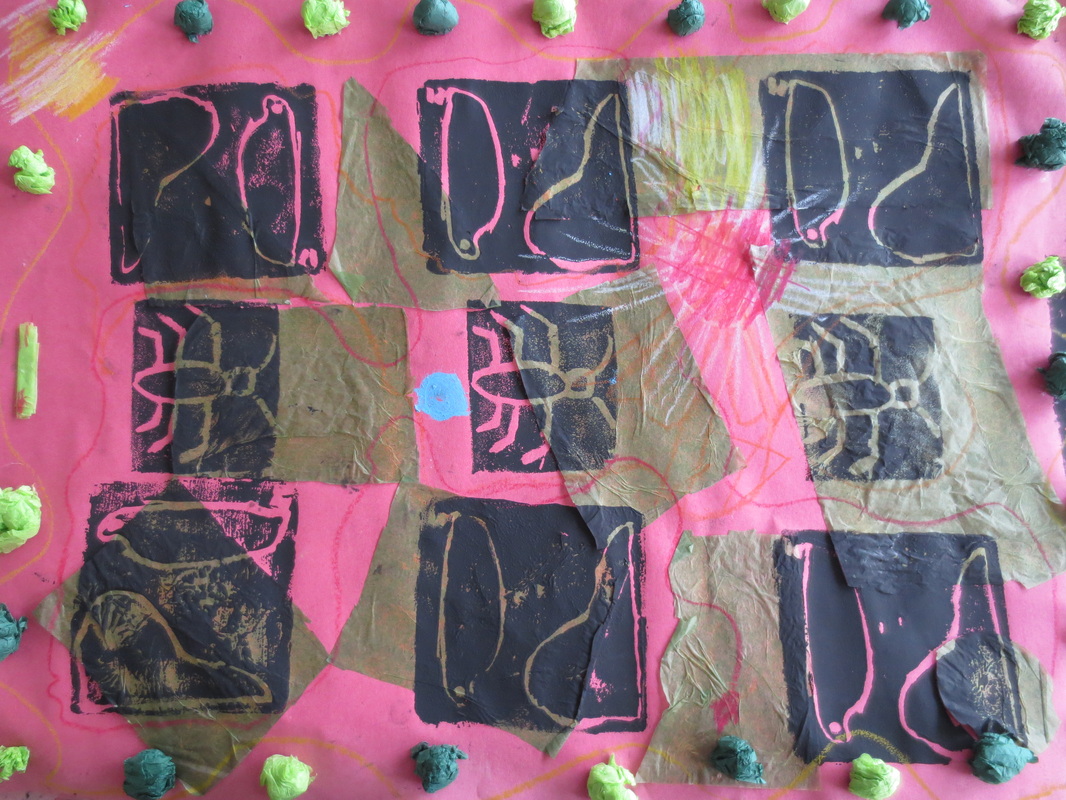
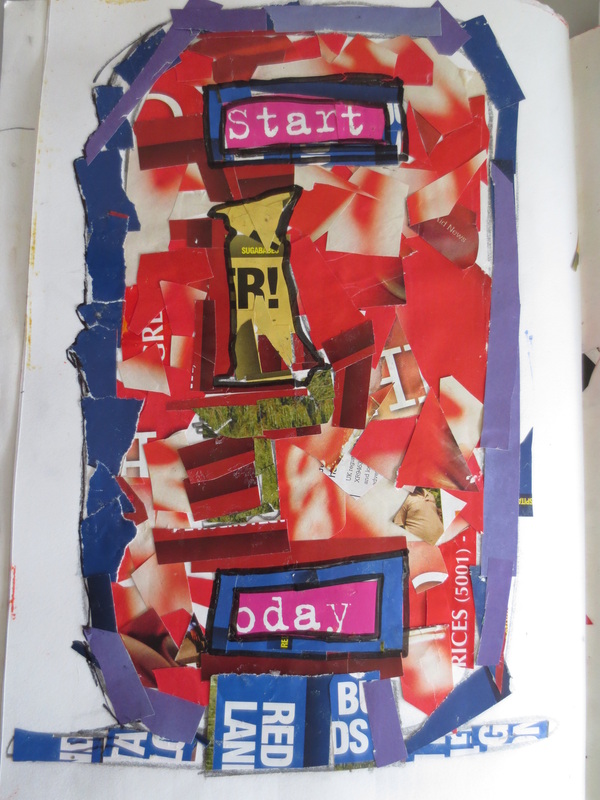
Lesson Objective: Can I create an Egyptian Cartouche to represent the letters in my name using collage methods?
1. On your Cartouche sheet, draw the symbols of your name, in a creative way. Be sure to use up the blank space.
|
|
|
|
|
|
|
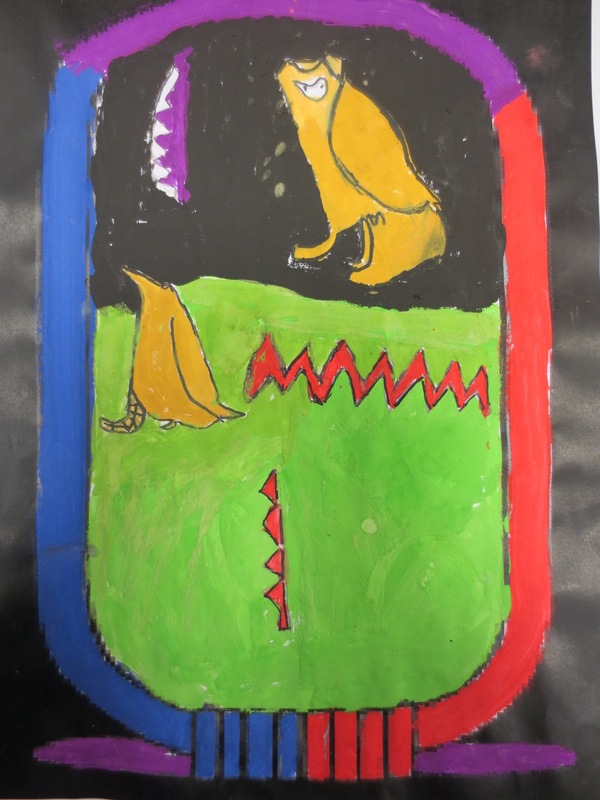
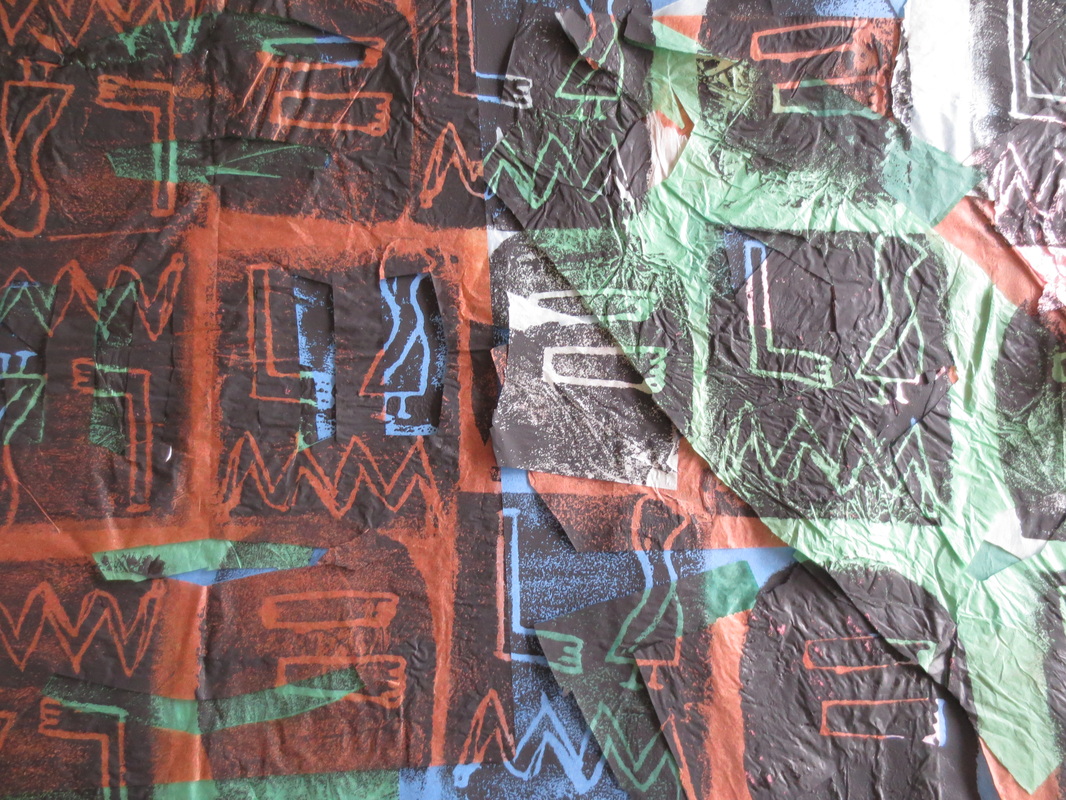
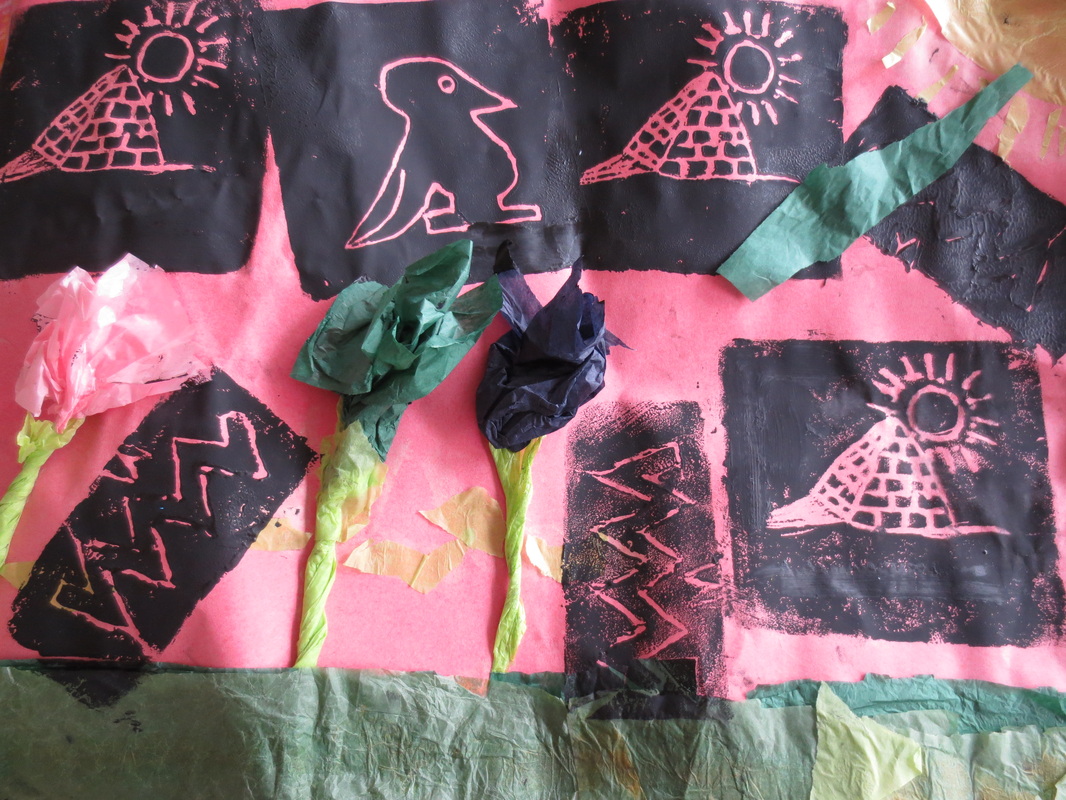
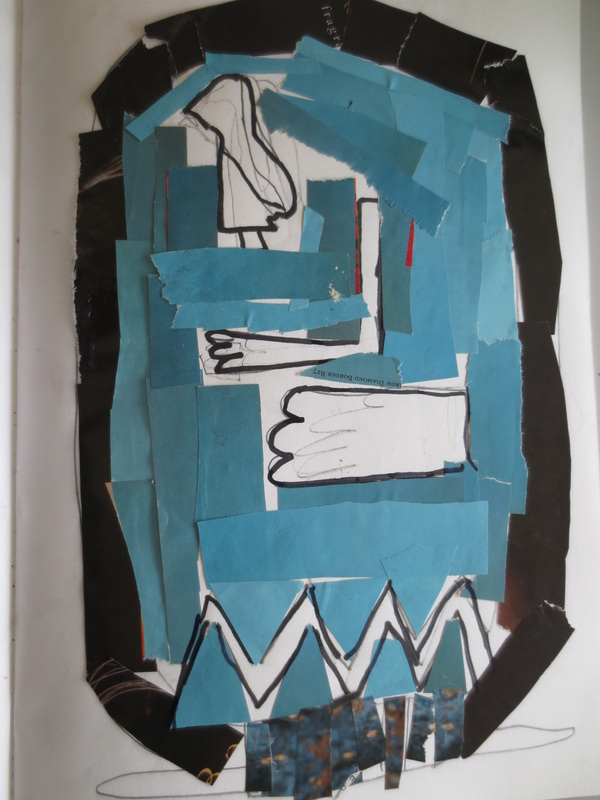
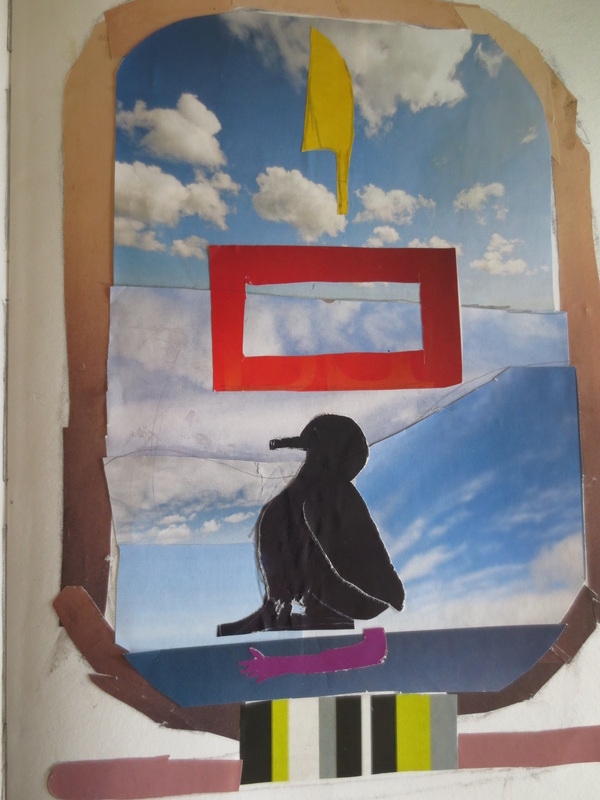
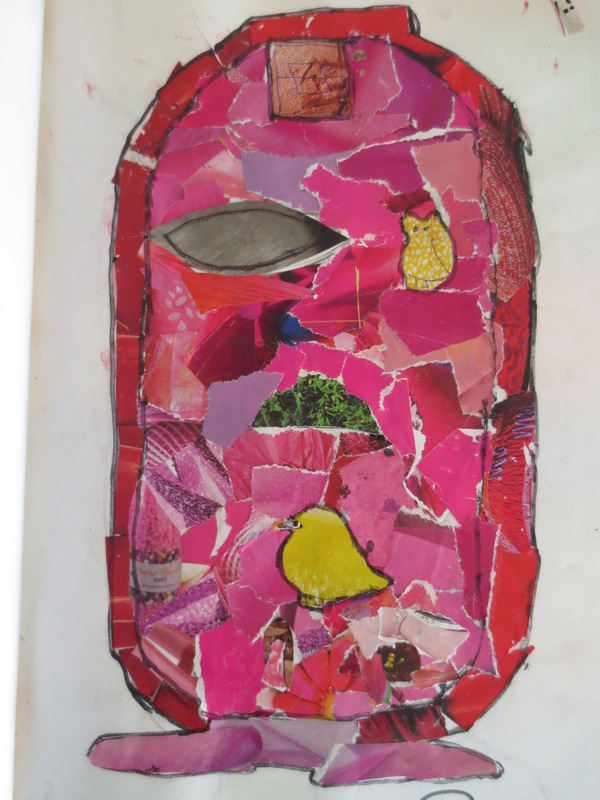
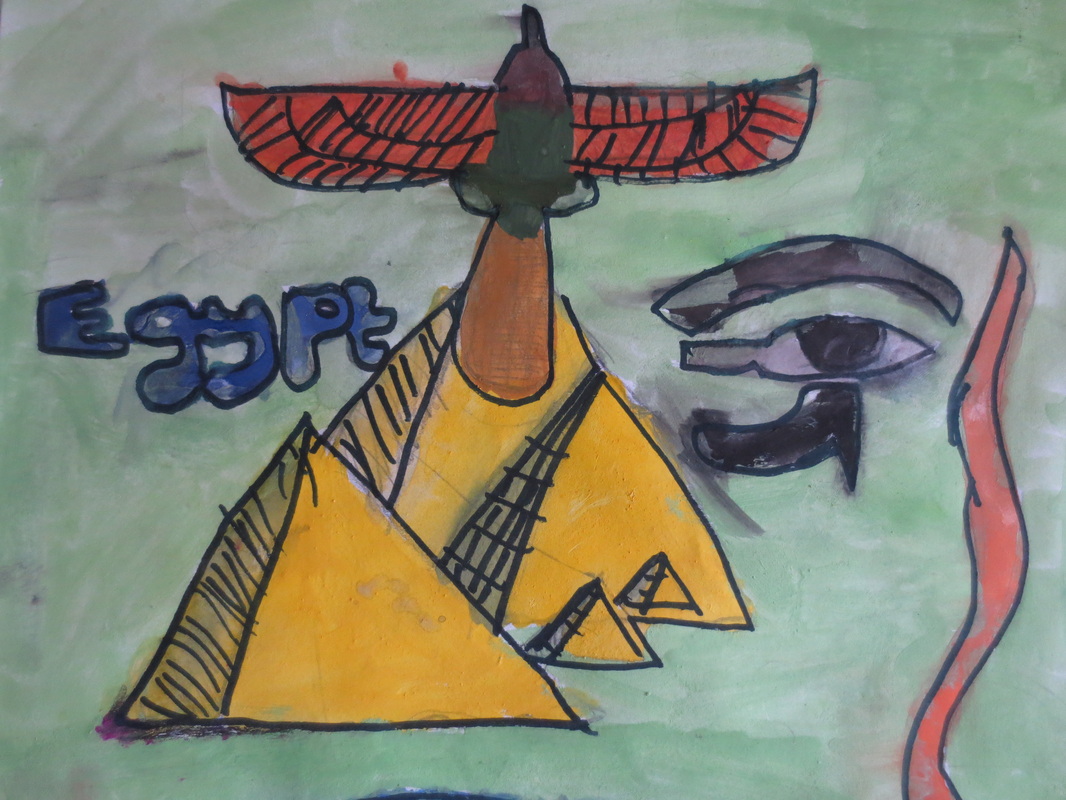
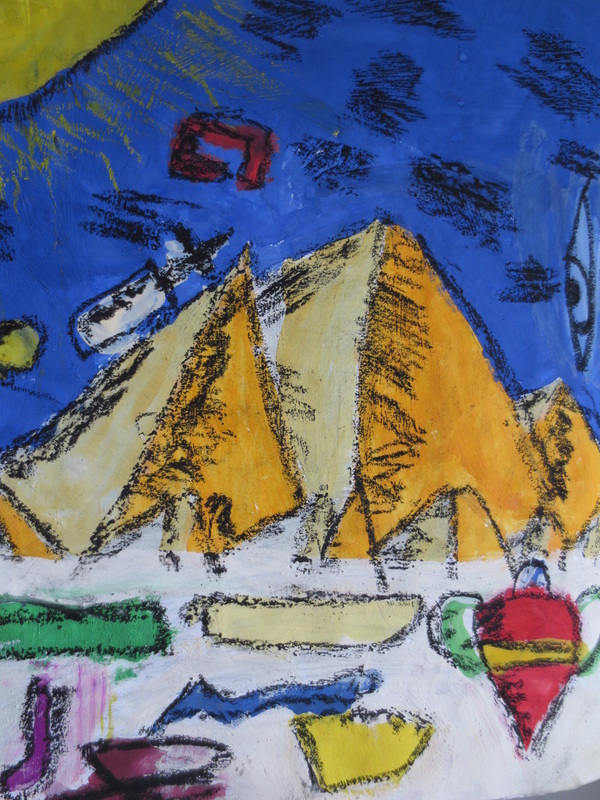
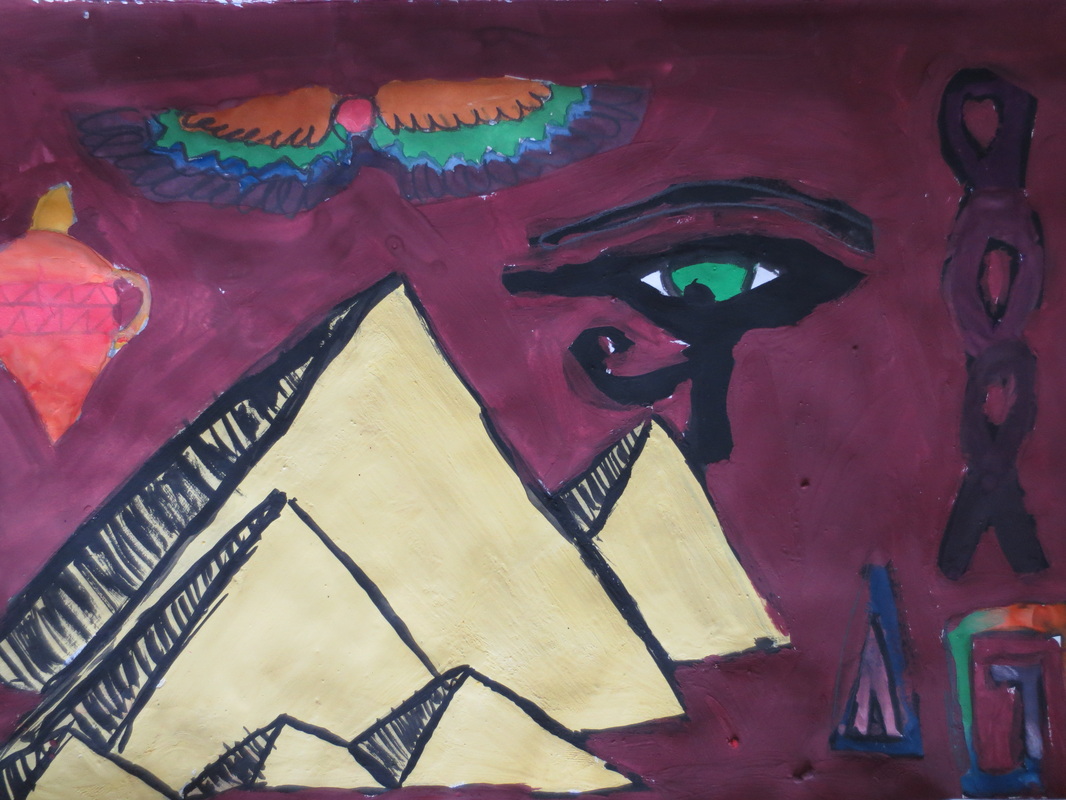
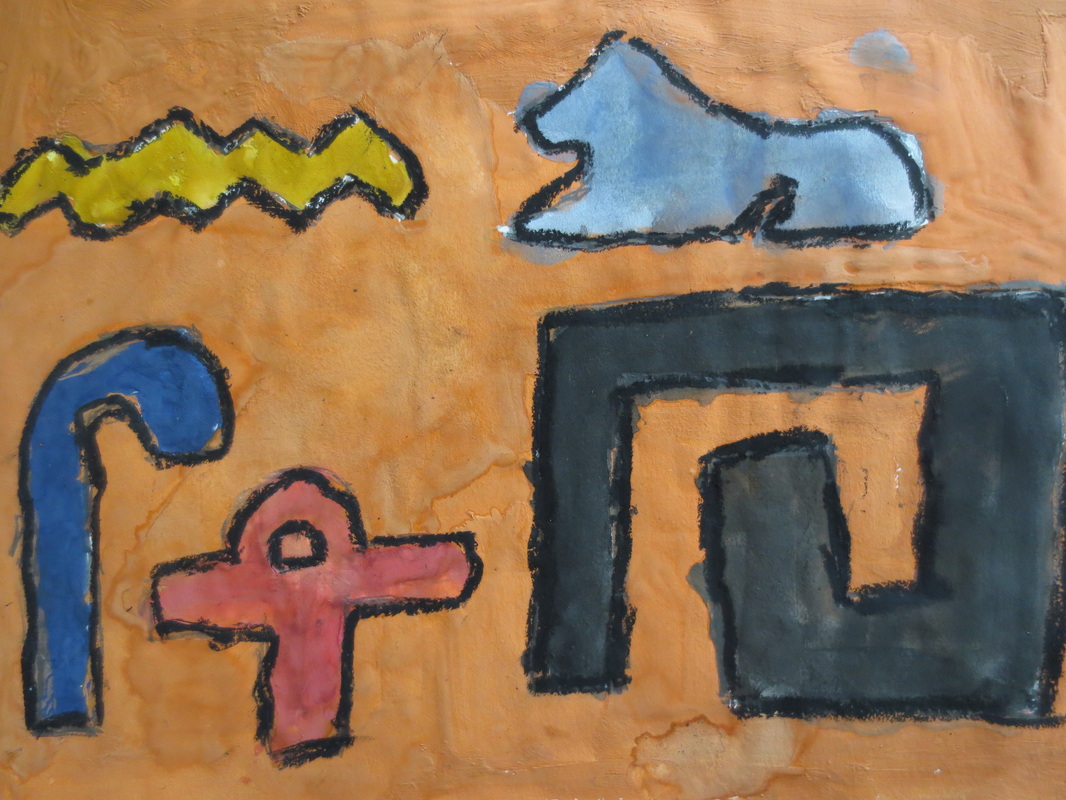
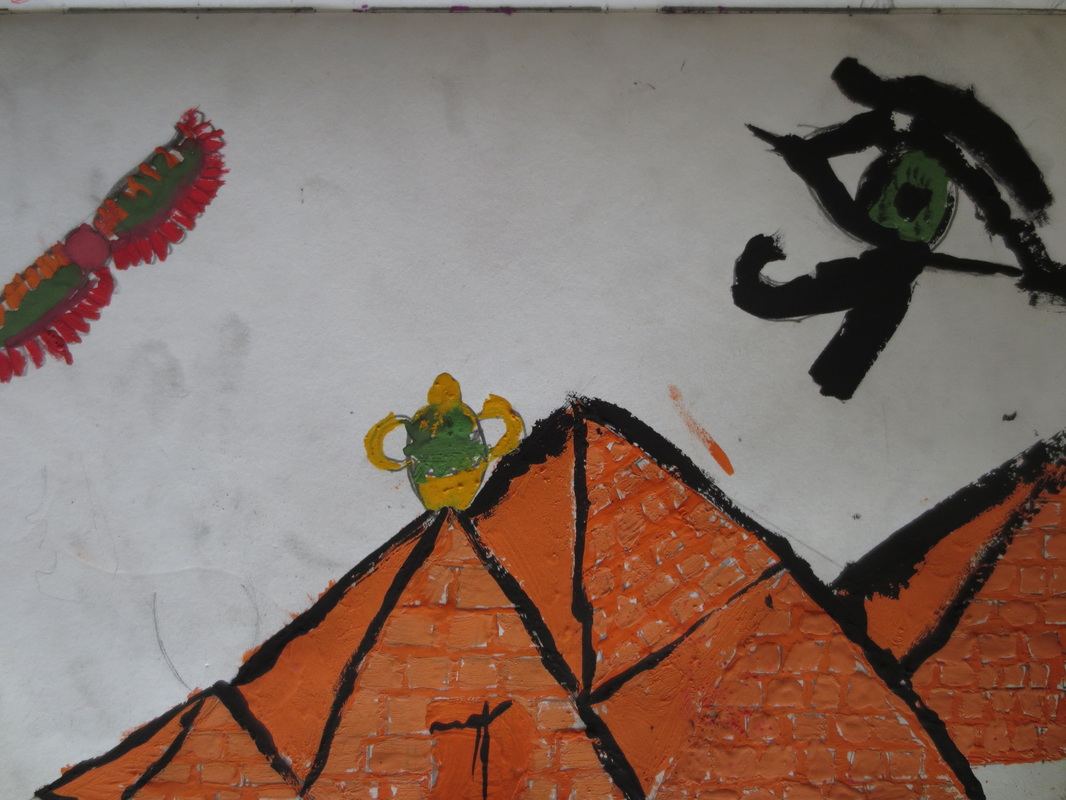
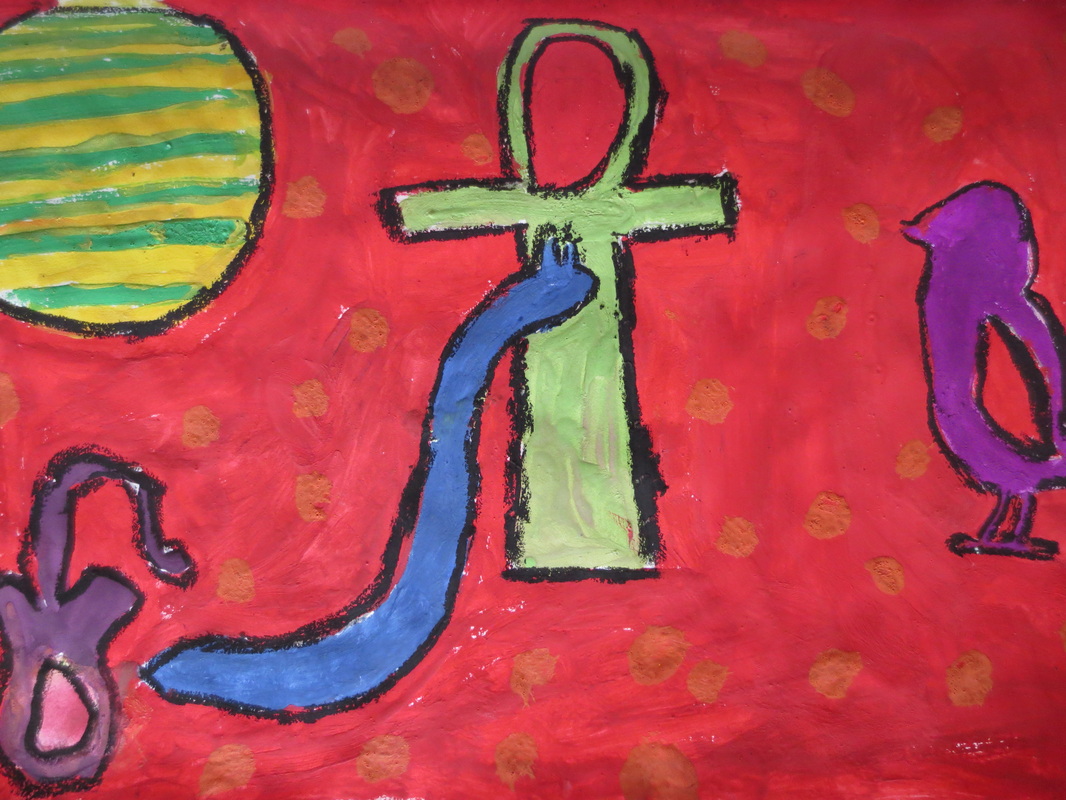
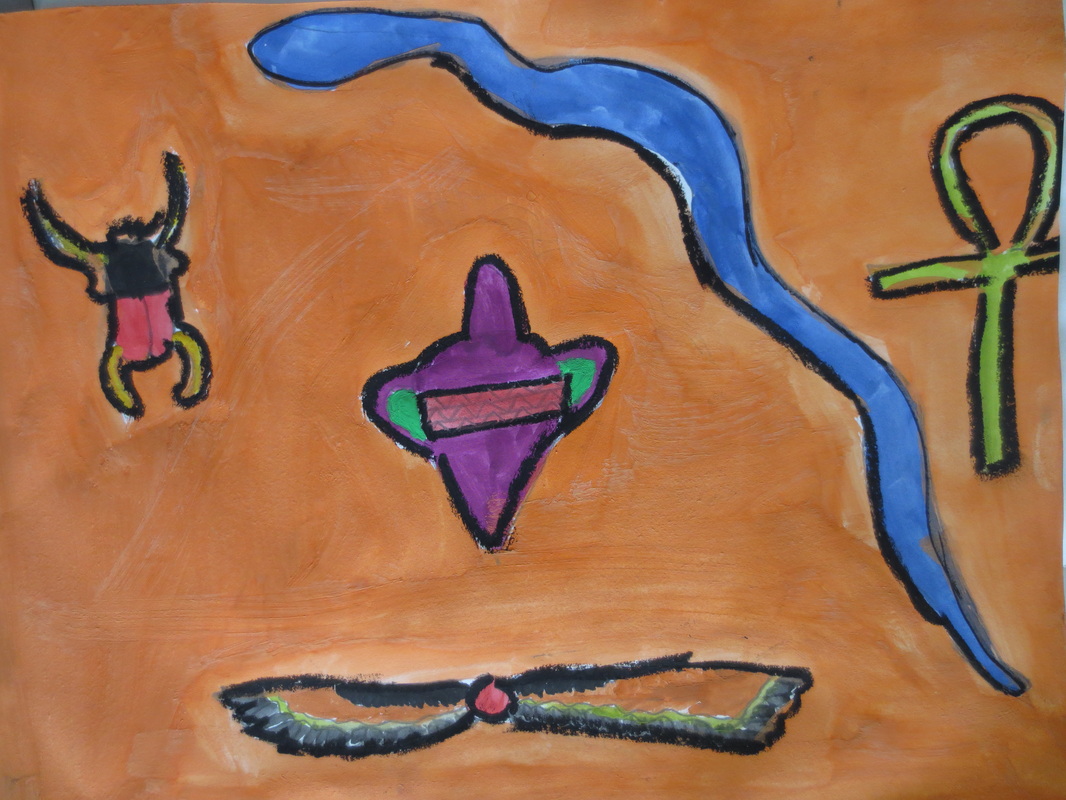
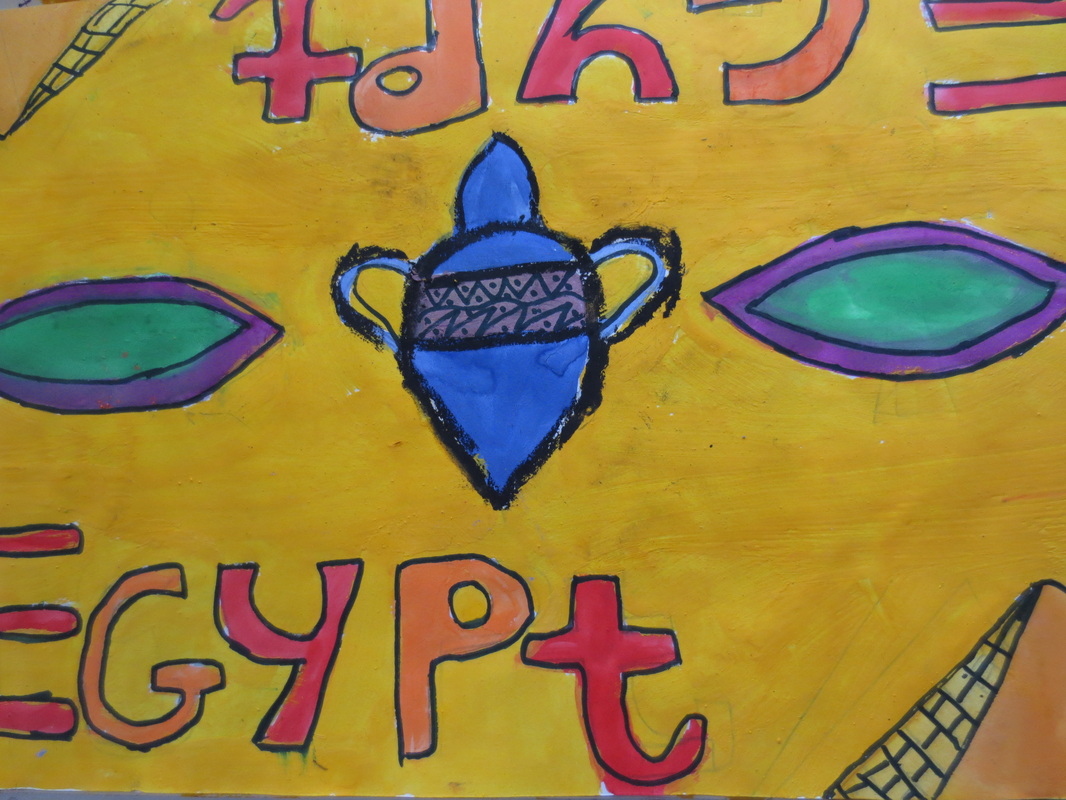
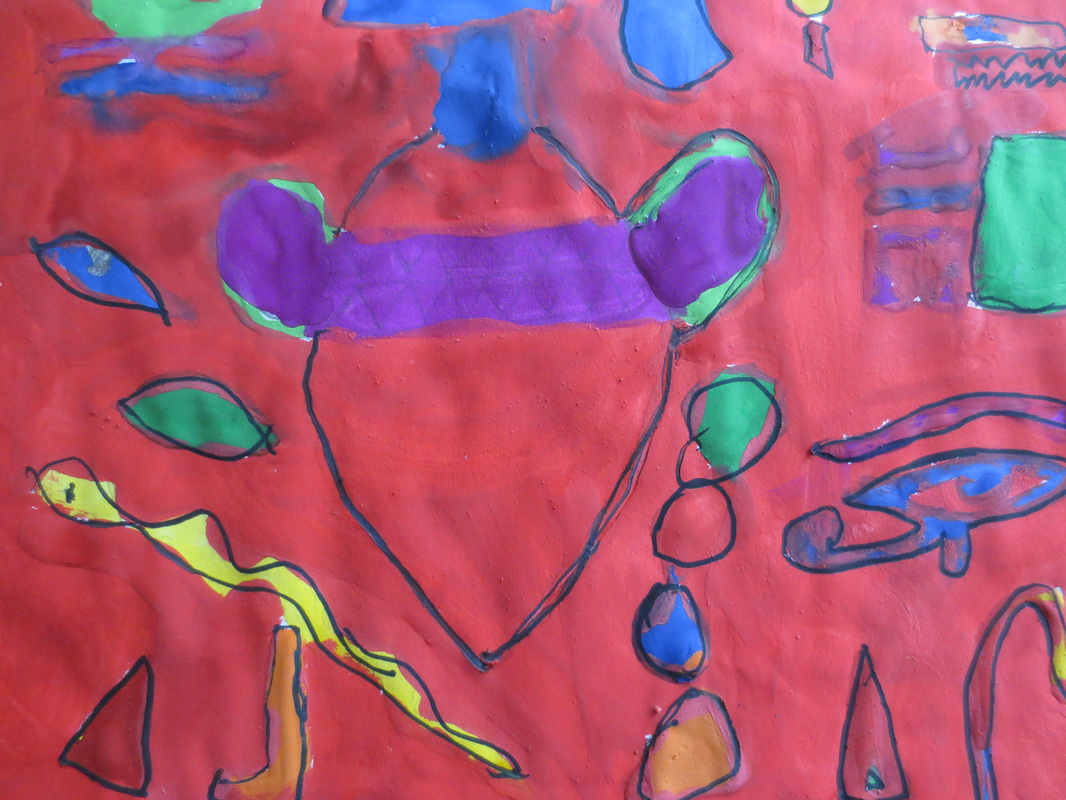
Lesson Objective: How can I create a semi abstract composition based on Egyptian Art?
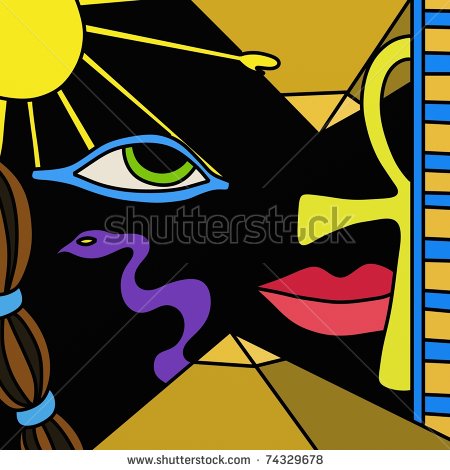
What are the elements and principles of art that you notice
in this painting above?
What is a composition?
In Art composition means the arrangement of shapes and objects within the frame, for instance within the rectangular shape of the paper or canvas. It is made interesting by altering sizes, varying direction of objectsoverlapping objects, creating a sense of depth of foreground, mid ground and background.
Key Words to think about before you get started:
Composition, Arrangement, Overlap, Combine, Size, Scale, Direction, Depth
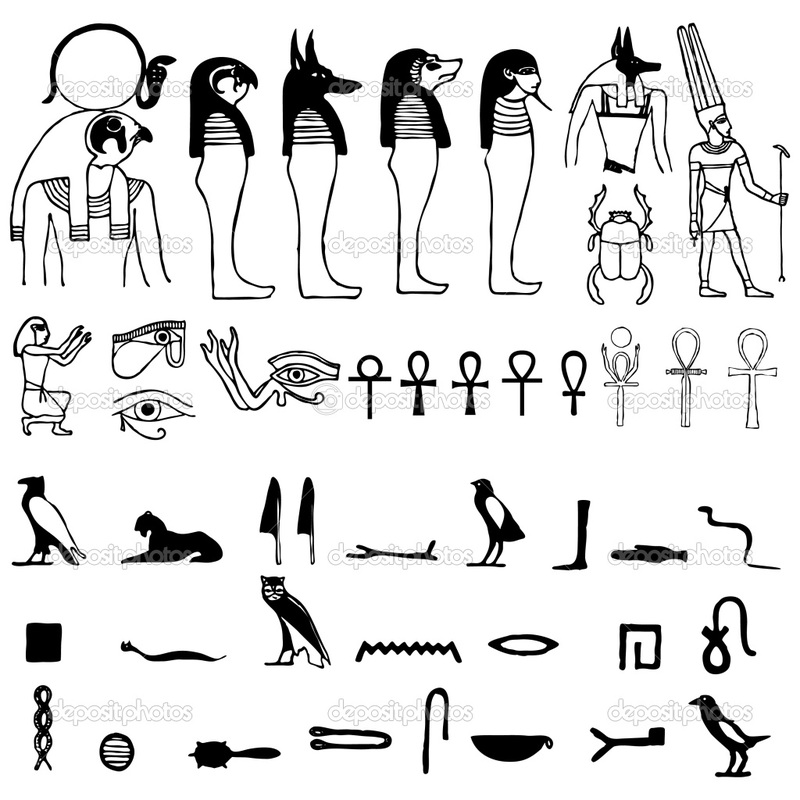
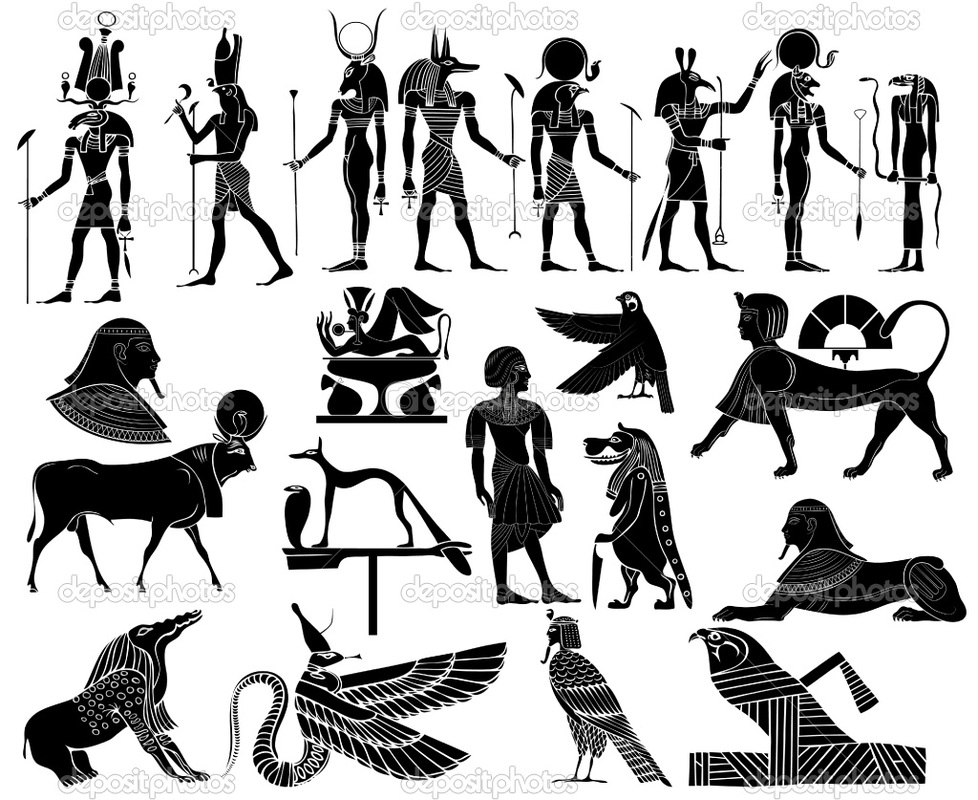
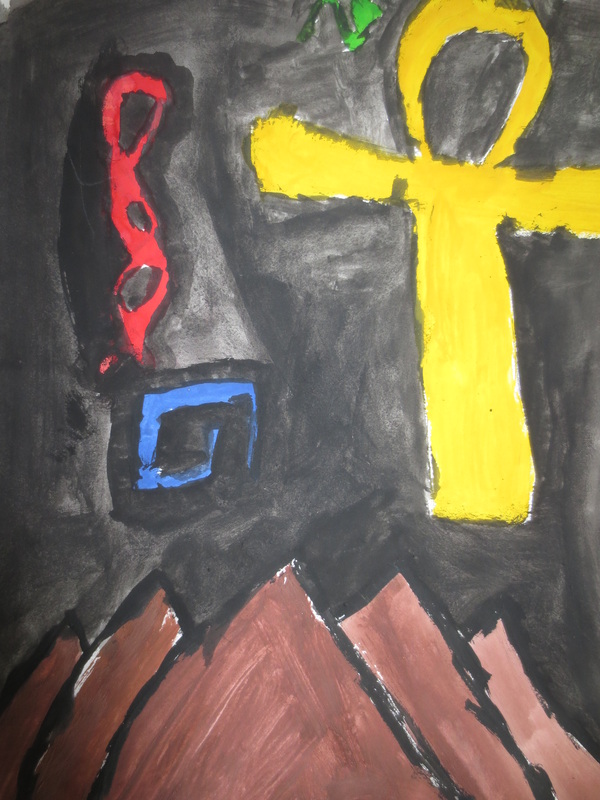
Choose Four or Five of Symbols or Images from the Choices Below:

|
|
|
|
1. On a blank sheet in your sketchbook, use the four or five symbols you have chosen above, to create a semi-abstract composition.
Think about balance in your composition, where should you position your symbols so that the viewers eye can follow it.
Try to vary the sizes of your symbols and pictrues and alter the direction of motifs, this will help make your abstract work more interesting. Remember that abstract work is about altering your point of view or the way you percieve an object.
2. Sketch an outline of your symbols and motifs around your composition.
3. Decide on simple colours and lines to represent your work. Using paint, colour in your composition, filling in all blank space.
4. Using a thin paint brush and black paint, outline your symbols and work neatly for completion.
|
|
|
|
|
Walk Like An Egyptian
Creating An Egyptian Portrait
Lesson Objective: How can I create a traditional portrait, using pastels and Egyptian art?
What is Traditional Portrait Painting?
Portrait painting is an art genre, where the artist attempts to create an image of a human being as realistically as possible. Many portrait paintings include the image of one single subject or person as the focal point of the piece.
Genres and Styles of Art take on their own techniques to portraits as art has progressed over the years, but the focus is always the same. The person of subject in portraiture was usually someone of importance, a wealthy person, king or queen of the time, who wanted their names to live on forever. Portraiture was to the early centuries as photographs are for us today.
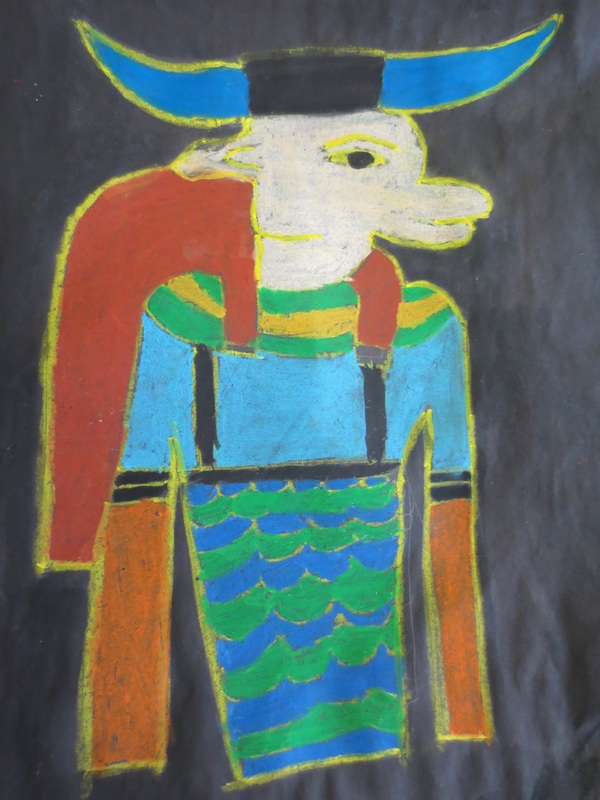
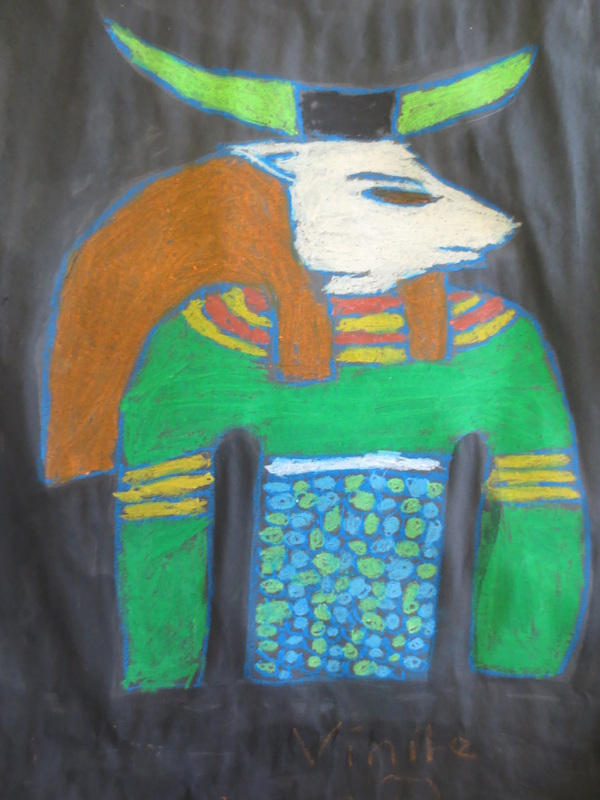
Egyptian Portraits
Egyptian portraits of the time didn't exist in the same way they do in other art genres. Most Egyptian art was created on walls with no traditional sense of portraiture or persons of importance to document. Egyptians believed in gods, similar to the Ancient Greeks who believed there were different gods for different purposes.
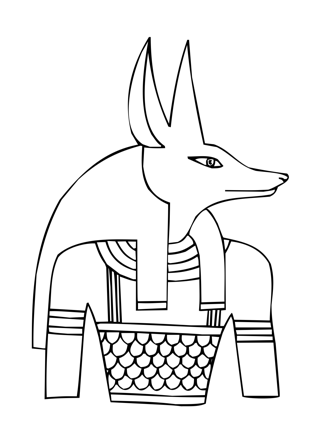
The Egyptian Gods
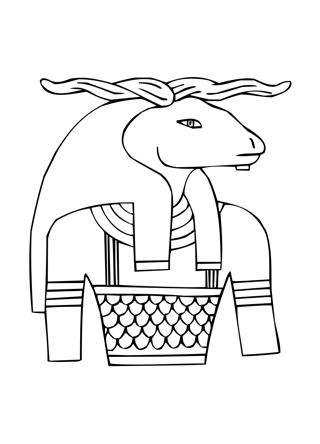
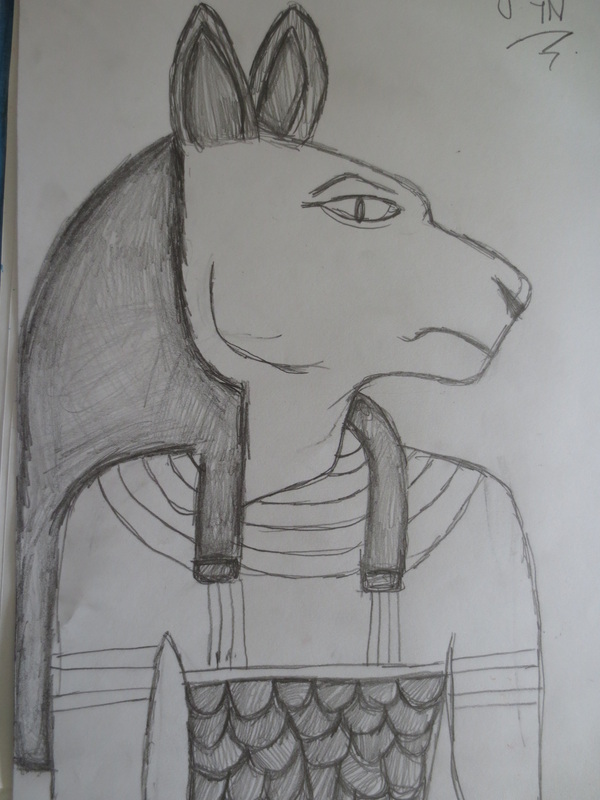
Anubis
|
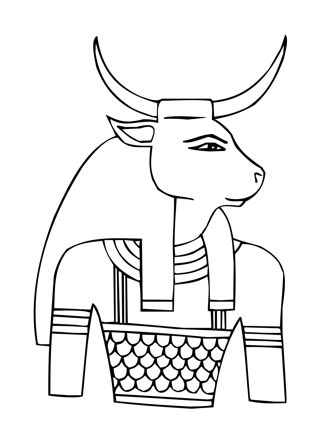
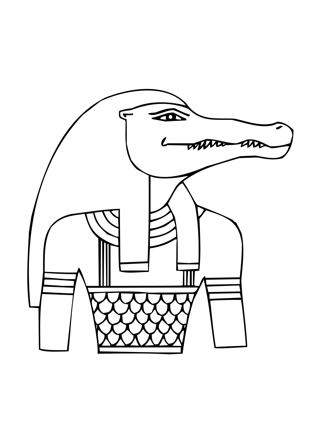
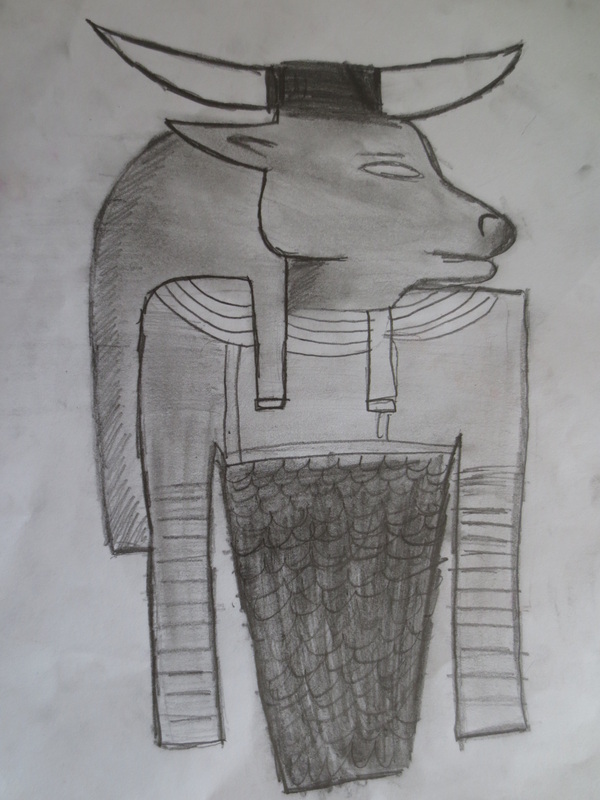
Apis
|
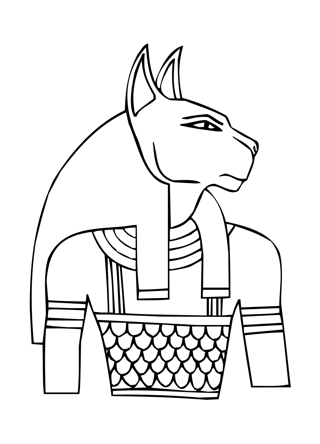
Bastet
|
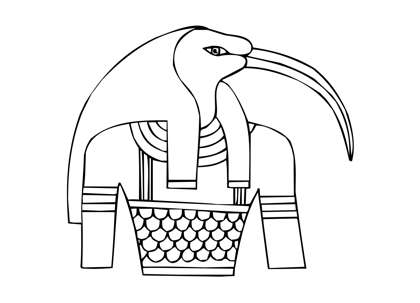
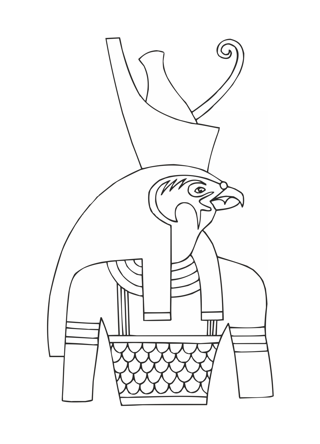
Horus
|

Creating An Egyptian Portrait
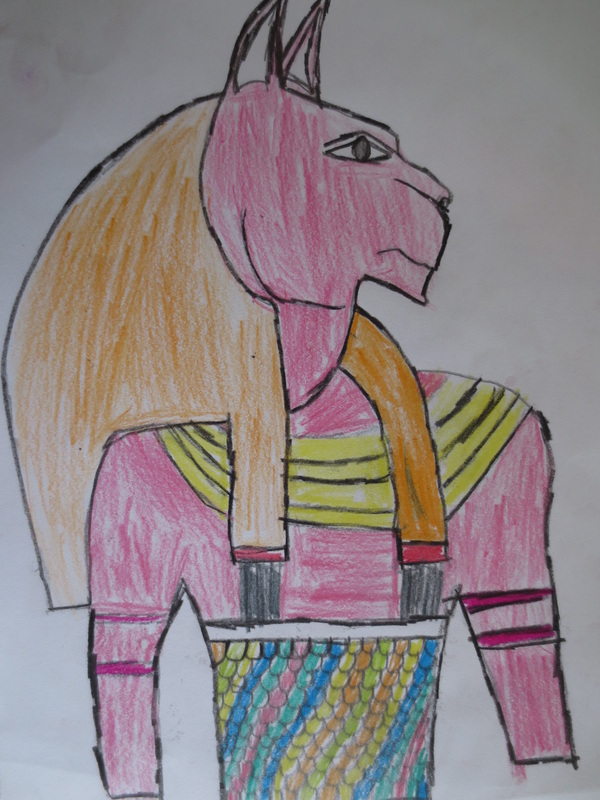
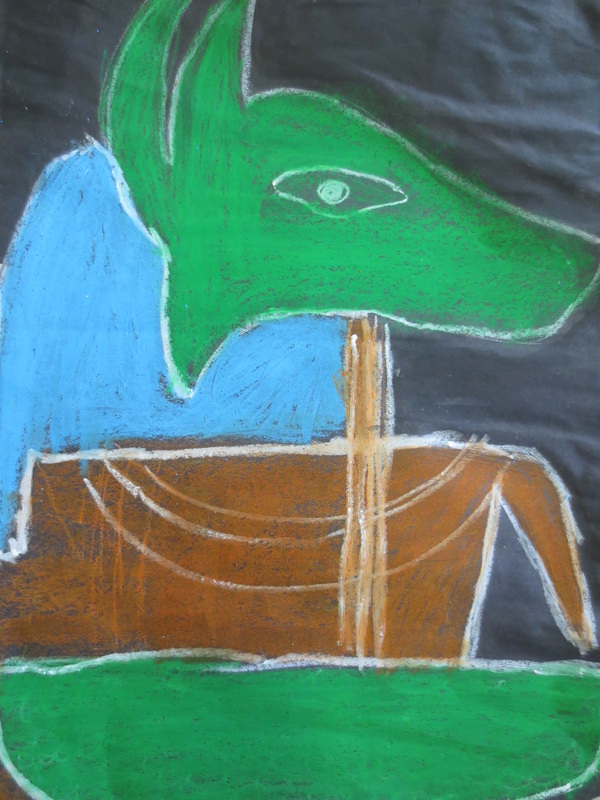
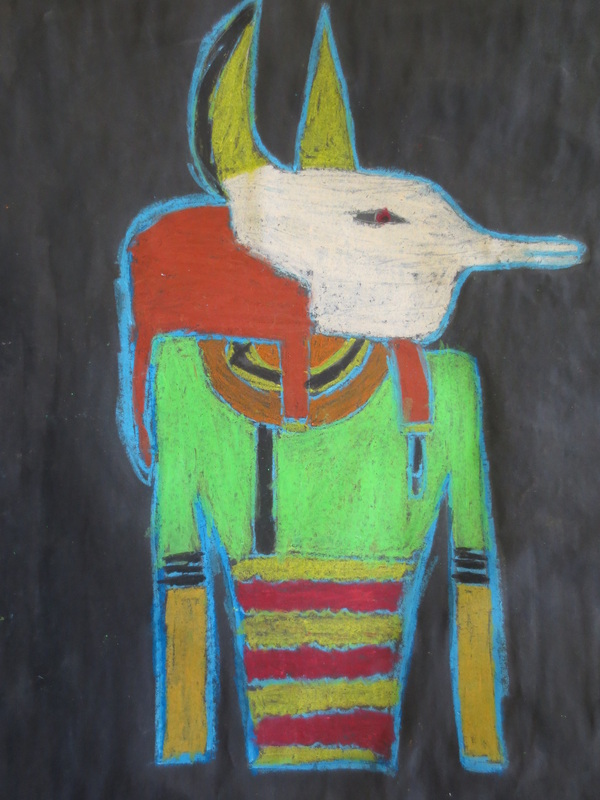
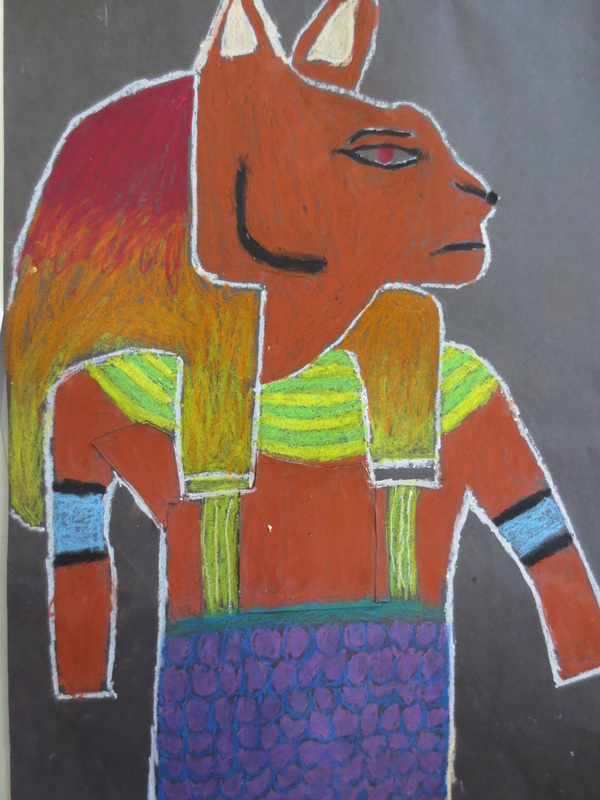
1. Choose one of the following Egyptian gods above. Think of the themes and things that each god represents. Who would you want to represent you?
2. Sketch the outline of your chosen Egyptian god on a blank sheet in your sketchbook. Be sure to be aware of your negative space and use up as much of the page as you can for your composition. Outline your work neatly.
3. Choose pastel colours to blend your work and colour in your designs. What colours would best represent the gods' themes?
4. Begin your pastels from the top to the bottom of your page to ensure you don't smudge your work. Outline your drawings in a dark coloured pastel to complete your work.
5. Don't forget about a background colour! Fill in all available negative space!
6. Write the name of your chosen god above their portrait.
7. Submit when completed.

|

|
|
|
|
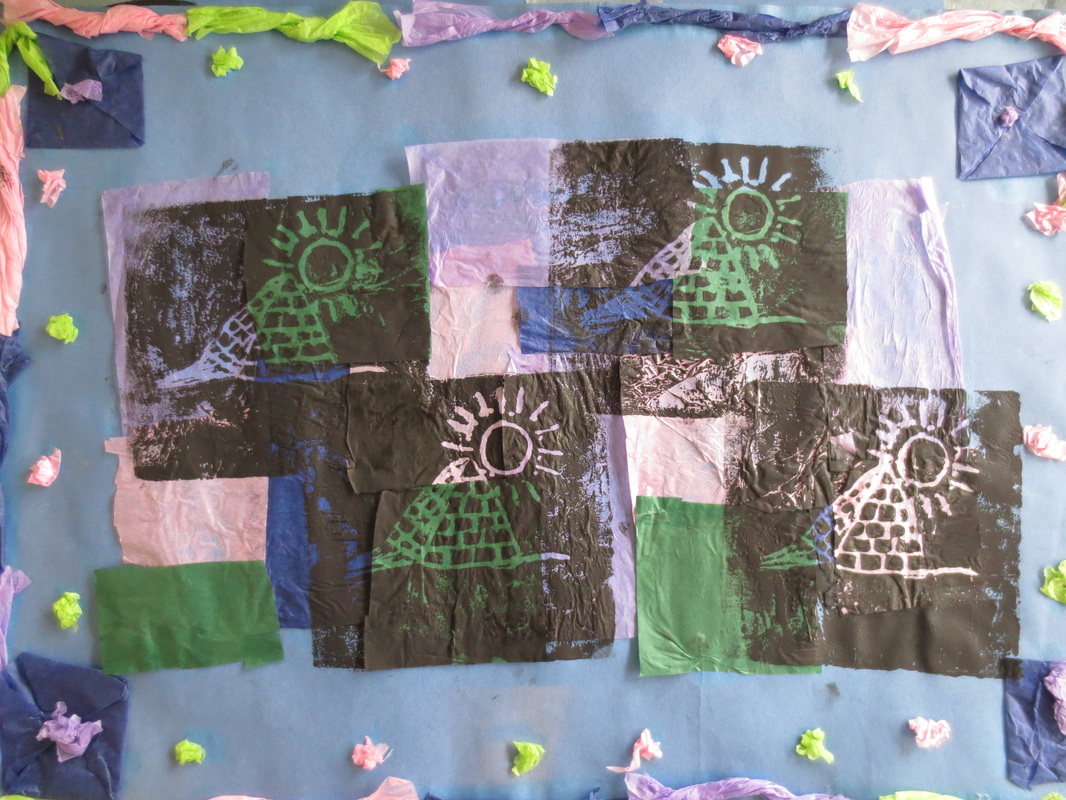
PAPER MACHE PYRAMIDS!
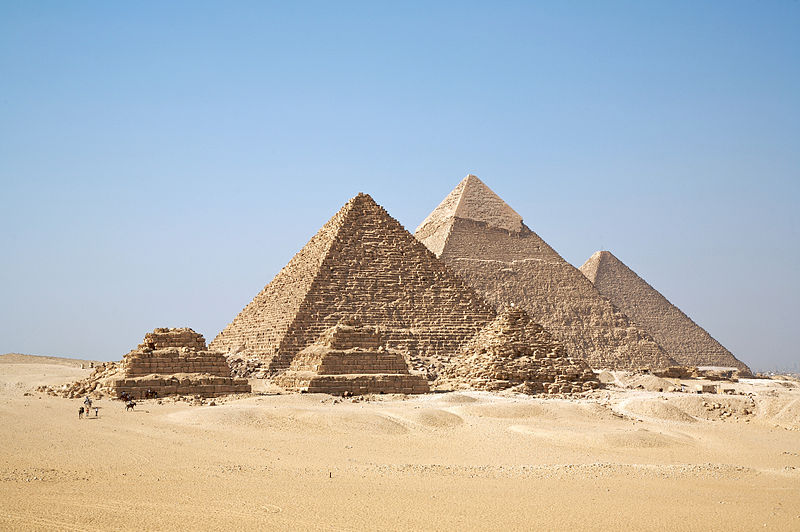
The Ancient Egyptian pyramids were constructed over 2630 BCE–2611 BCE in Egypt.
The most famous Egyptian pyramids are found in the city of Giza on the bank of the Nile river. Primarily, pyramids represented houses for tombs or burial monuments for kings/ pharaohs or very important or well-known people at that time.
The foundation of the pyramid is created to represent primordial mound, (the mound which arose from the primordial waters; which in Egyptian mythology, Egyptians believed the earth was created). The shape of these tombs is said to represent the rays of the sun which reflected the limestone. The pyramids were able to be seen from a great distance because of their luminosity.
A narrow shaft would extend from the main burial area throughout the entirety of the pyramid, leading directly to the top or centre of the sky, (the gateway to heaven). This represented the "physical gateway to heaven", suggesting that the souls of the pharaohs buried there would be lifted up into heaven, according to the ideas of Egyptian mythology.

"The Sphinx" is one of the most well known of the great Egyptian sculptures, surrounded by the pyramids.
Lesson Objective: How can I create a seemingly authentic Egyptian pyramid and landscape using paper mache and paint?
Let's Get Messy!
Materials Needed: |
- Cereal Box
|

|
Follow the Steps of the Pyramid
1. Using half of a blank sheet in your sketchbooks, create a sketch of an Egyptian landscape which will include 1-2 pyramids of your choice. (Refer to your handout)
Once your sketch is complete, use various shading techniques to create depth and dimension as a reference for your three-dimensional sculpture.
2. Using thick sheets of card and a ruler, measure out an equilateral trianlge, (ensuring that all three sides of the triangle remain the same size).
Cut out the number of pyramids you have drawn in your sketch and tape the sides together.
3. Place the pyramids onto the desired areas of your cereal box and secure them with tape. Cut out your newspaper into long strips, (they do not have to be equal).
4. Once you are happy with the structure of your sculpture, begin using PVA glue and newspaper to cover the entirety of your structure. First brush PVA glue onto the surface of your structure. Then quickly place strips of newspaper onto the glue bits of your work. Secure the newspaper strips by adding a second layer of PVA glue to your structure.
5. Continue this process until you have covered the entirety of your structure, adding a few extra layers of PVA glue and newspaper for security. Let it dry for several hours.
6. After your work is dry, brush PVA glue onto your structure and begin sprinkling sand or saw dust over the majority of your work. Cover the sand or saw dust with another layer of PVA glue. Let it dry.
7. When your work is completely dry, being painting over the textured areas, adding realistic, shading details in paint.
8. Does my work look realistic? What elements of art can I add to my work to improve it? Submit your work.
