Lesson Objectives: Can I re-create a still life, using different perspectives in the same work of art in mixed medium?
Key Terms: |

|
Texture |
|
Cubism |
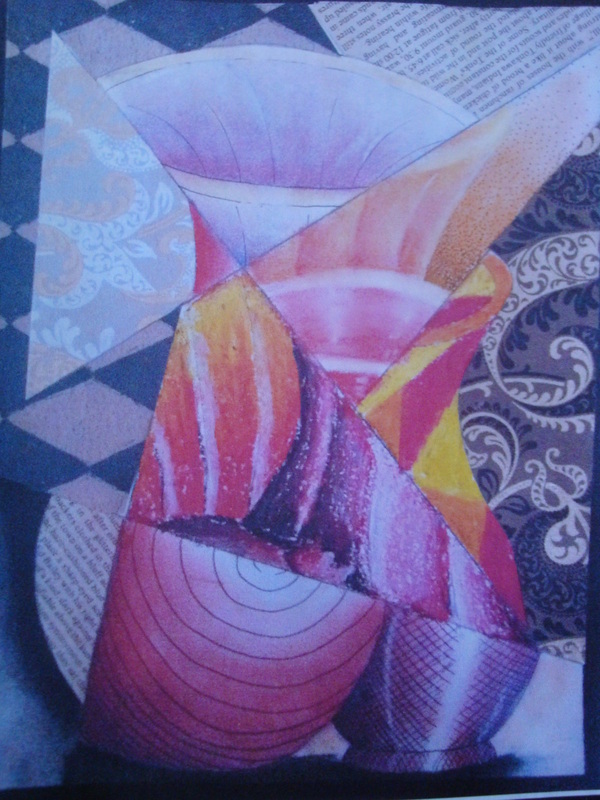
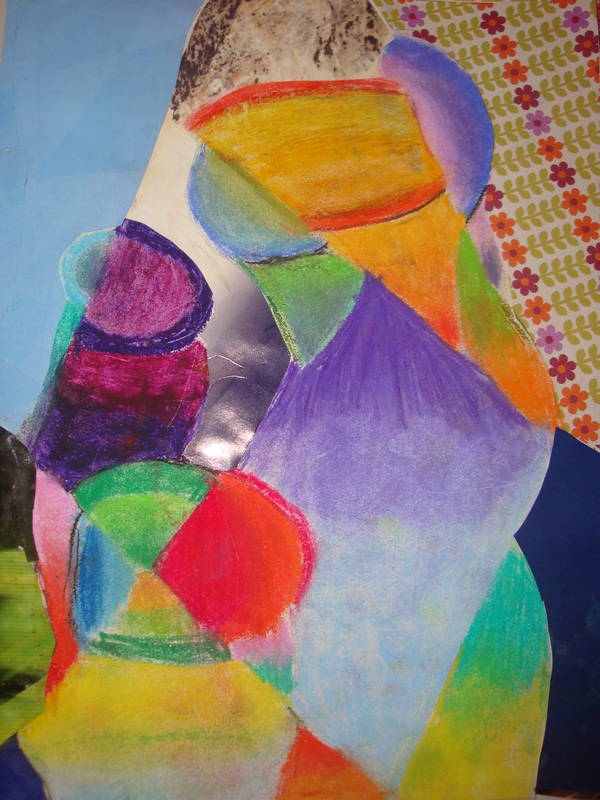
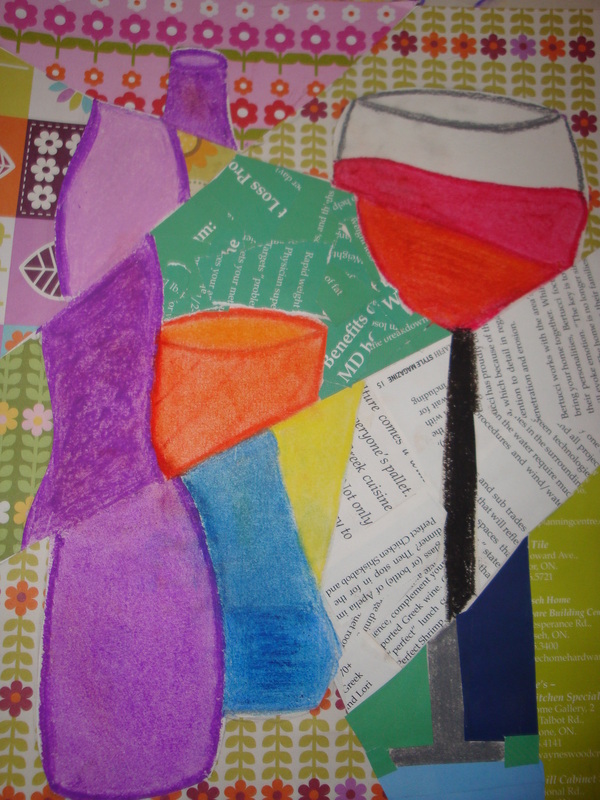
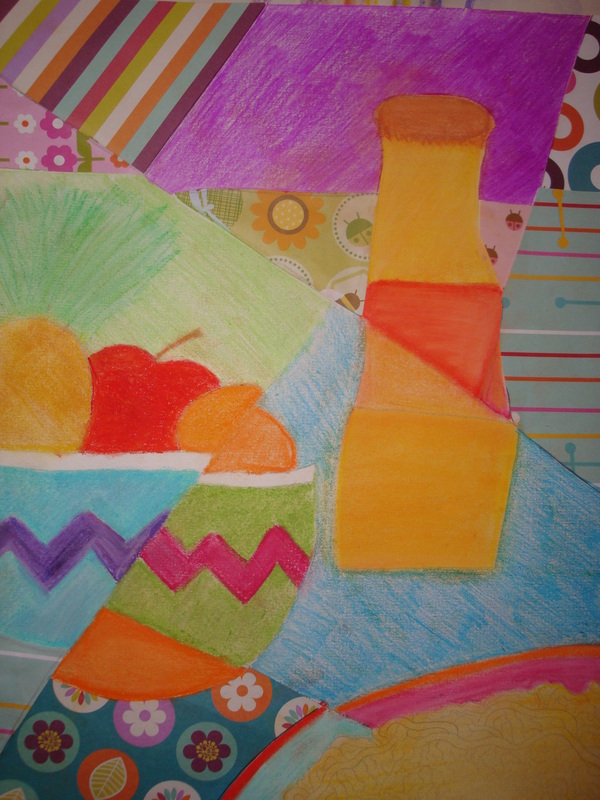
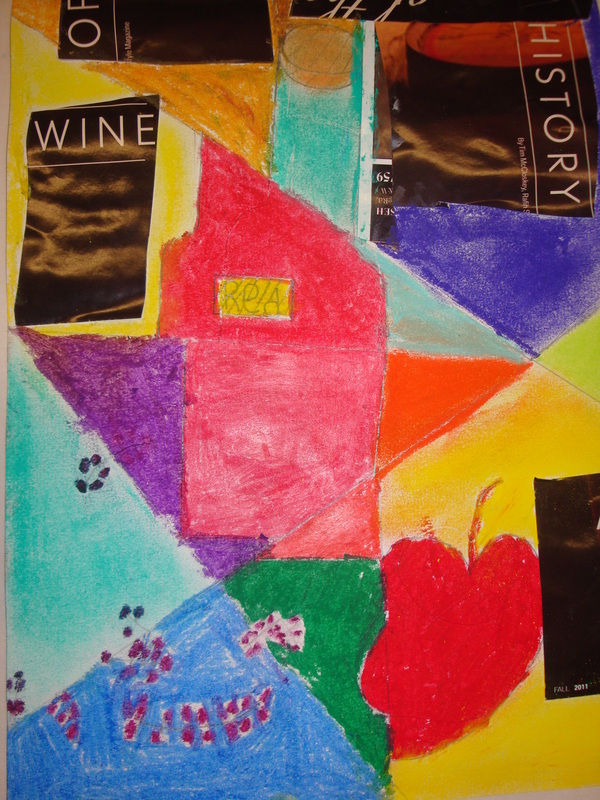
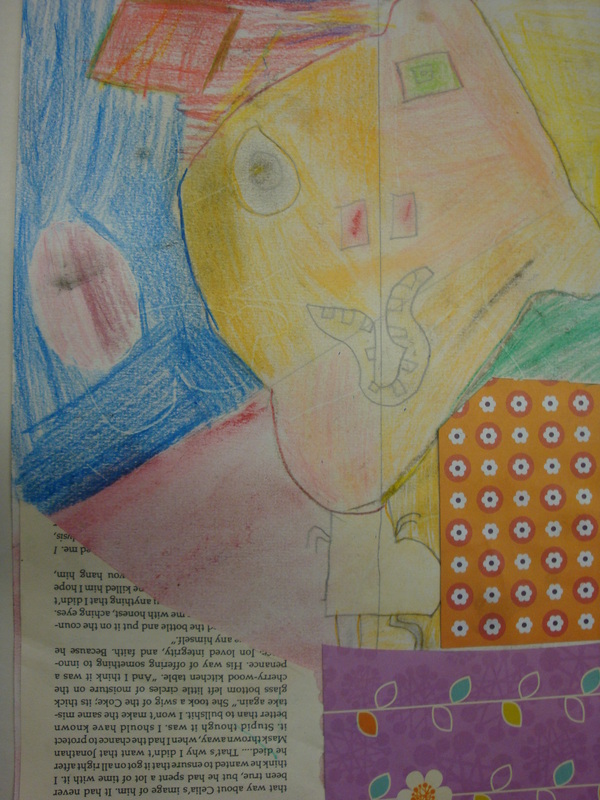
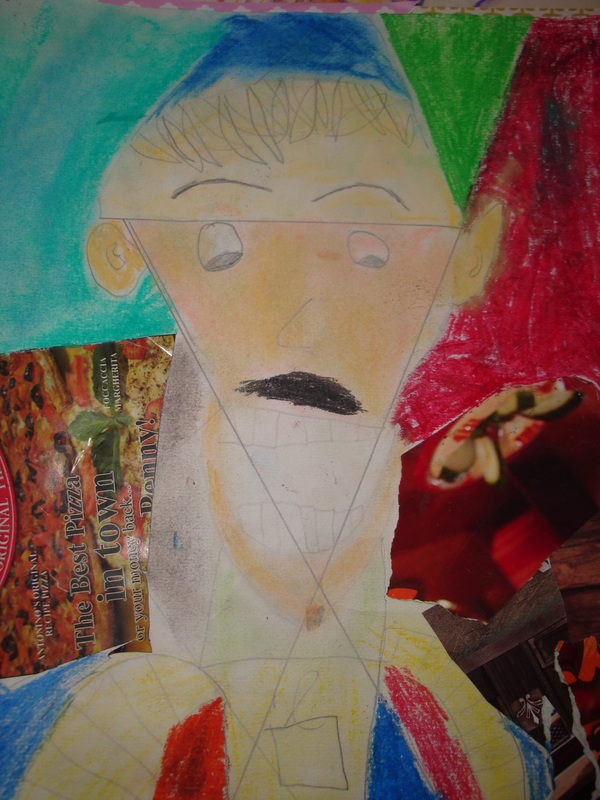
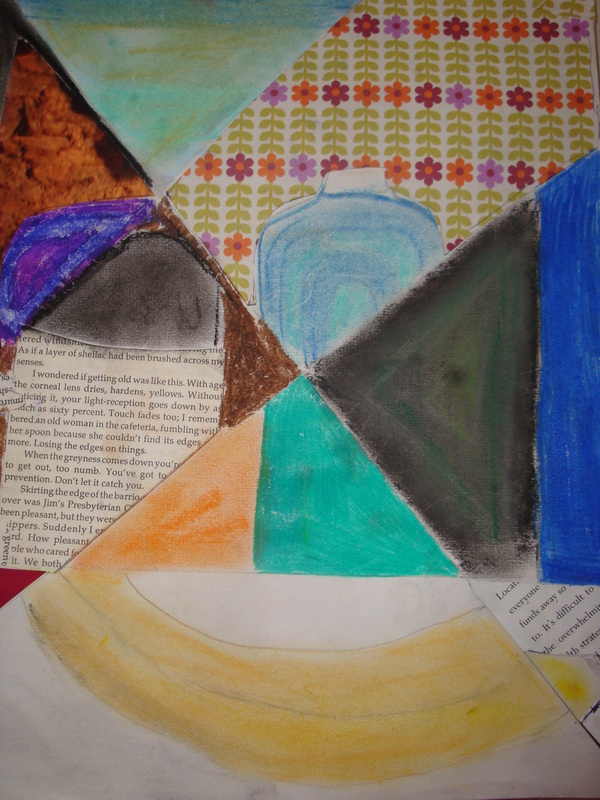
Cubism, Looking at Perspectives, Colour and Texture
Step One
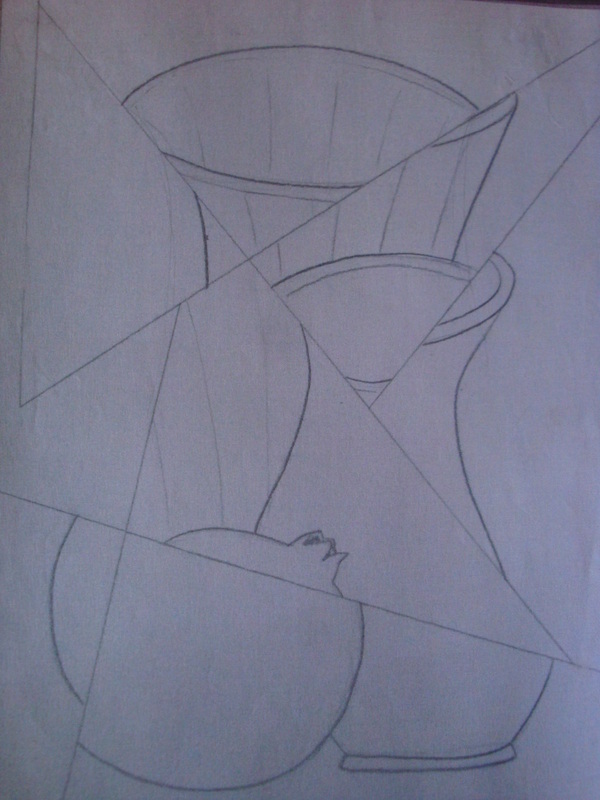
*Draw 4-5 straight lines on your paper to create triangles or other interesting shapes. Make sure you are aware of where you are putting your lines in relation to your composition (ie:if there is a tall vase to the right of my composition, I might want to put more lines there to break that object up).
*Begin the lineart of your composition. Focus on completing one space/frame at a time. Zoom in and out of each section. (If you focus on a drawing object at a time instead of focusing on the space, you'll tend to draw the object the exact same size throughout each frame.
*Begin the lineart of your composition. Focus on completing one space/frame at a time. Zoom in and out of each section. (If you focus on a drawing object at a time instead of focusing on the space, you'll tend to draw the object the exact same size throughout each frame.
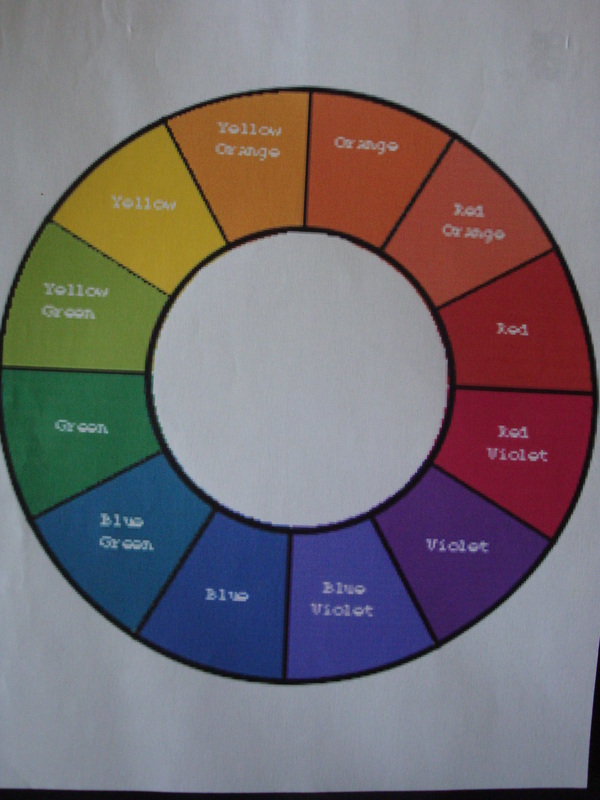
Step Two
|
|
*Think about the colour wheel on the left hand side of this page. Think about analagous colours, complimentary colours, and monochromatic colours and choose one. The goal is to not colour things in just because their objects are that colour. Think outside the box and think about the colour choices you are making and understand what colours go well together.
*Do not colour in every space. Leave room to add material in the next bit.
*Do not colour in every space. Leave room to add material in the next bit.
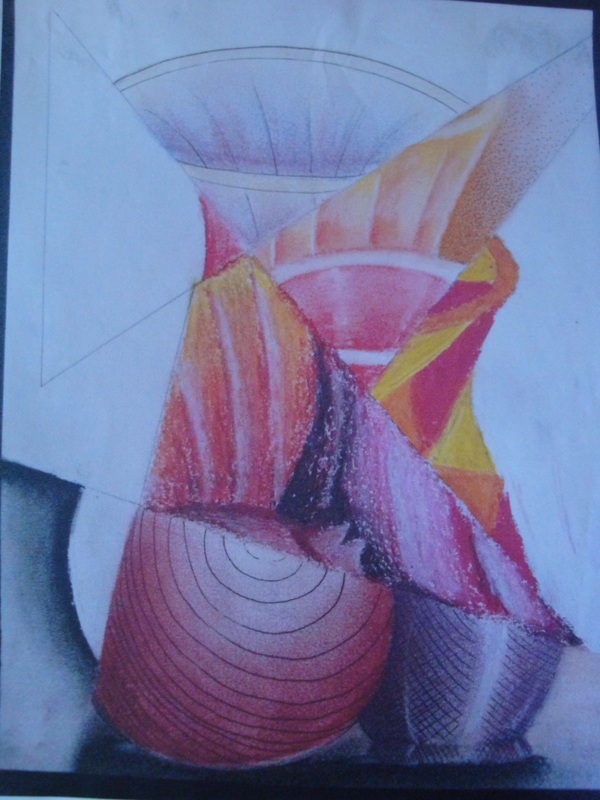
Step Three
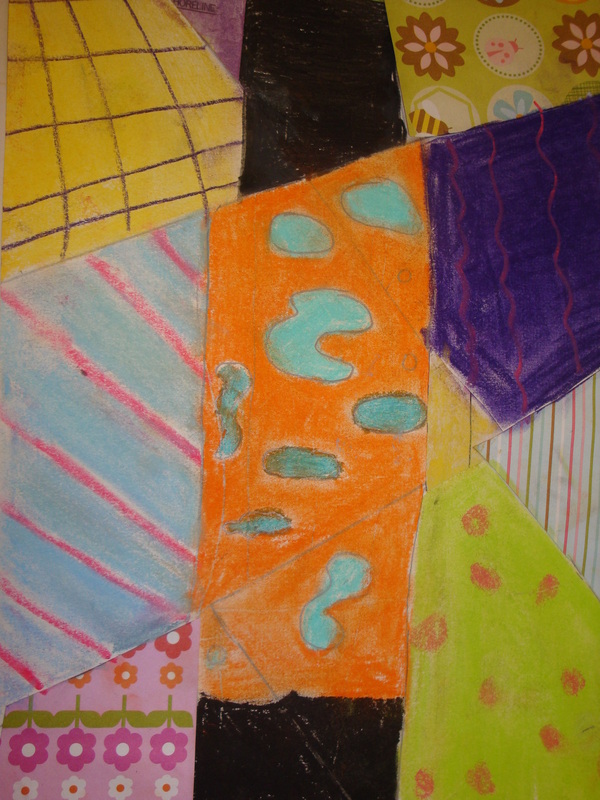
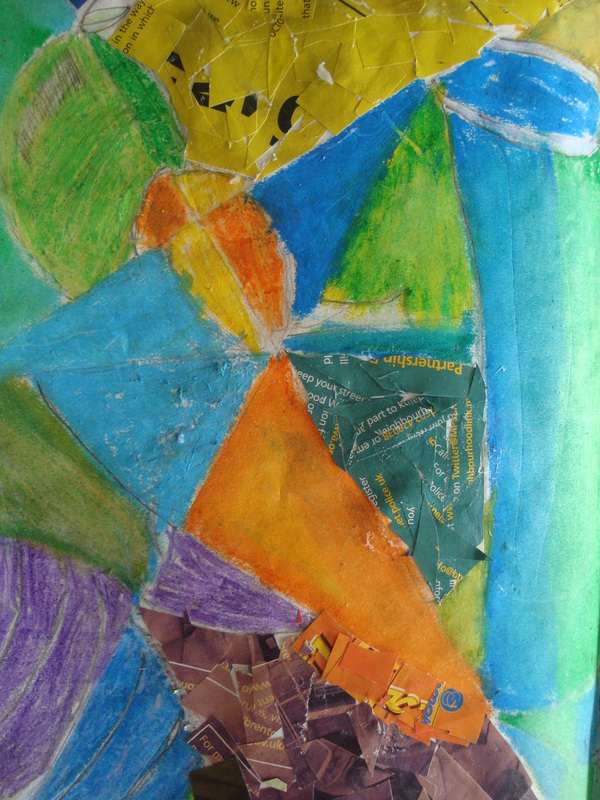
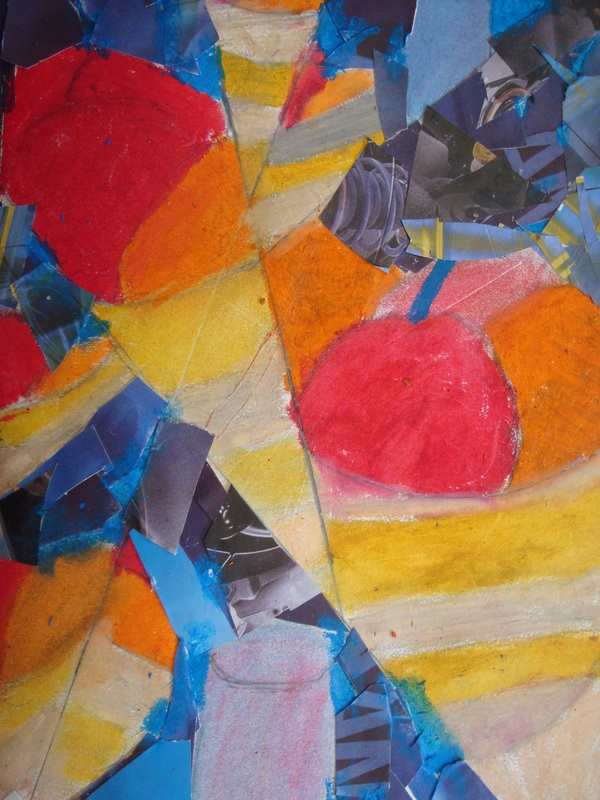
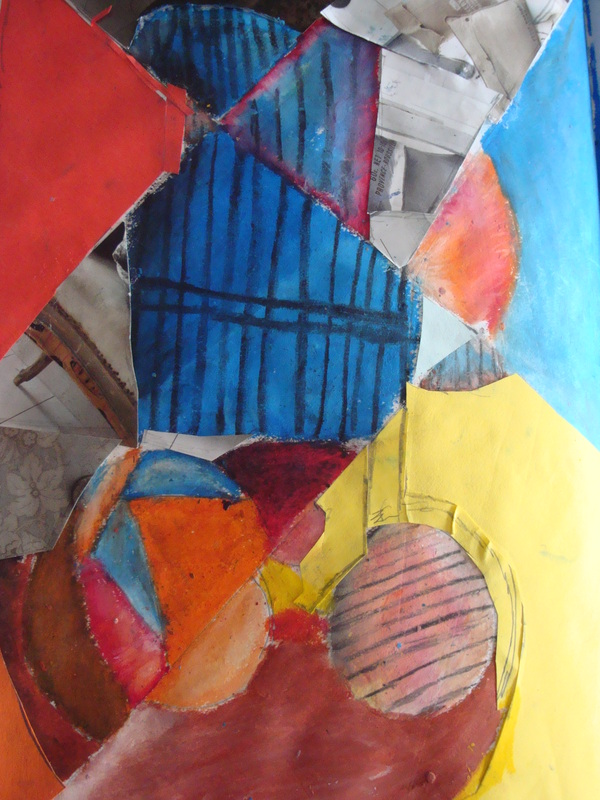
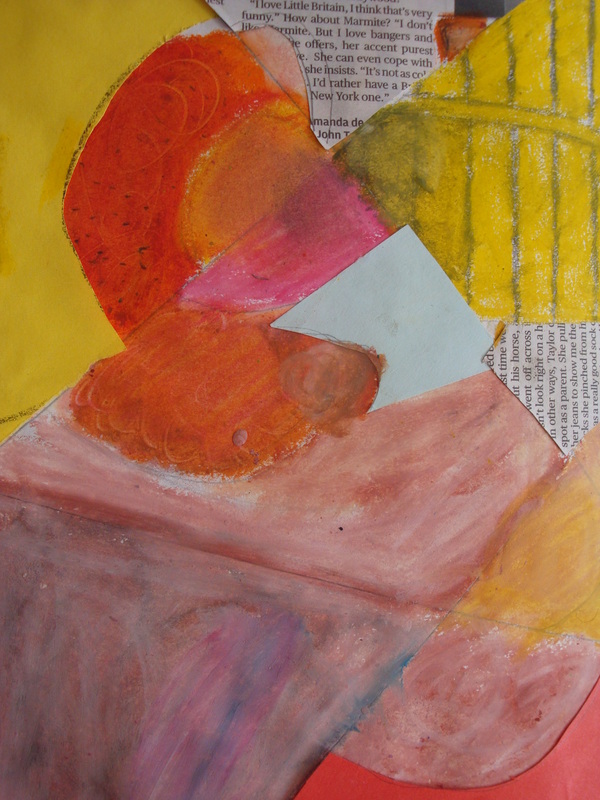
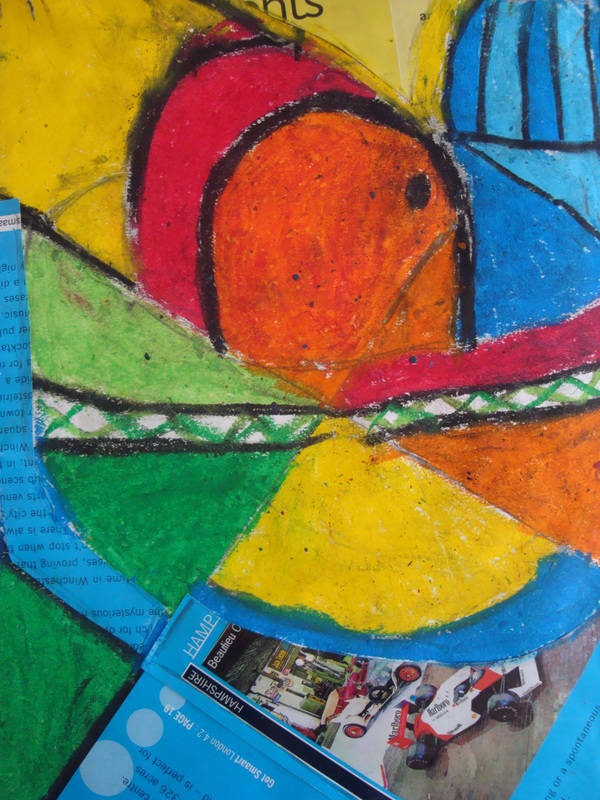
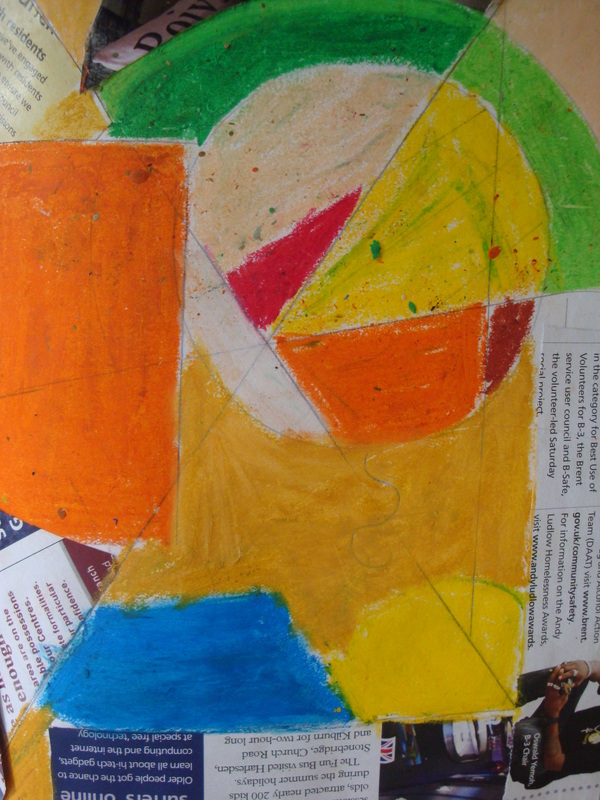
*Using various types of texture/mixed media; (newspaper, magazine, scrapbook paper, fabric, wallpaper etc...) for part of the objects or part of the background. When placing different pieces of texture onto your work, think about not placing the same materials next to or close to one another.
*To fill in the spaces correctly, use tracing paper and carefully trace the blank areas of your work and cut them out. Trace them again on your textured paper and cut that out and glue it on your work.
*To fill in the spaces correctly, use tracing paper and carefully trace the blank areas of your work and cut them out. Trace them again on your textured paper and cut that out and glue it on your work.
Grade Seven Cubist, Still-Life Drawings
|
|
|
|
|
|
|
|
Year Seven Cubist, Still-Life Drawings

|
|
|
|
|
|
|
