Wassily Kandinsky

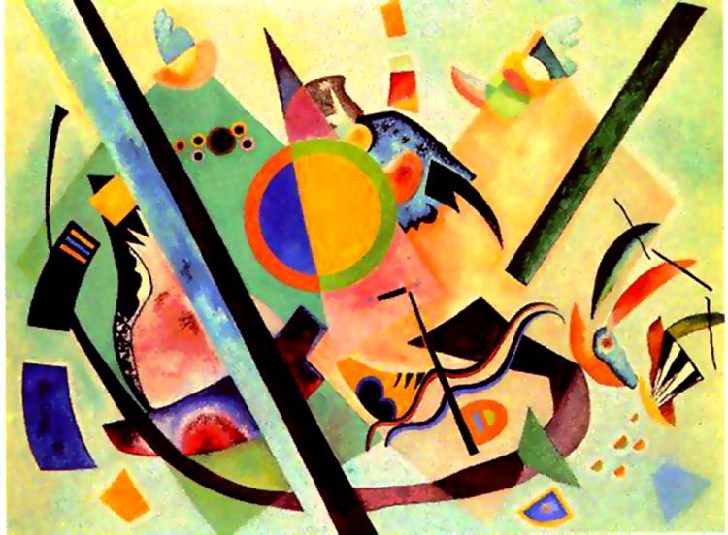
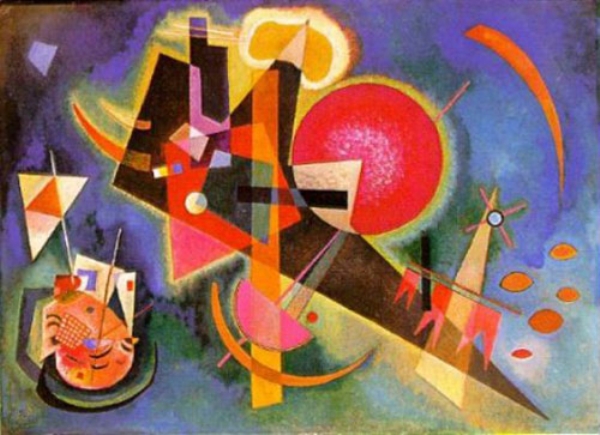
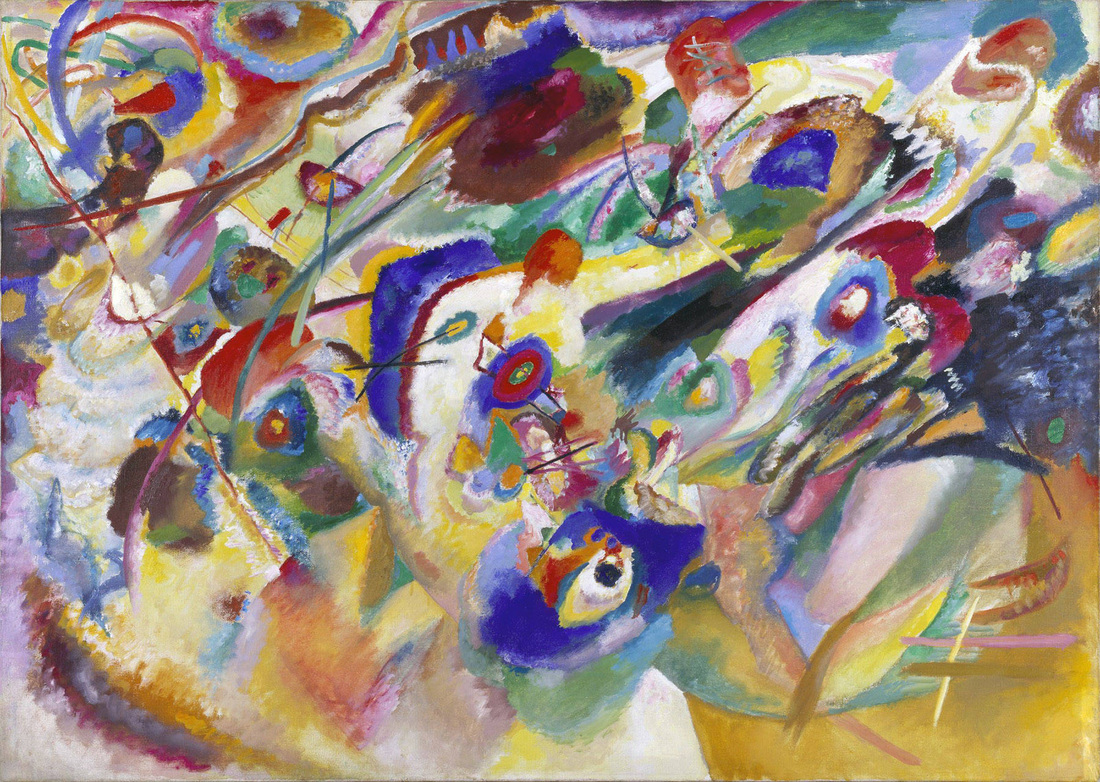
"Kandinsky was especially interested in color, even as a child. Beginning in his earlier, more realistic paintings, Kandinsky used color to show emotion rather than to make objects look real. As he grew as an artist, Kandinsky became more concerned with the power of color in describing what he was feeling. He wanted to use color to make his viewers feel emotion, too....
.....Gradually, Kandinsky became more abstract. He began to paint objects as patches of color instead of painting perfect details such as facial features or individual leaves on trees. Kandinsky had studied the human body and knew how to paint people well; however he liked the abstract more than the realistic. As he grew as an artist, his figures became less realistic until the viewer could no longer identify known objects in his paintings..."
|
|

|
|
|
|
|
|
|
|

|

|
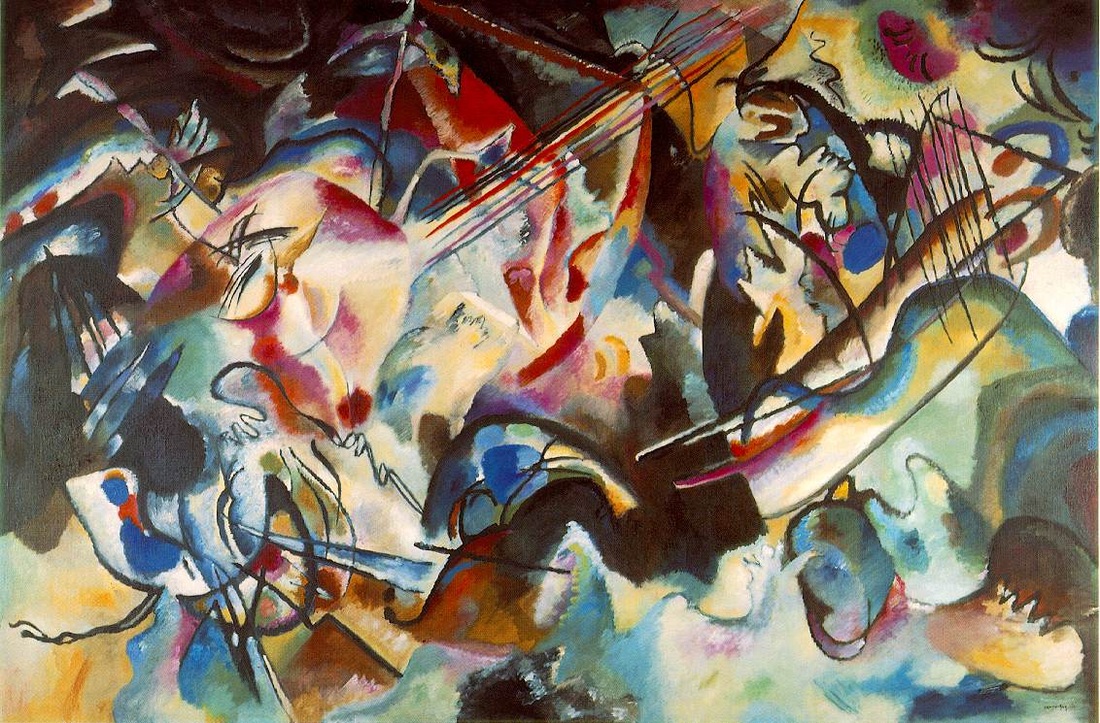
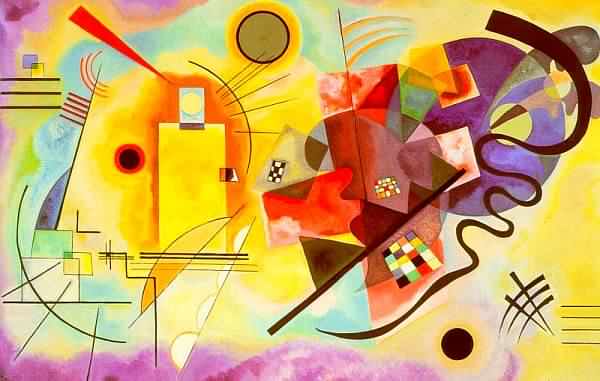
"Kandinsky was trying to create the same effect on a viewer of his paintings as a beautiful piece of music has on a listener. When you listen to Vivaldi’s Four Seasons, for example, you don’t see snow or swirling fall leaves, or a muddy spring garden after a rain storm. You feel the seasons happening but you don’t actually see them. This is what Kandinsky was trying to do in his paintings...
...Kandinsky’s ideas about art are possibly more important than even the paintings he created. He wrote three books about
his idea" (Information from http://artsmarts4kids.blogspot.co.uk/2008/02/wassily-kandinsky.html)
...Kandinsky’s ideas about art are possibly more important than even the paintings he created. He wrote three books about
his idea" (Information from http://artsmarts4kids.blogspot.co.uk/2008/02/wassily-kandinsky.html)
Lesson Objectives: How do I blend primary colours to create secondary and complimentary colours
in the colour wheel? How do I express line in the same technique as, Wassily Kandinsky?
Key Terms: |

|
|

|
|
Combining the Basic Elements of Colour Mixing with Colour and Line Inspiration from Kandinsky's Works of Art
Year 7
Year 7
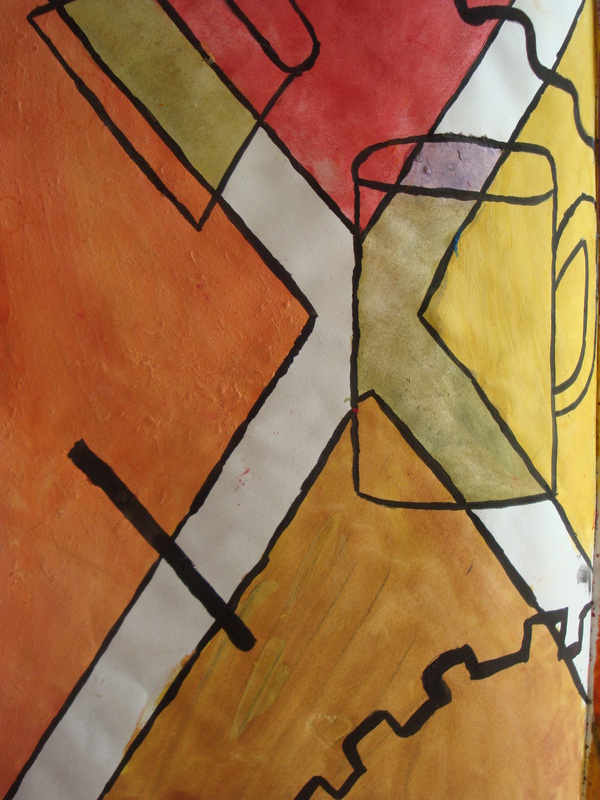
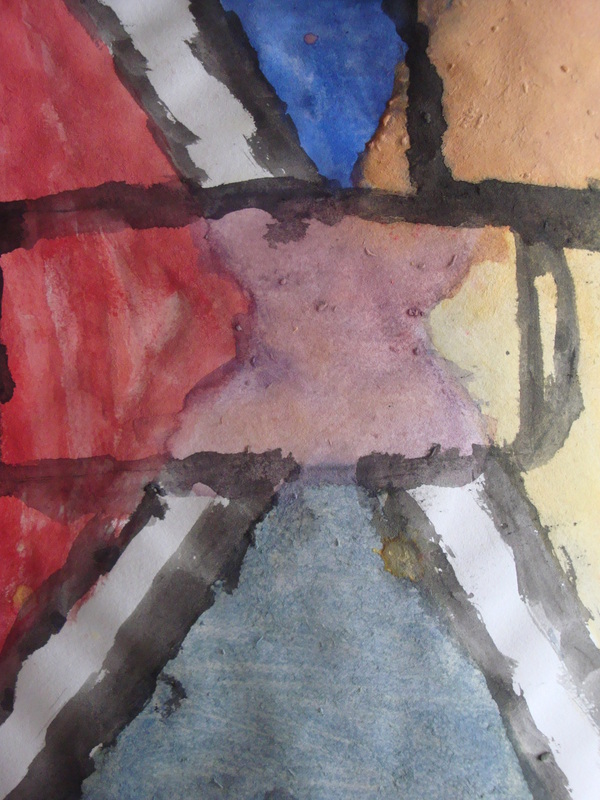
Step One: Using two strips of painters' tape or masking tape, divide your page or canvas into 3-4 parts; however you wish.
Step Two: Choose a primary colour, (red, blue, yellow).
Step Three: Paint your chosen primary colour in one of the sections you divided with your tape
Step Four: Mix your primary colour with the complimentary and analgous colours to the next primary colour of your choice. (I.e: If you chose Red as your primary colour, you will either paint the colours of the colour wheel from Red-Yellow OR from Red-Blue), trying NOT to include the other primary colour. This is to practice your mixing of colours. Be sure that your colours are thick and dark/bold.
* Make sure you are always beginning with your lightest colour and adding a LITTLE BIT of the darker colour as you mix so you are not wasting paint*
Step Five: SLOWLY and CAREFULLY remove the tape from your sketchbook/canvas.
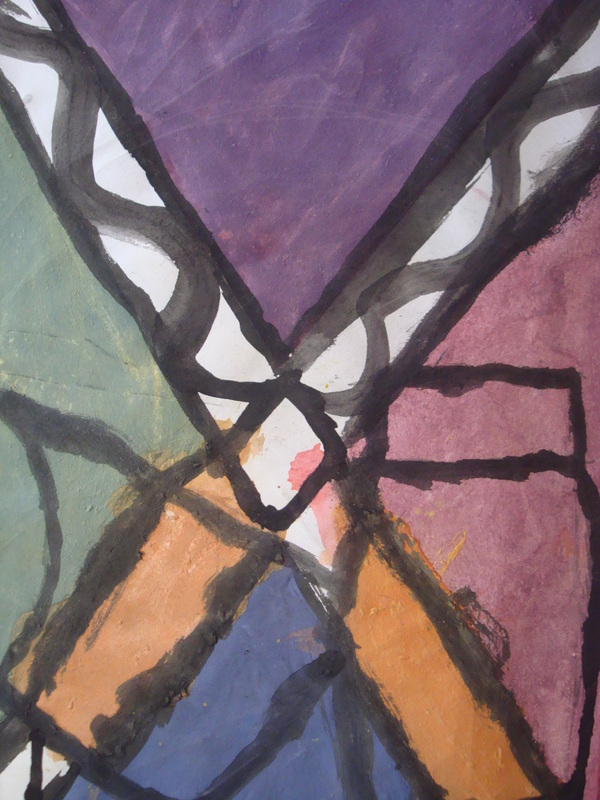
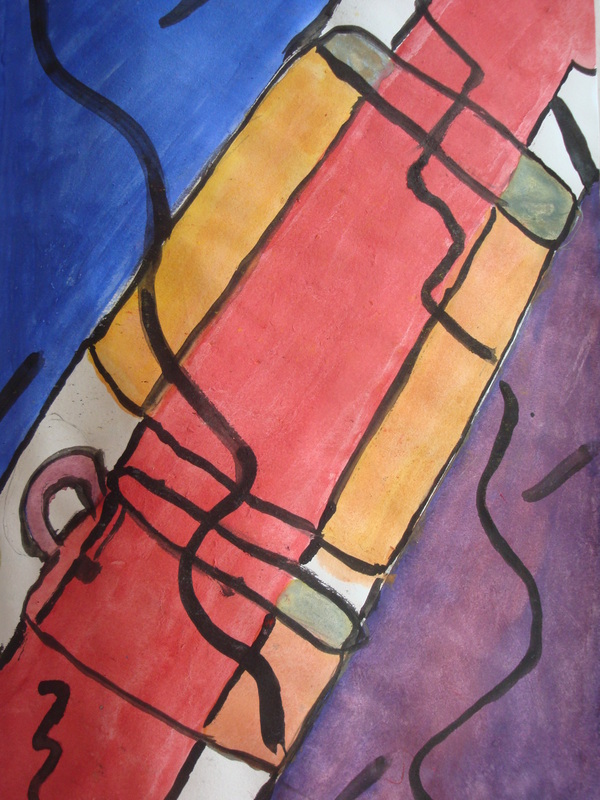
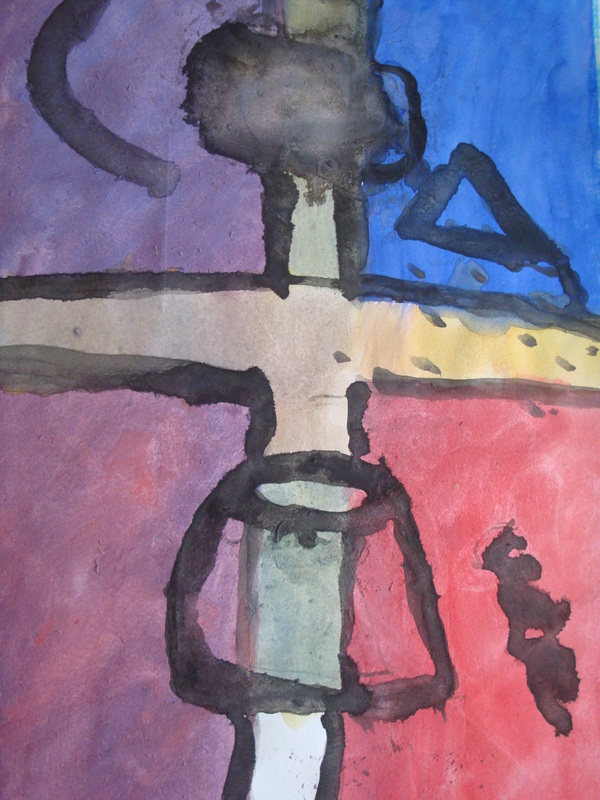
Step Six: Looking at differnt objects aligned together (observational drawing/still-life), draw the OUTLINE of two of the shapes/objects. Be sure to have your objects be drawn INTO the white spaces from the tape so that some of your object lines are already painted, and other parts of your object lines are white.
Step Seven: Go over your outline using black paint.
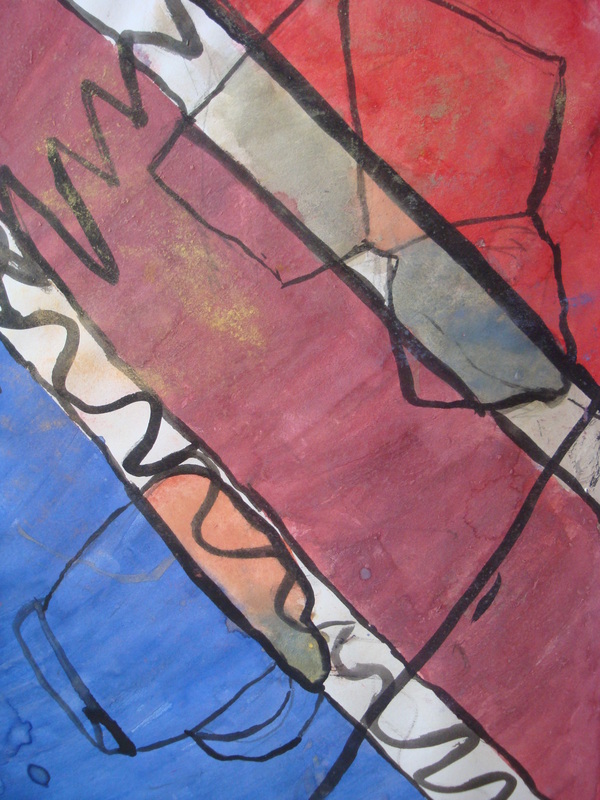
Step Eight: Fill in the white spaces of your object lines using the other secondary colours you have not included in your work yet. Be sure to mix your colours really well. If there is a line between colours, you cannot have the same secondary colour beside one another, you must alternate!
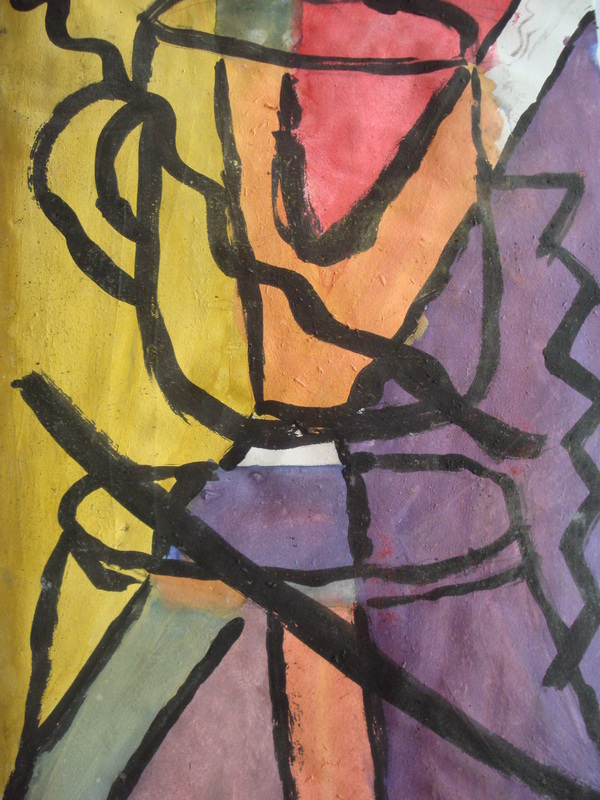
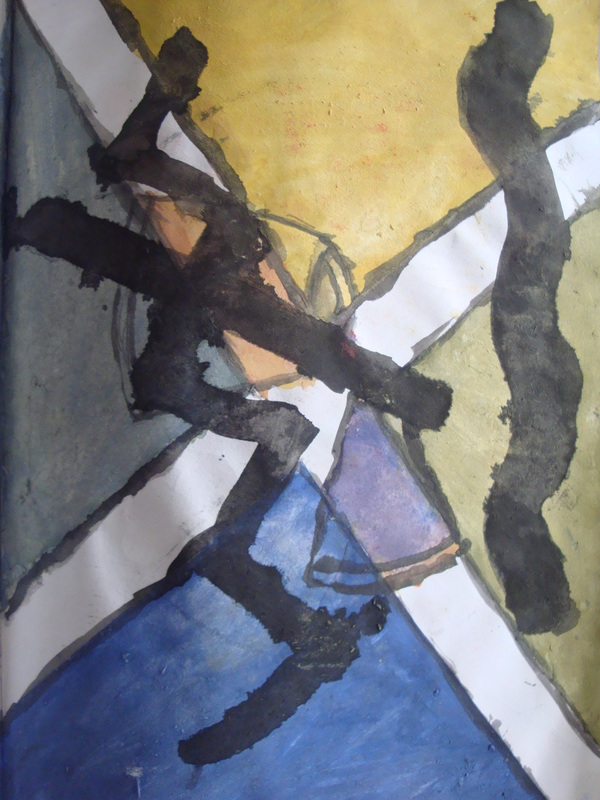
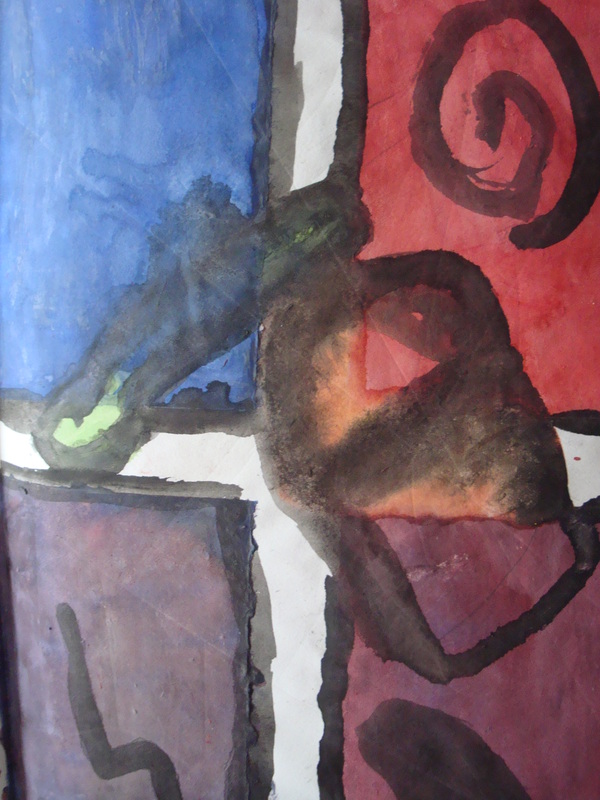
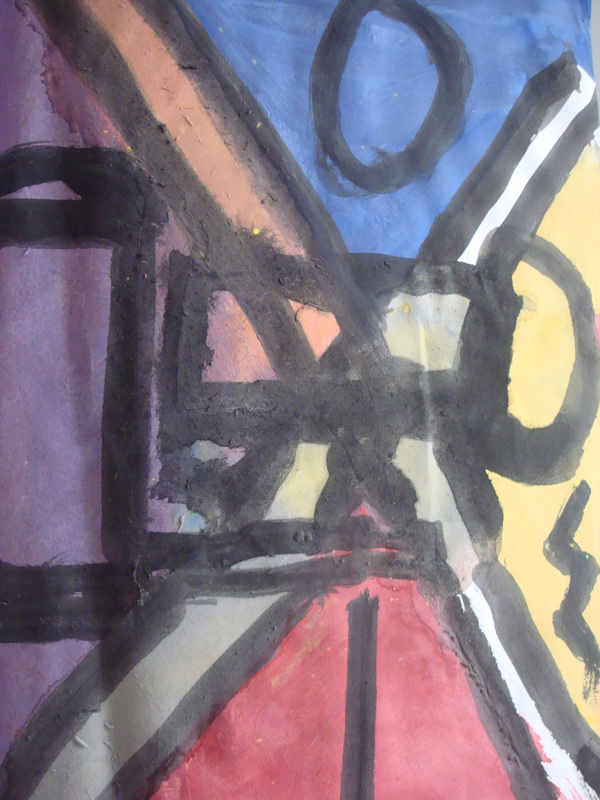
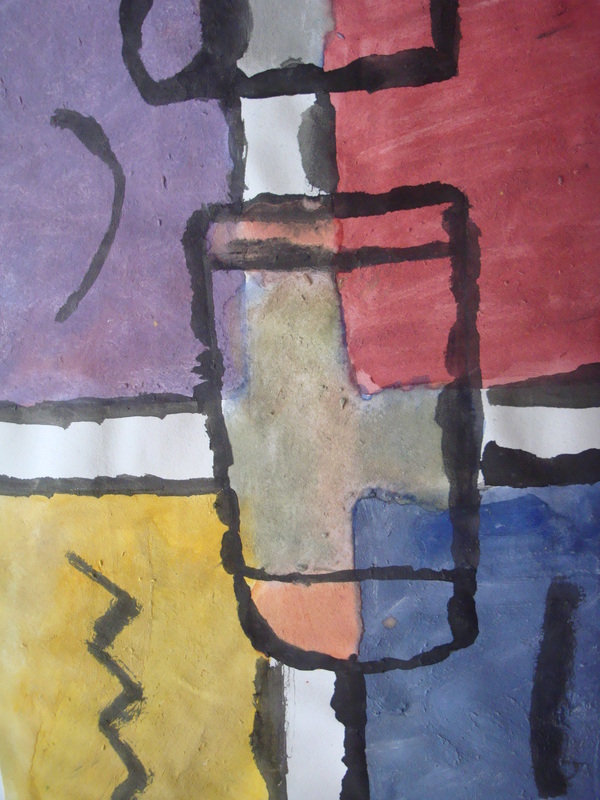
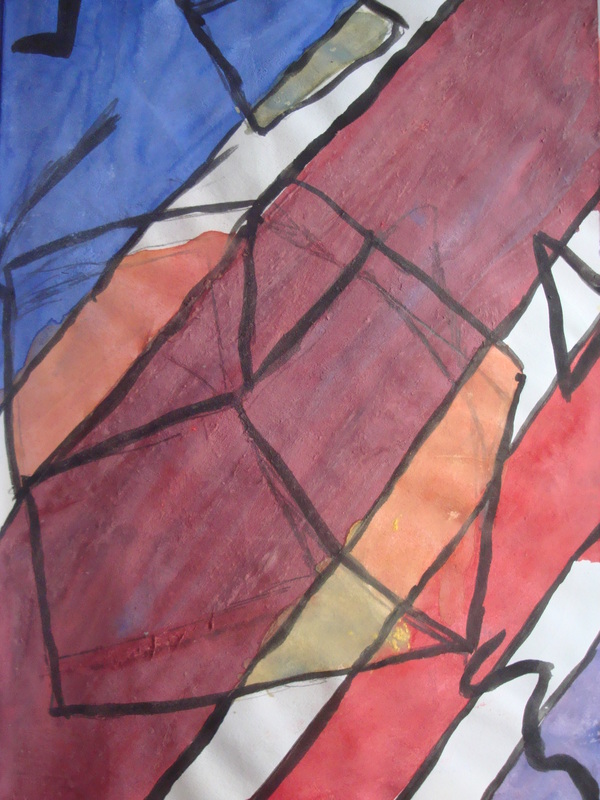
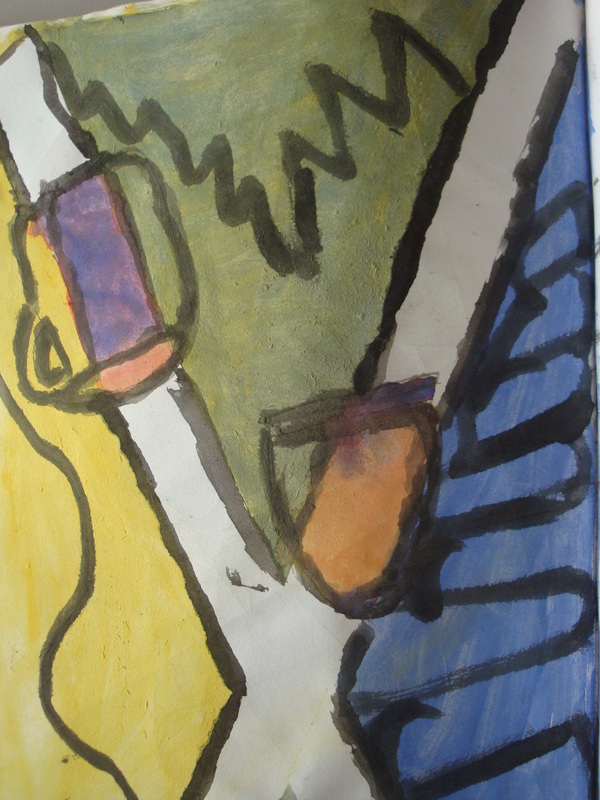
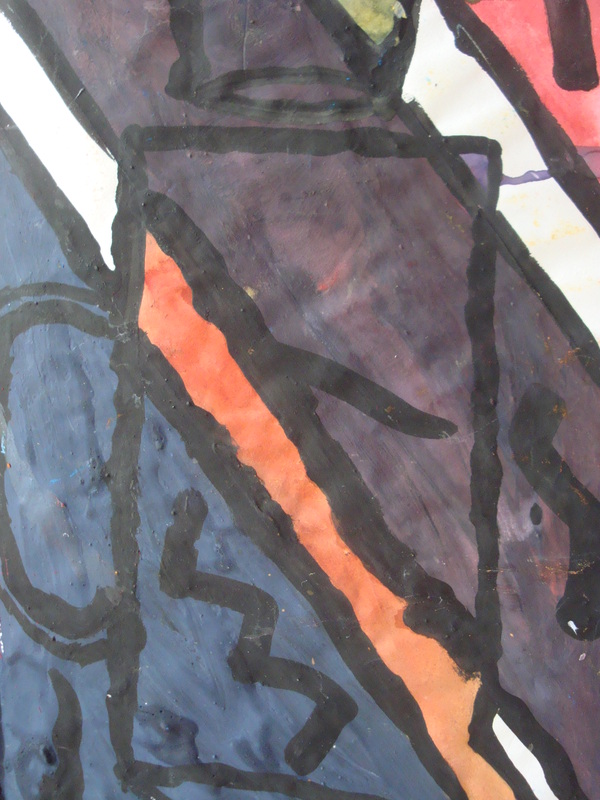
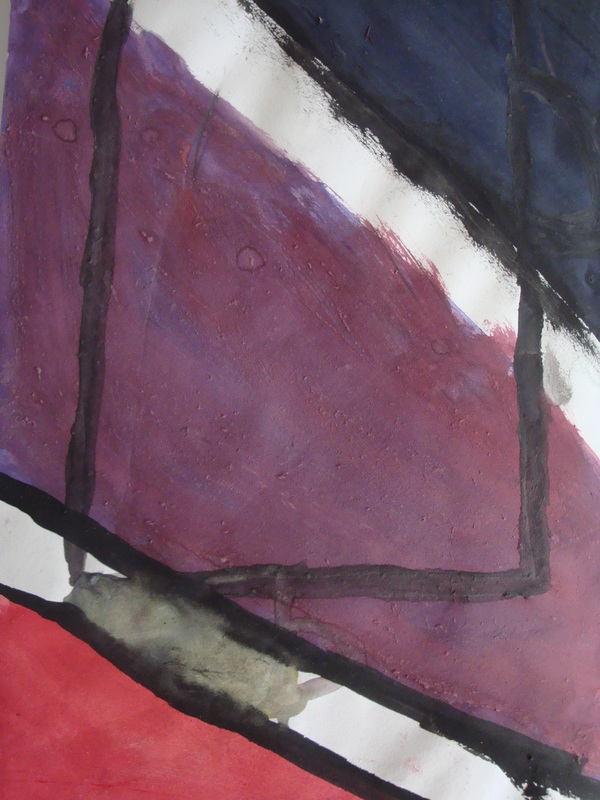
Step Nine: Looking at Kandinsky's works of art, think about lines and how he used lines and colour to show emotion and create abstracted objects. Paint three different types of lines on your canvas or paper, anywhere you wish.
Step Ten: Allow to dry and enjoy your own Kandinsky work of art for beginners!
Step Two: Choose a primary colour, (red, blue, yellow).
Step Three: Paint your chosen primary colour in one of the sections you divided with your tape
Step Four: Mix your primary colour with the complimentary and analgous colours to the next primary colour of your choice. (I.e: If you chose Red as your primary colour, you will either paint the colours of the colour wheel from Red-Yellow OR from Red-Blue), trying NOT to include the other primary colour. This is to practice your mixing of colours. Be sure that your colours are thick and dark/bold.
* Make sure you are always beginning with your lightest colour and adding a LITTLE BIT of the darker colour as you mix so you are not wasting paint*
Step Five: SLOWLY and CAREFULLY remove the tape from your sketchbook/canvas.
Step Six: Looking at differnt objects aligned together (observational drawing/still-life), draw the OUTLINE of two of the shapes/objects. Be sure to have your objects be drawn INTO the white spaces from the tape so that some of your object lines are already painted, and other parts of your object lines are white.
Step Seven: Go over your outline using black paint.
Step Eight: Fill in the white spaces of your object lines using the other secondary colours you have not included in your work yet. Be sure to mix your colours really well. If there is a line between colours, you cannot have the same secondary colour beside one another, you must alternate!
Step Nine: Looking at Kandinsky's works of art, think about lines and how he used lines and colour to show emotion and create abstracted objects. Paint three different types of lines on your canvas or paper, anywhere you wish.
Step Ten: Allow to dry and enjoy your own Kandinsky work of art for beginners!
|
|
|
|
|
|
|
|
|
|

|
|
|
|
|
