
Traditional Japanese Music to Inspire Your Art: http://www.youtube.com/watch?v=k4X48EAEVuE&safe=active
Japanese Meditation Music: http://www.youtube.com/watch?v=gCtBig4qBGM&safe=active

Copy an anchor chart into your sketchbooks.
What do you think of when you hear the words "Japanese Art?"
What types of art do you believe to be created in Japanese culture?
On your anchor chart, write down as many things that you can think of for Japanese Art.
Click on the following link: http://padlet.com/wall/keystage3japan;
Write down what you would like to learn most about Japanese Art.
Japanese Art covers a variety of mediums and styles. Some of the most well-known styles include calligraphy and symbol work, wood-prints, textiles (fabrics), ink paintings, ceramics, Manga Comics and unique Architecture.
Japanese Art can be described as disciplined and carefully
refined. There is an emphasis on elegant, simplicity in many art forms,
symmetrical and precise at the height of sophistication. Most art forms in Japan
were created by the ideals of their cultural traditions, embodied with a
significant amount of traditional symbolism.
Much of the works created by artists in Japan include the
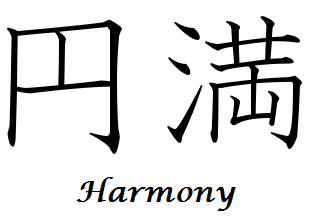
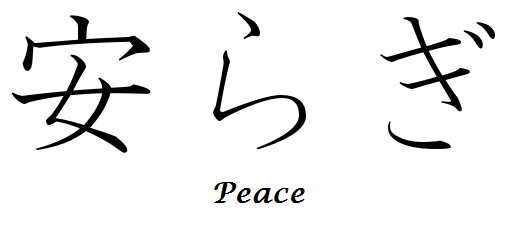
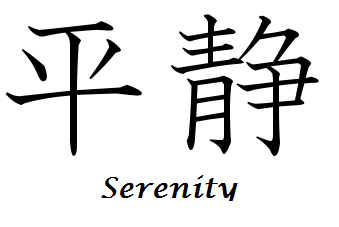
ideas based on the Buddhist beliefs of zen, tranquility, humbleness, serentity
and beauty.
Lesson Objective: How can I incorporate the basic idea of artistic, Japanese, mbolism into the two, seperate, mediums of printmaking and watercolour-based works?
Japanese Symbols and Print-Making
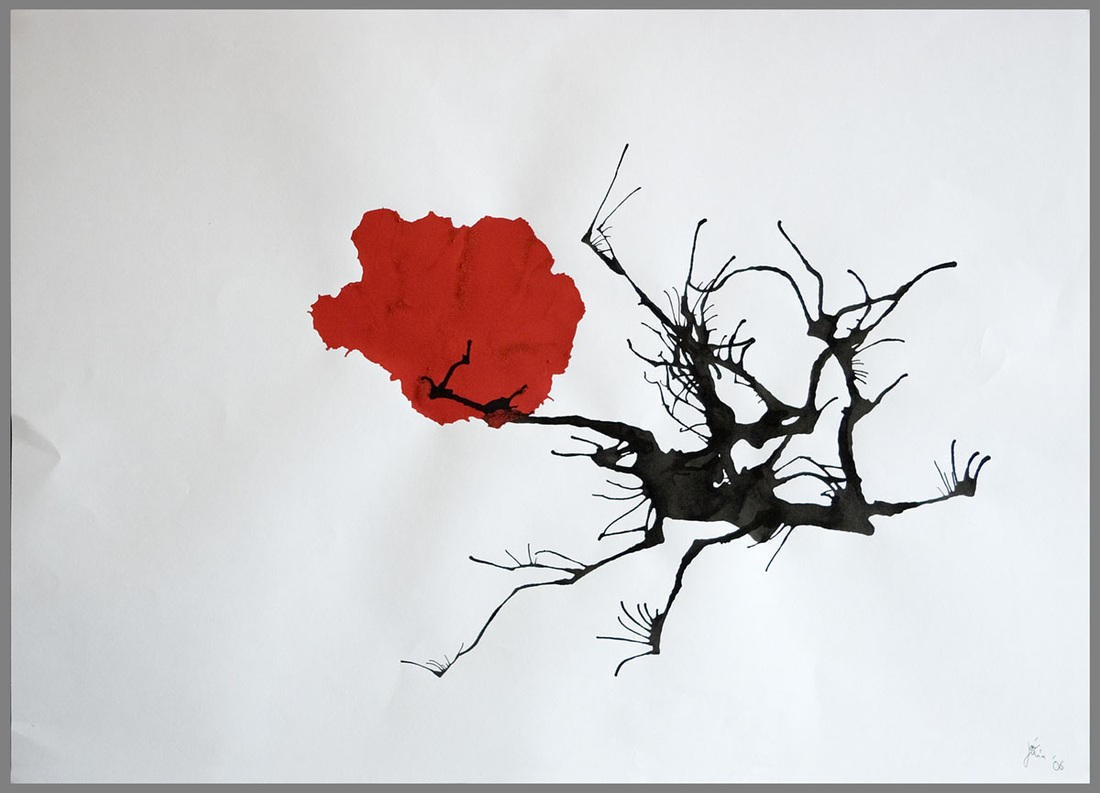
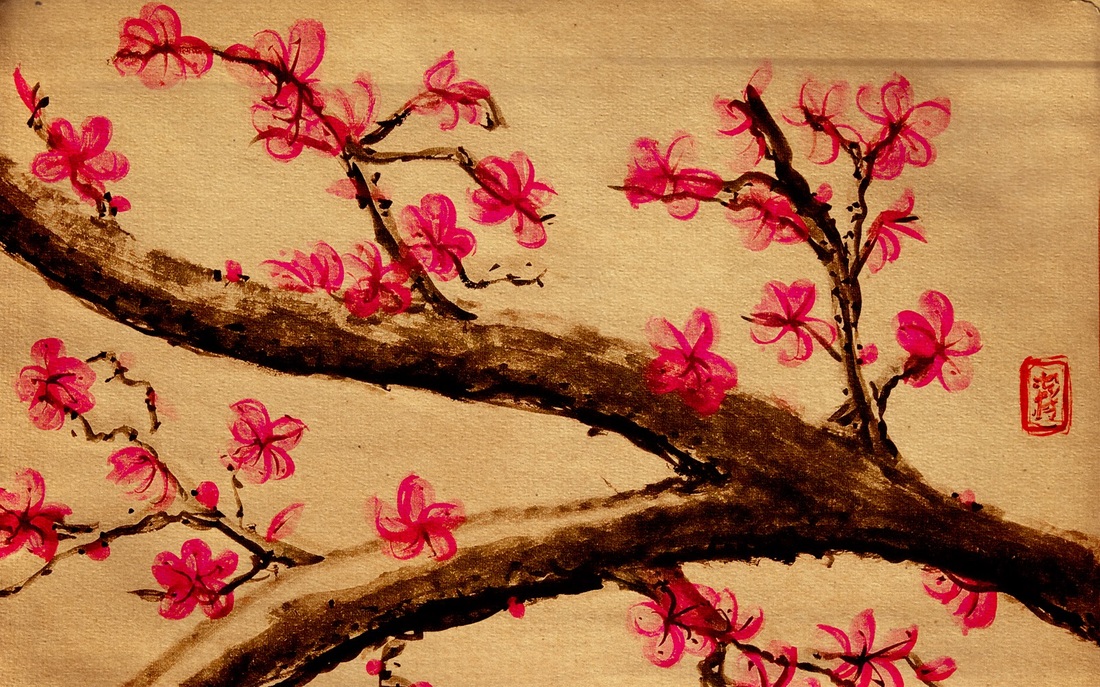
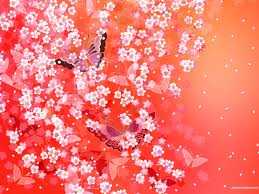
Symbolism is a large component in all Japanese Art, mostly shown through ideas of nature, such as Butterflies, (which symbolizes joy and longevity) and Pine Trees, (which symbolize longevity, good fortune and steadfastness).
Symbols are also used to represent the alphabet and Japanese language.
There are three different types of symbols that are primarily used in Japanese Culture. These symbols are Kanji, (originating in Chinese language for most verbs and adjectives), Hiragana, (used in grammar and verb endings), and Katakana, (used to translate foreign language and words).
Look at the following symbols below:
Japanese Language Symbols: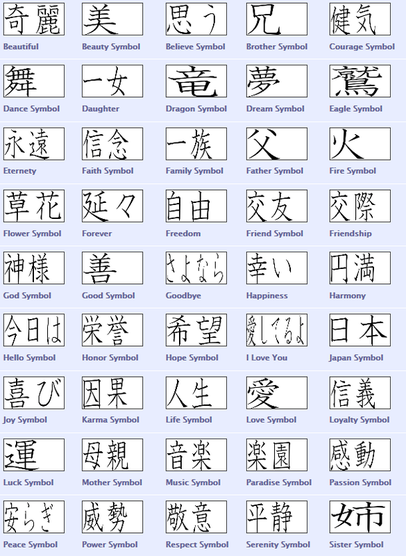
http://www.linguanaut.com/japanese_symbols.htm |
Japanese Nature Symbols: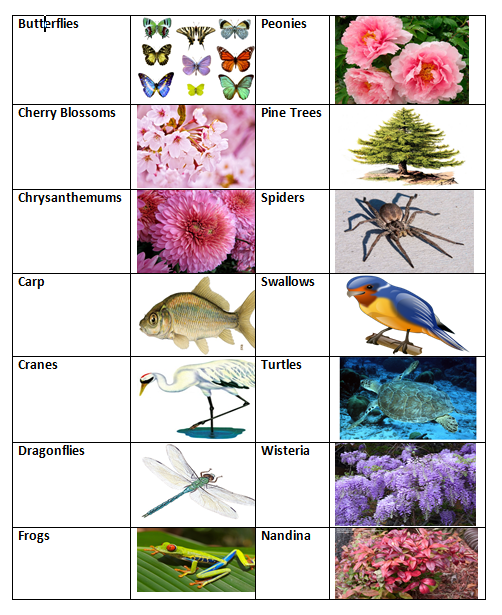
http://www.cherryblossom.co.nz/Articles+of+Interest/Symbology.html |
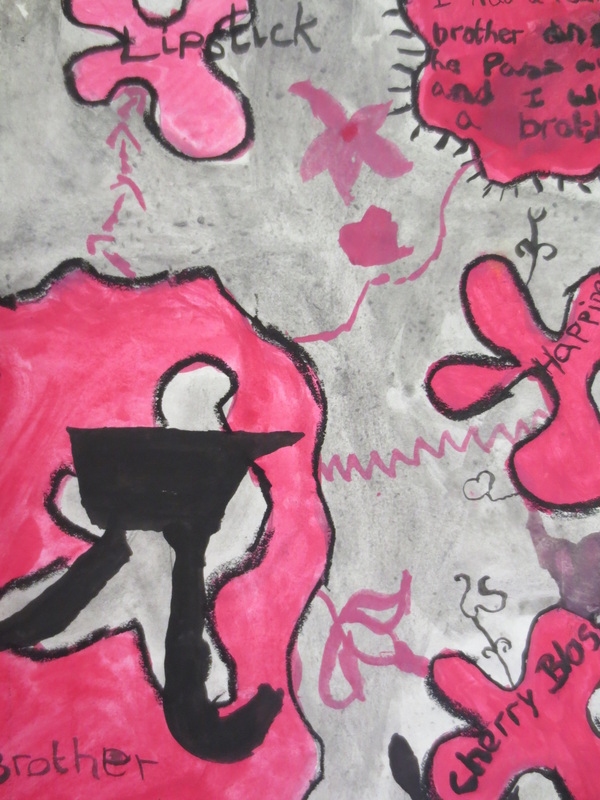
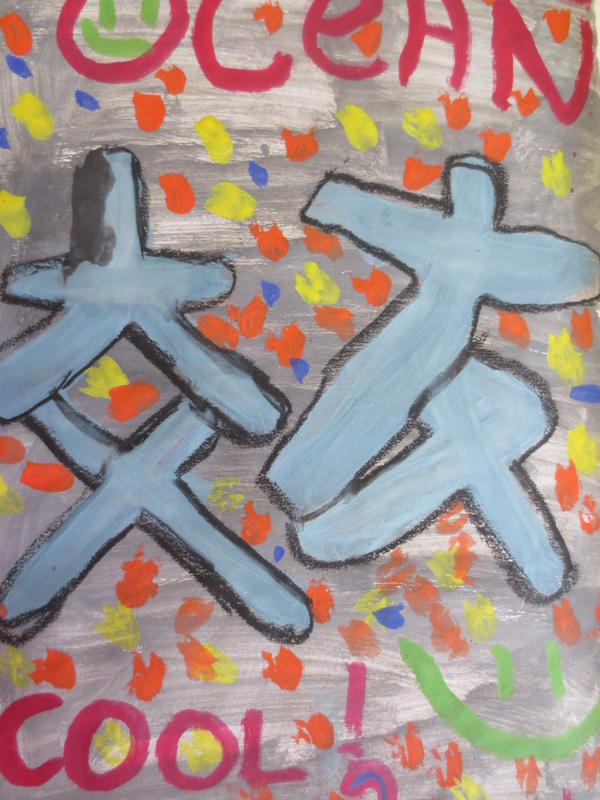
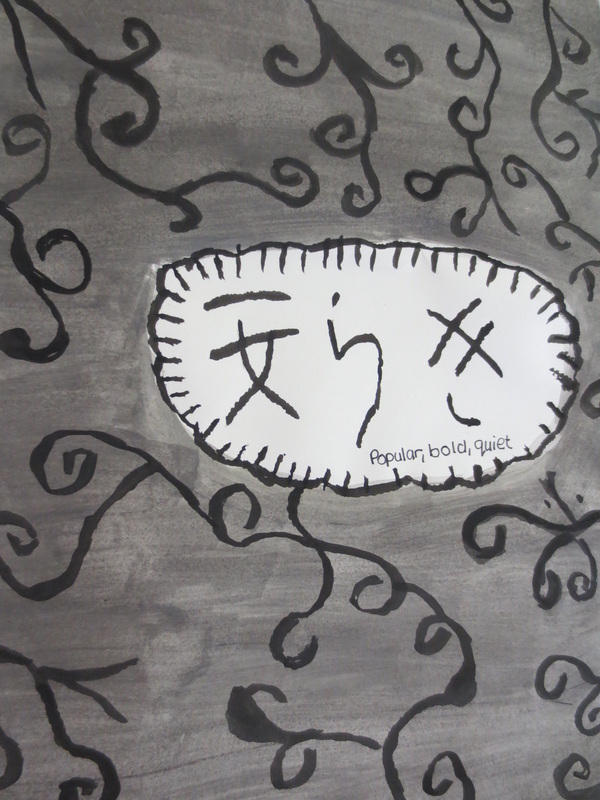
Part One:
- Choose one symbol/word which you think best represents you, and your favourite colour.
- Begin by creating a wash, using grey and your favourite colour, in water-colour paints, on a blank sheet of your sketchbook. Wait for the colour to dry.
- Draw a large outline of the word/symbol you have chosen in ink over your wash.
- Use a fine-tip ink pen to outline your symbol and add additional line details to finalize your work.
*REMEMBER: Japanese Art embodies the ideas of simplicity, precision and discipline; be sure to present your work neatly and carefully.

|
|
|

|
|

|
|
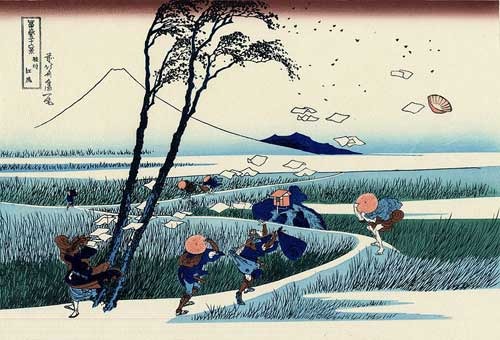
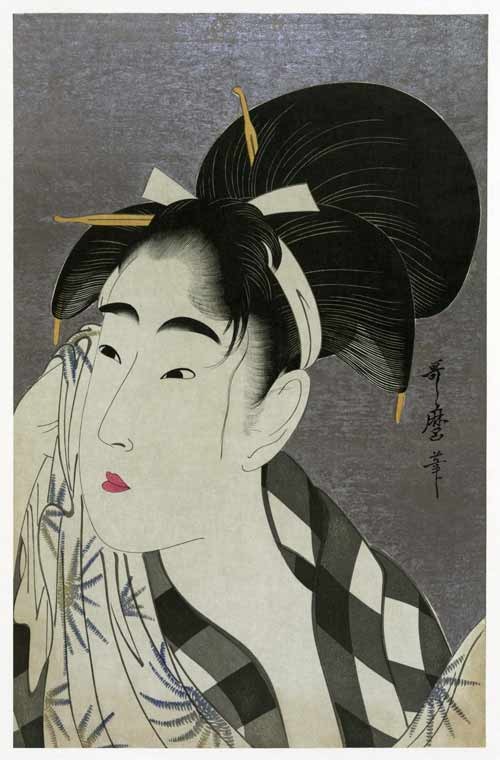
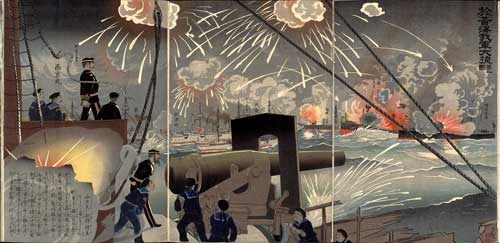
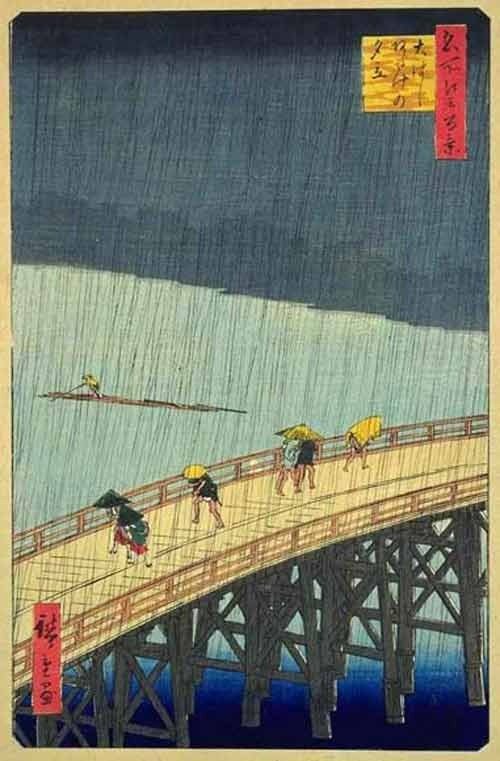
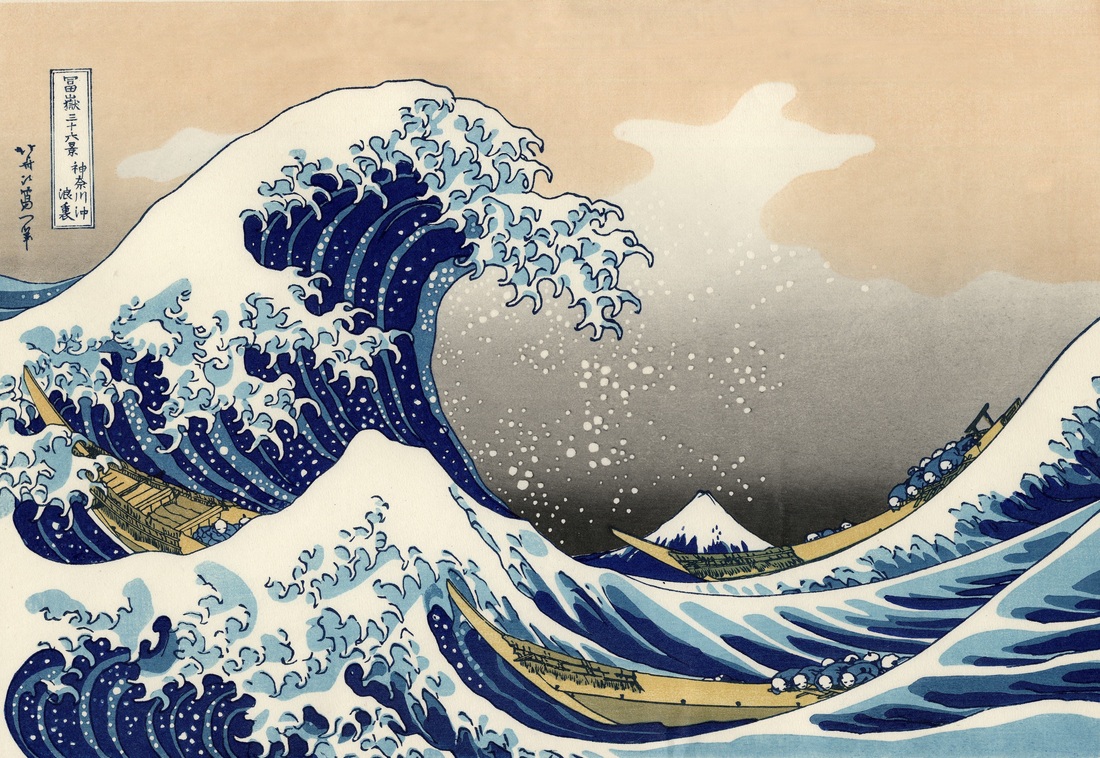
Japanese Woodblock Prints
Japanese Woodblock prints originated in Chinese culture and was re-adapted and refined by Japanese culture.
The act of creating Woodblock prints is one of many, printmaking techniques, (refer to the Printmaking Link of the website)
Take a Look at Ten Japanese Woodblock Prints:
|
|
|

|
|
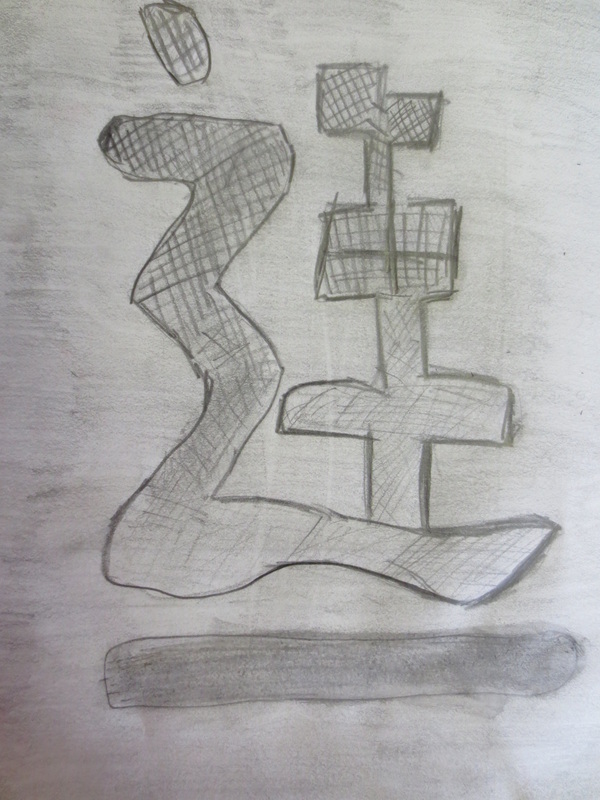
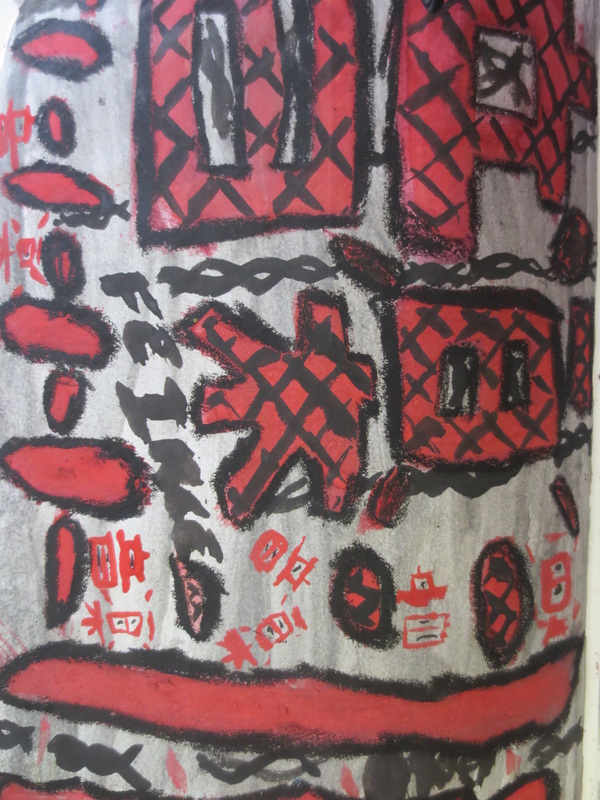
Part Two:
- Follow the link above of Japanese Nature Symbols.
- Choose one symbol which appeals to you.
- Use styrofoam card to create the outline of your symbol of choice in pencil, making small impressions into the card.
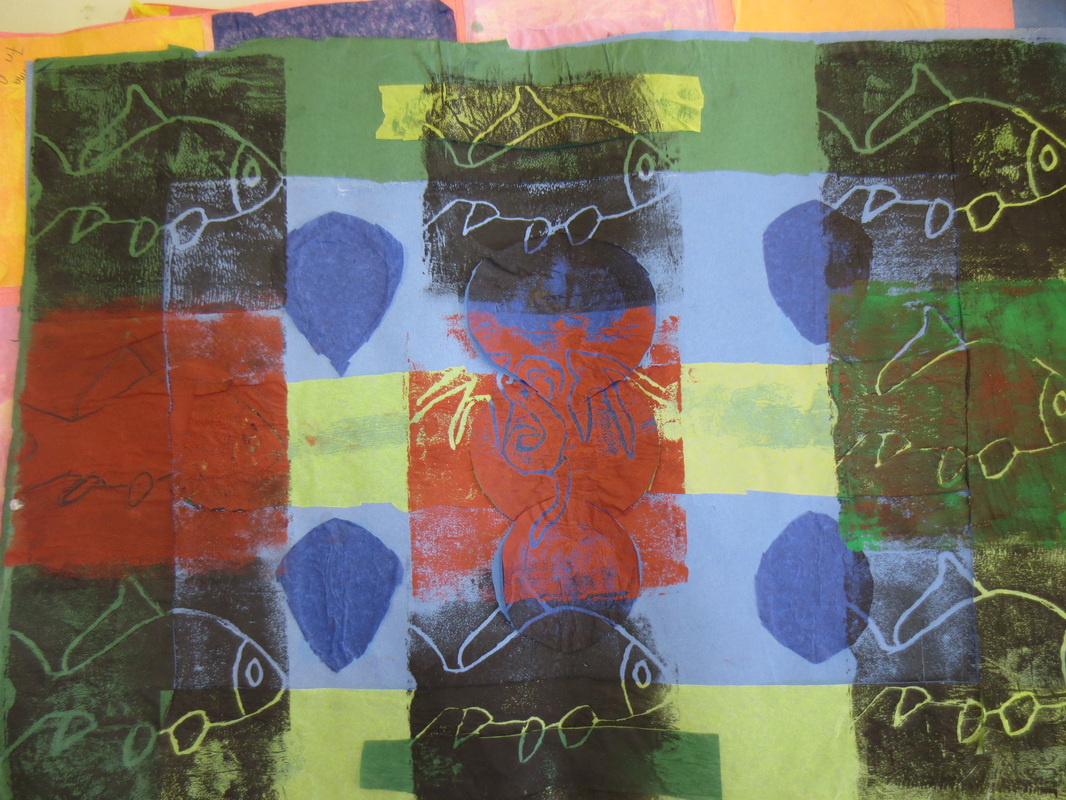
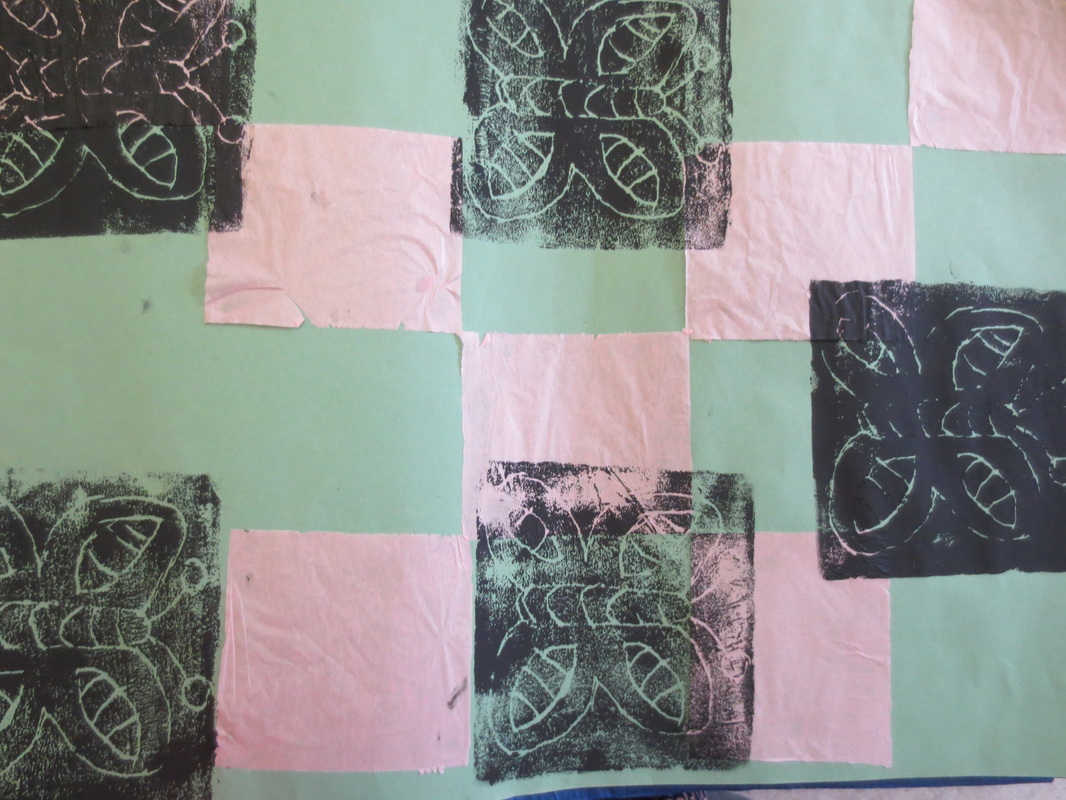
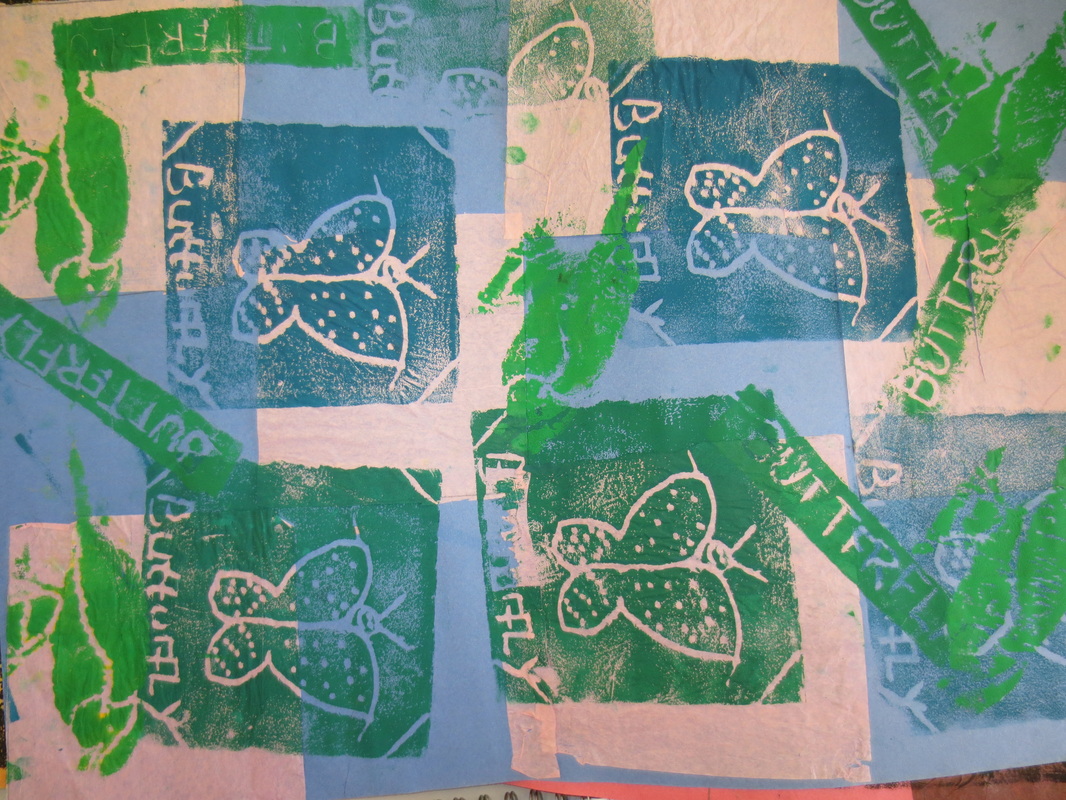
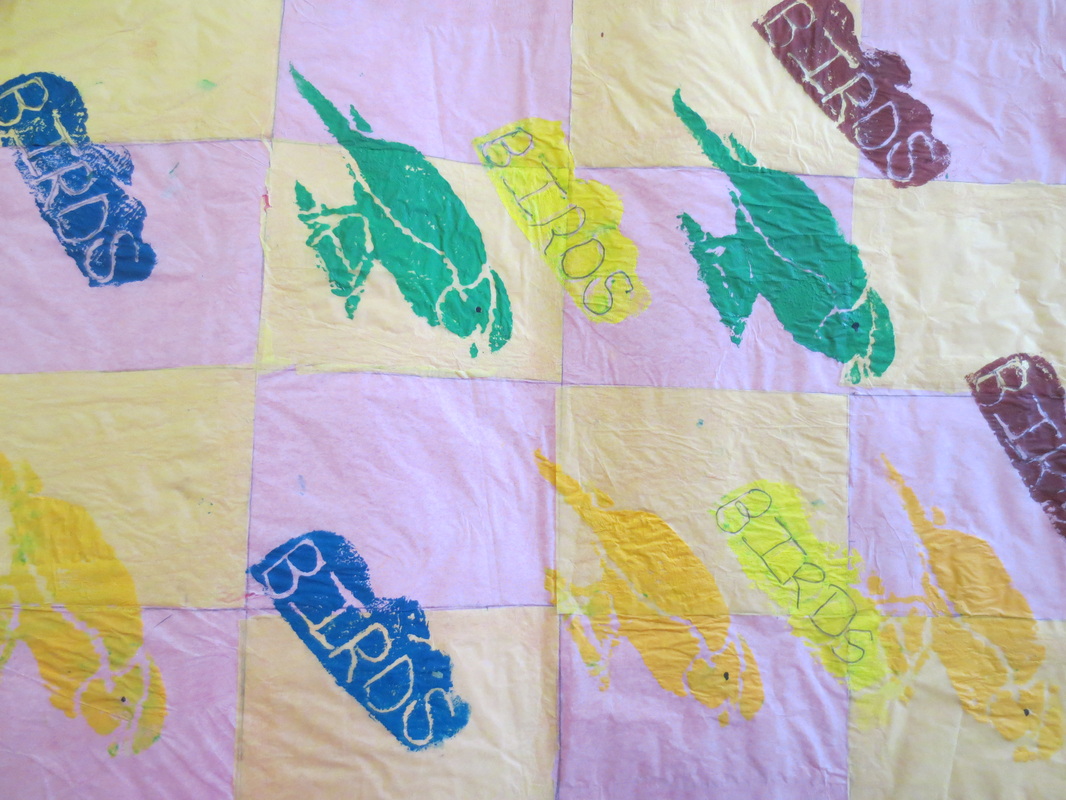
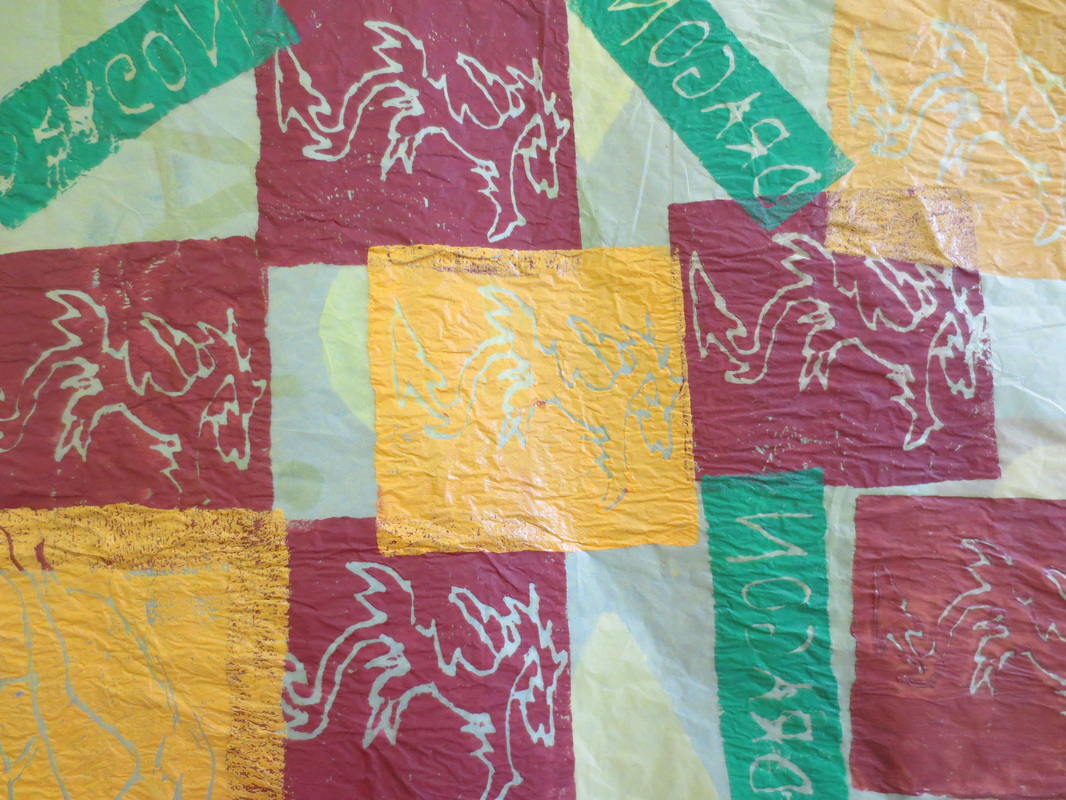
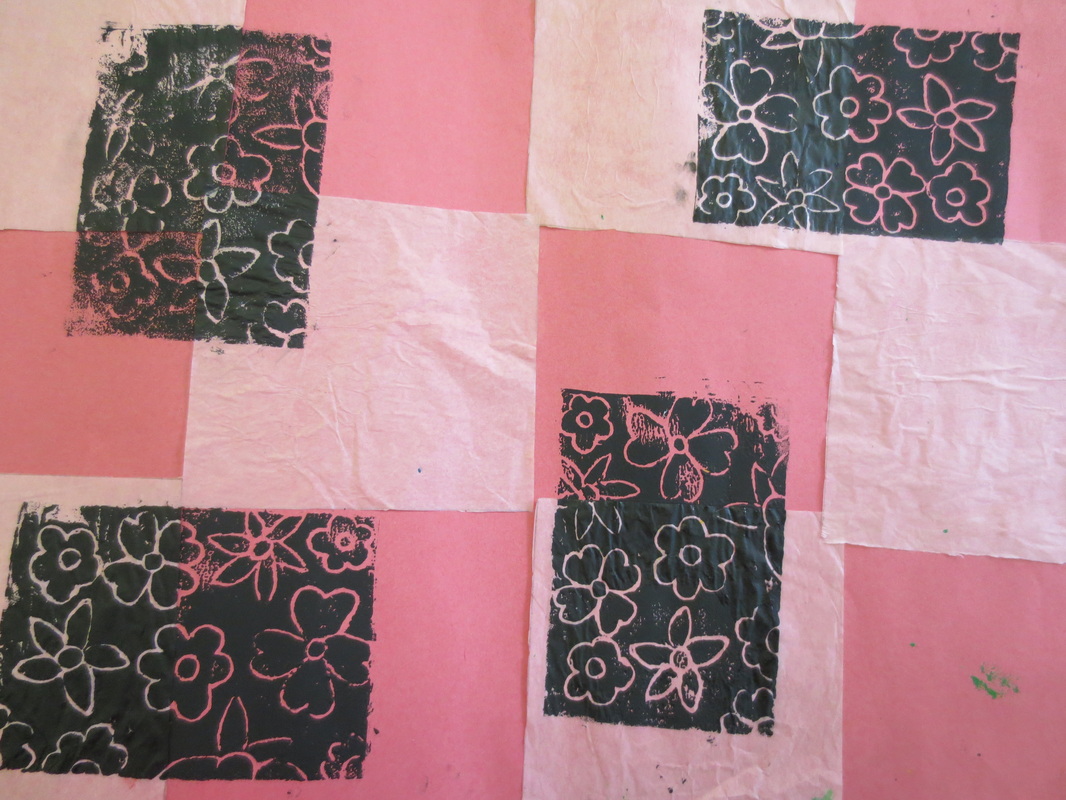
- Choose two different colours of tissue paper and cut it into 4 equal squares. Glue your squares onto a blank sheet of A4 paper.
- Once your sheet is prepped for printing, being using the printmaking process of rolling ink onto your styrofoam card and press your card onto the paper.
-Complete 4 prints of your design into a pattern on your sheet of paper.
- Rinse your styrofoam card and prepare another ink colour to print.
- Place your card over top of two of your previous prints into an additional pattern.
*KEEP IN MIND everything you draw will be backwards on your card.
Year 7 Printing Their Hearts Out!
|
|
|
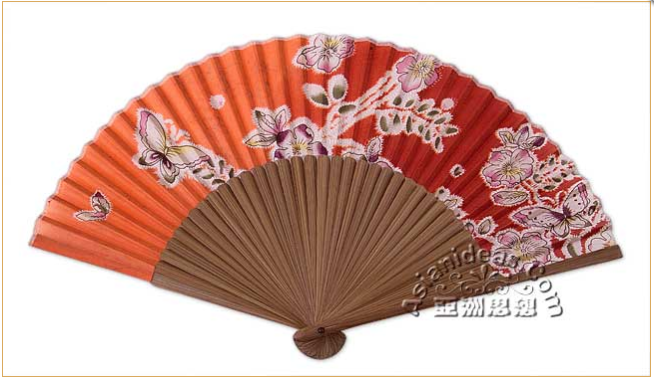
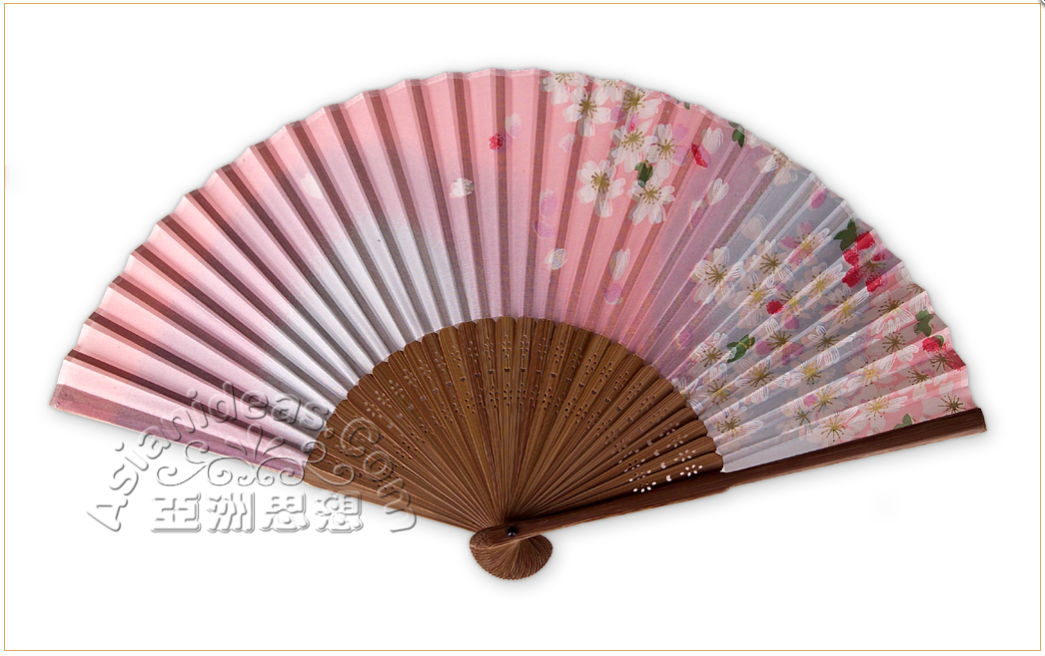
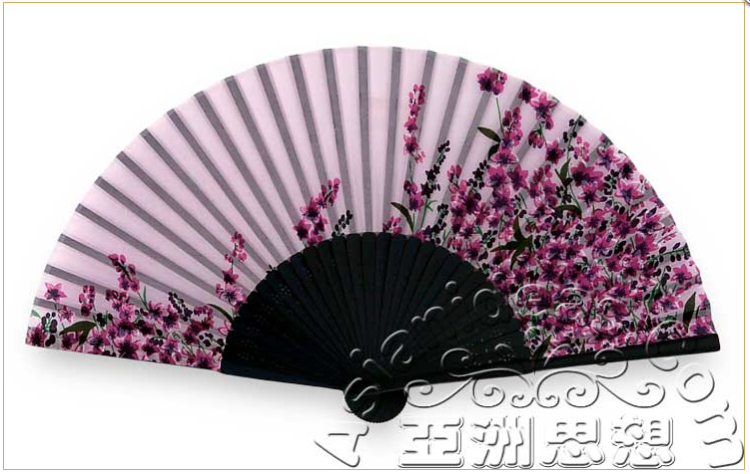
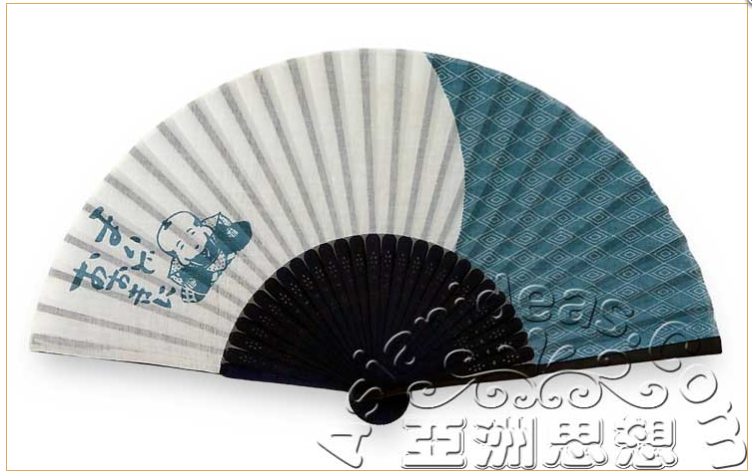
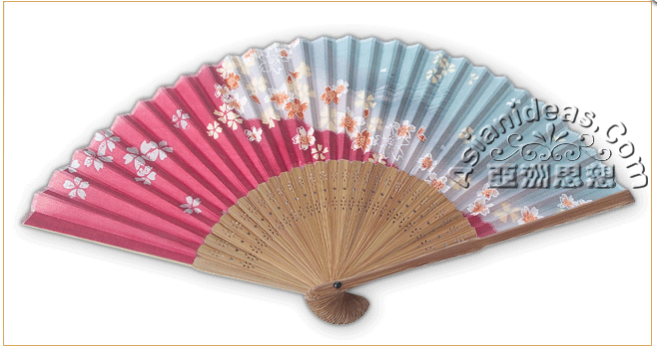
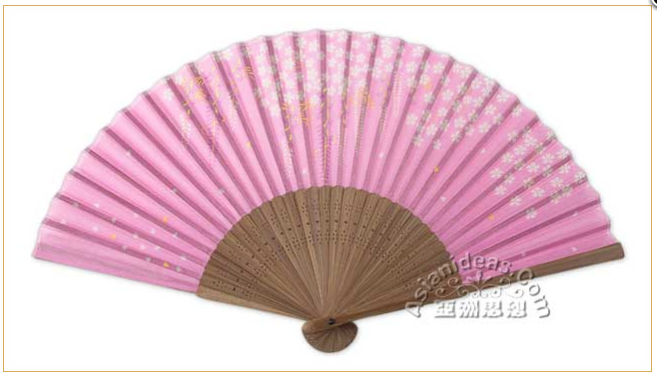
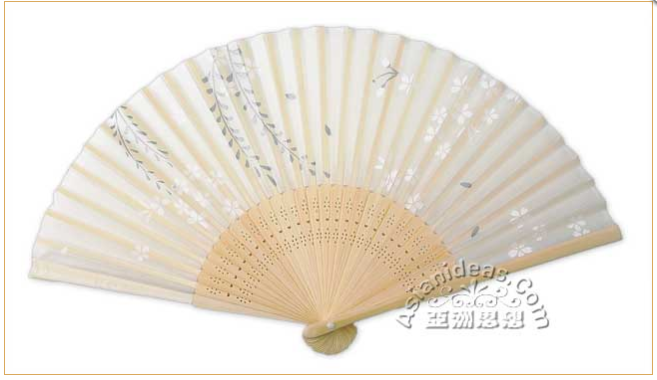
Japanese Hand Fans
Lesson Objective: I can create a traditional Japanese hand fan, using Japanese culture and unique and personal details.
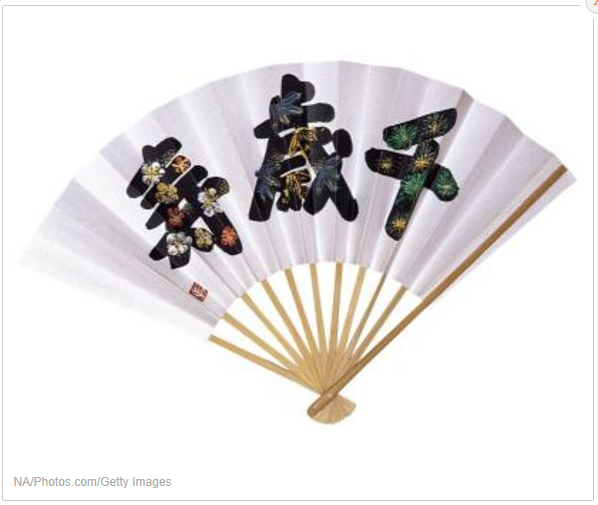
We are already aware that the Japanese culture treasures symbolism in their art, so it should not be a surprise that Japanese hand fans are a symbolic art form.
Hand fans are used in Japan for warriers, (as a form of weapon), actors, dancers, performers and a toy for children.
Fans can be given as presents or gifts, as well as used in some Religious ceremonies.
Japanese fans were based on Asian hand fans, which are traditionally constructed out of silk, take a look!
|
|

|
|
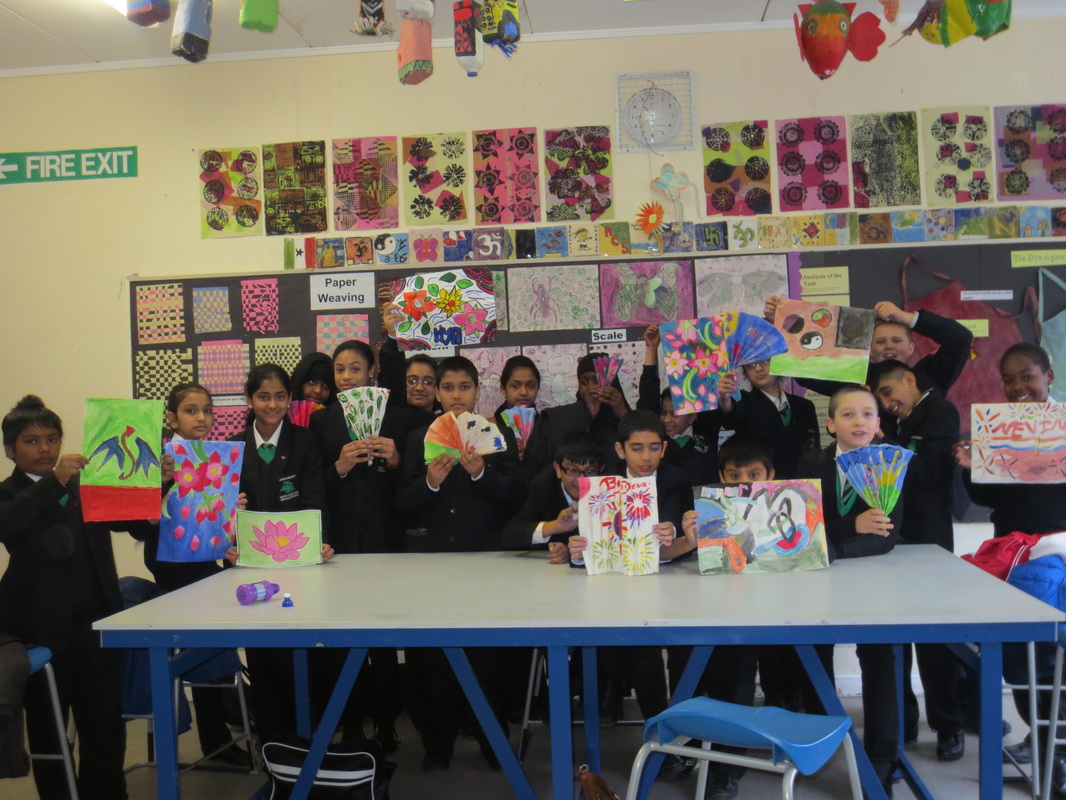
Year 7 Fans of Fans...

|
|
In Japan, hand fans come in a variety of colours and patterns to suit the person using it.
Let's create our own unique Japanese hand-fans!
How to make a hand fan tutorial: http://www.youtube.com/watch?v=2gig-mObrHg&safe=active
|

|
|
|
|
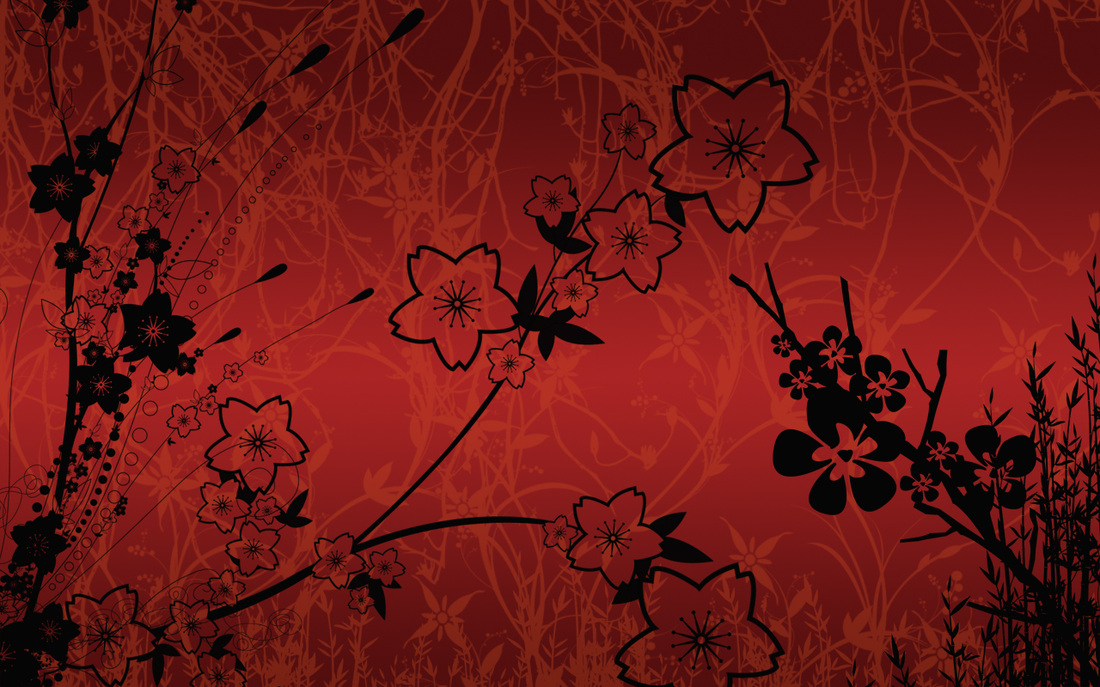
Step One: Observe the patterns and details from Japanese wallpaper.
Step Two: Using the images you have just observed, begin brainstorming to come up with a theme for your own unique Japanese hand fan.
Brainstorming Starters:
1. What will the main image be, that will unqiuely represent who I am?
2. What colours shall I include, that are unqiue to who I am?
3. Will my theme be based on that of Japanese culture and art studied thus far?
4. Is there any additional information that I will need to include?
5. How will I place all of these components together to create a uniform composition?
Step Three: On a seperate sheet of A4 paper, begin sketching your chosen design.
Step Four: Begin a painting of your design, making sure you are covering all negative space and being mindful of your colour placement in the composition. Set to dry.
Step Five: Using a fine-tip pen, outline your design to create the clean and presise lines used in Japanese art to finalize your design.
Step Six: Fold your paper, (accordian style- refer to your video tutorial), until your design begins forming the look of a fan.
Step Seven: Using seperated four chop sticks or popsicle sticks, glue the edges 3/4s down the bottom of your folded design. Be sure to attach the sticks behind the interior folds of the fan. Set to dry.
Step Eight: Attach the bottom of your sticks together using a rubber band.
Step Nine: Admire the uses of your work!
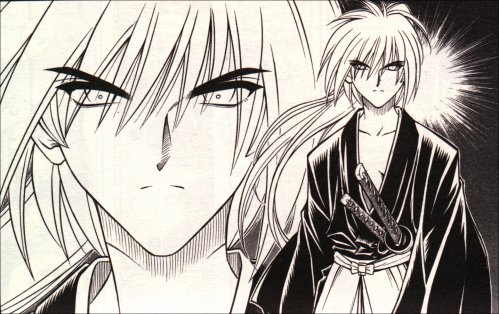
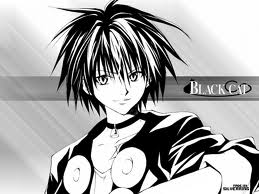
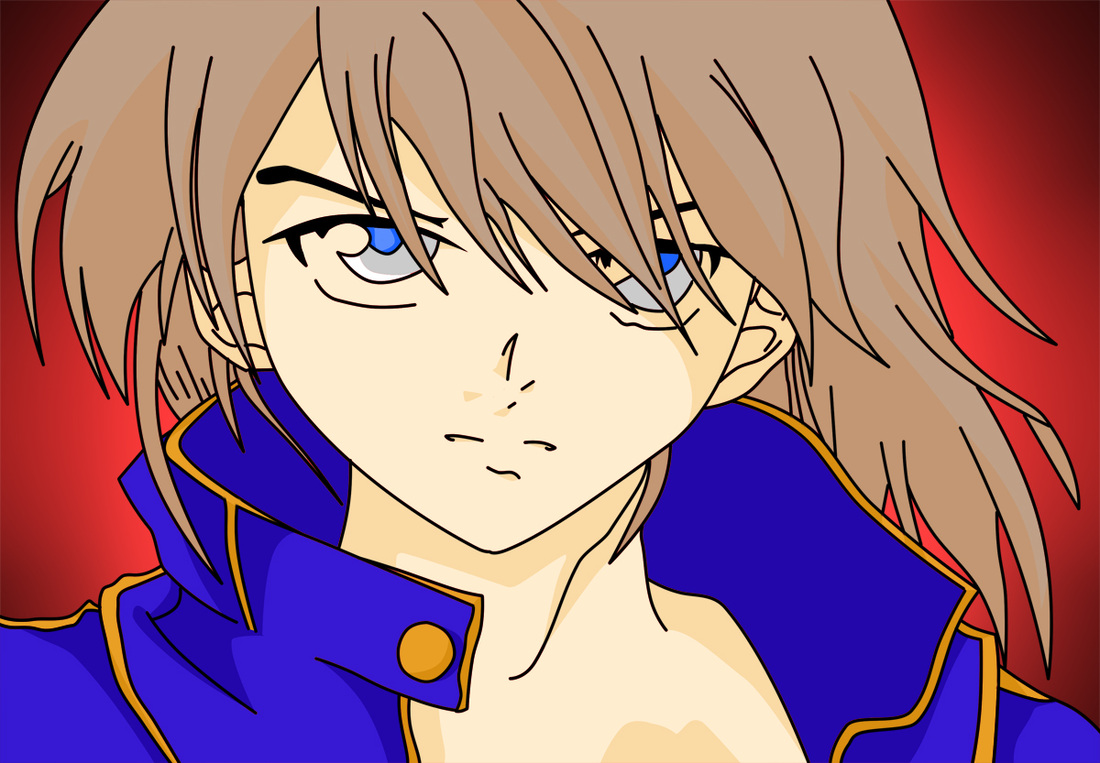
MANGA!
Lesson Objective: Can I create a self-portrait, using the principles of modern Japanese comic design?

|
|
|
|
Manga are Japanese, anime, comics that are read from right to left, instead of left to right. This allows readers to see the relationship between the art and story.
The unique and bold characters is a modern twist on traditional Japanese works of art. The colours and lines are bold and detailed as North American comics, however there is more emphasis on the characters, than the background.
The unique and bold characters is a modern twist on traditional Japanese works of art. The colours and lines are bold and detailed as North American comics, however there is more emphasis on the characters, than the background.
Reading One Panel Manga
|
Reading Single Page Manga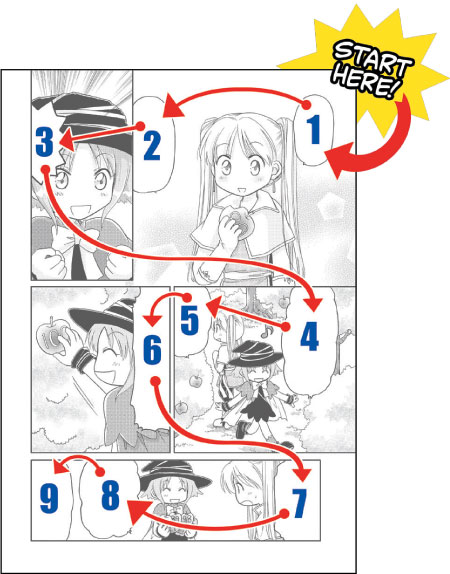
|
Reading Tow Panel Manga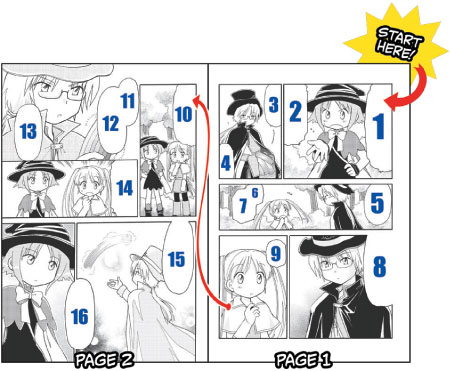
|
How to Draw Manga: Your Step by Step Guide
To Learn More And Enhance Your Skills Visit: http://www.howtodrawmanga.com/pages/tutorials
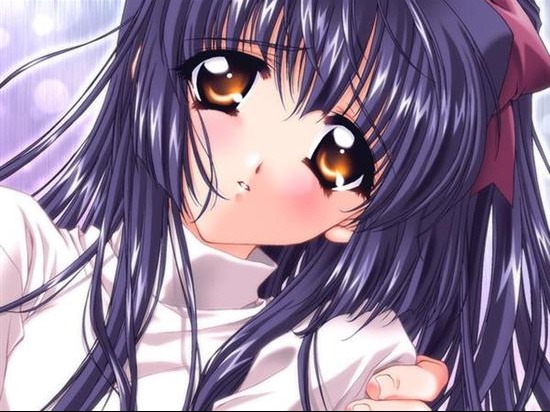
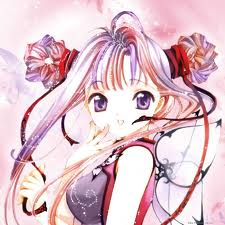
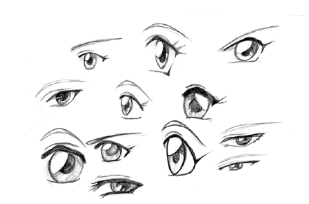
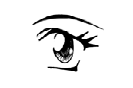
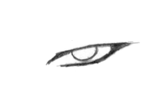
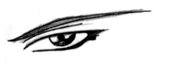
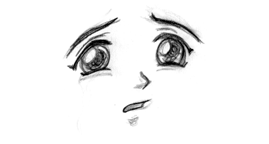
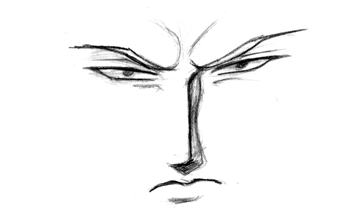
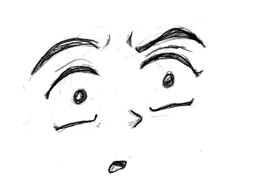
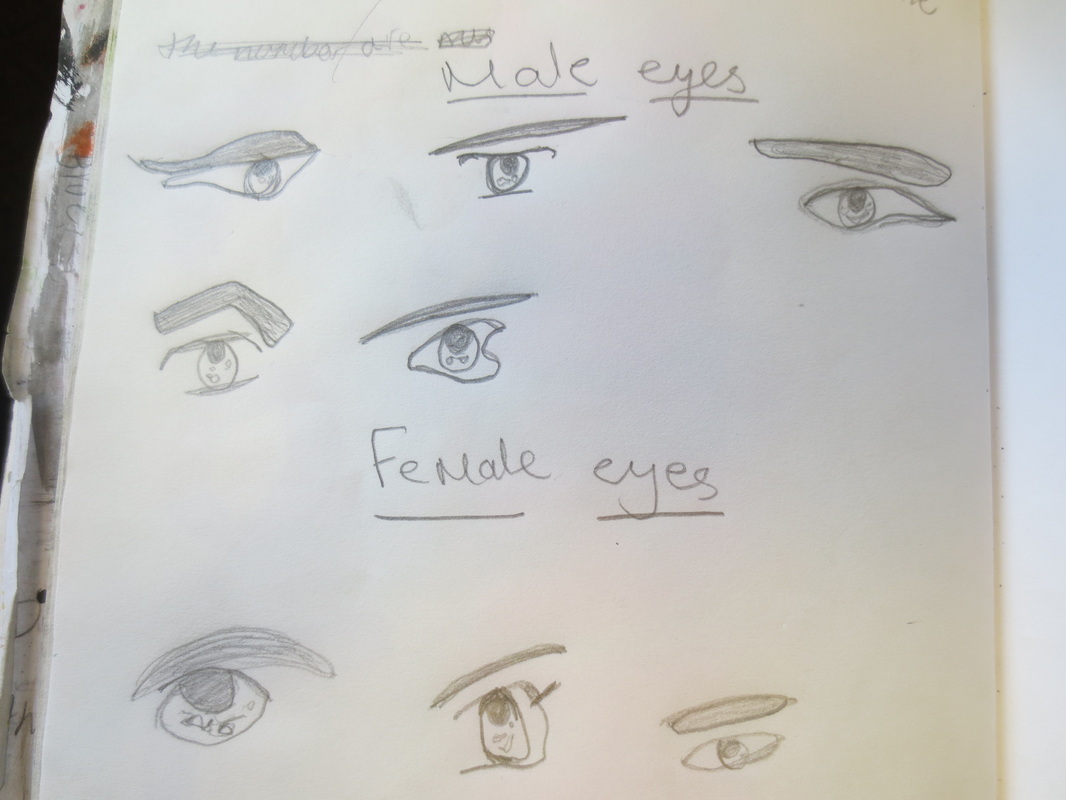
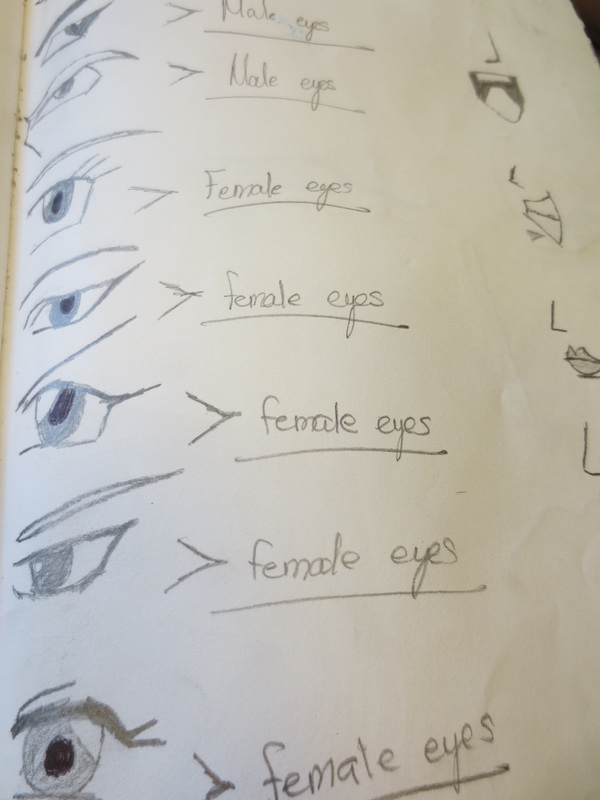
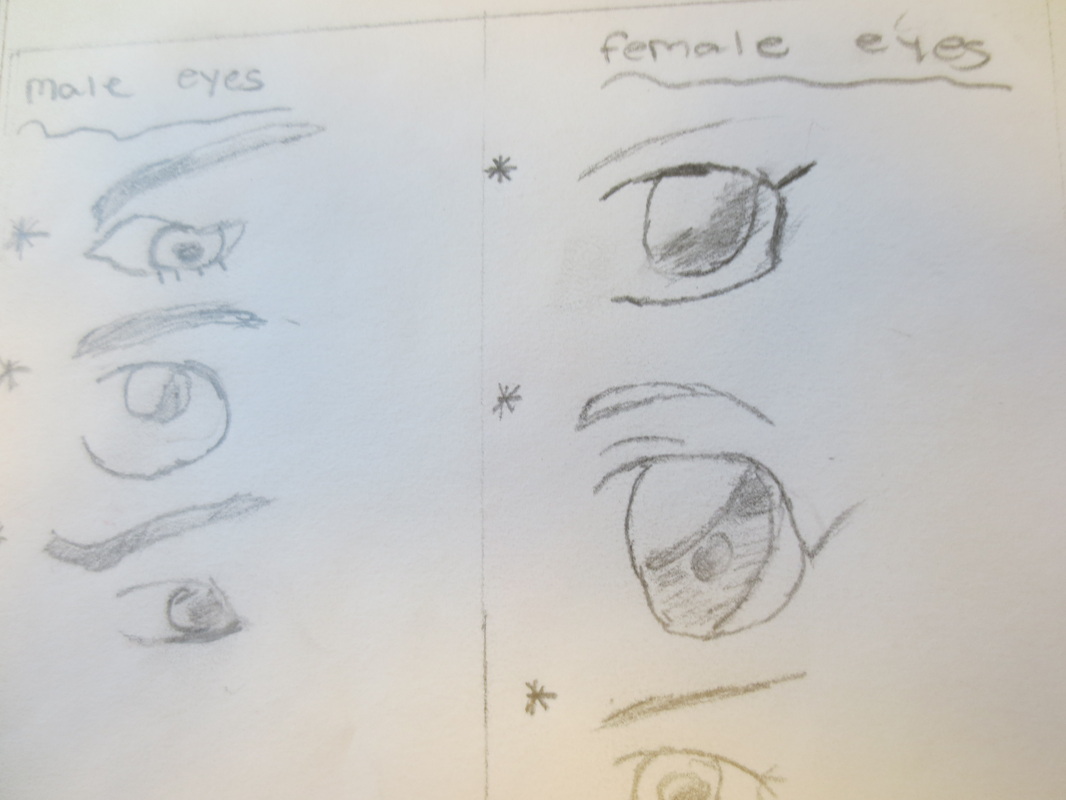
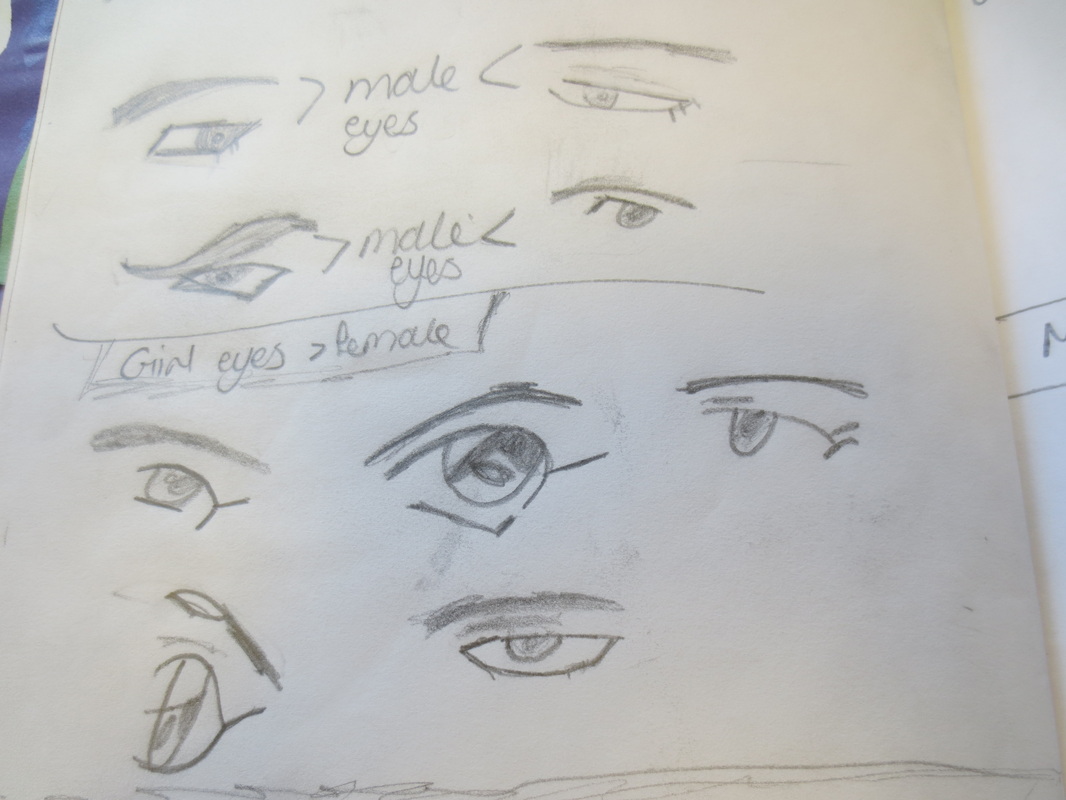
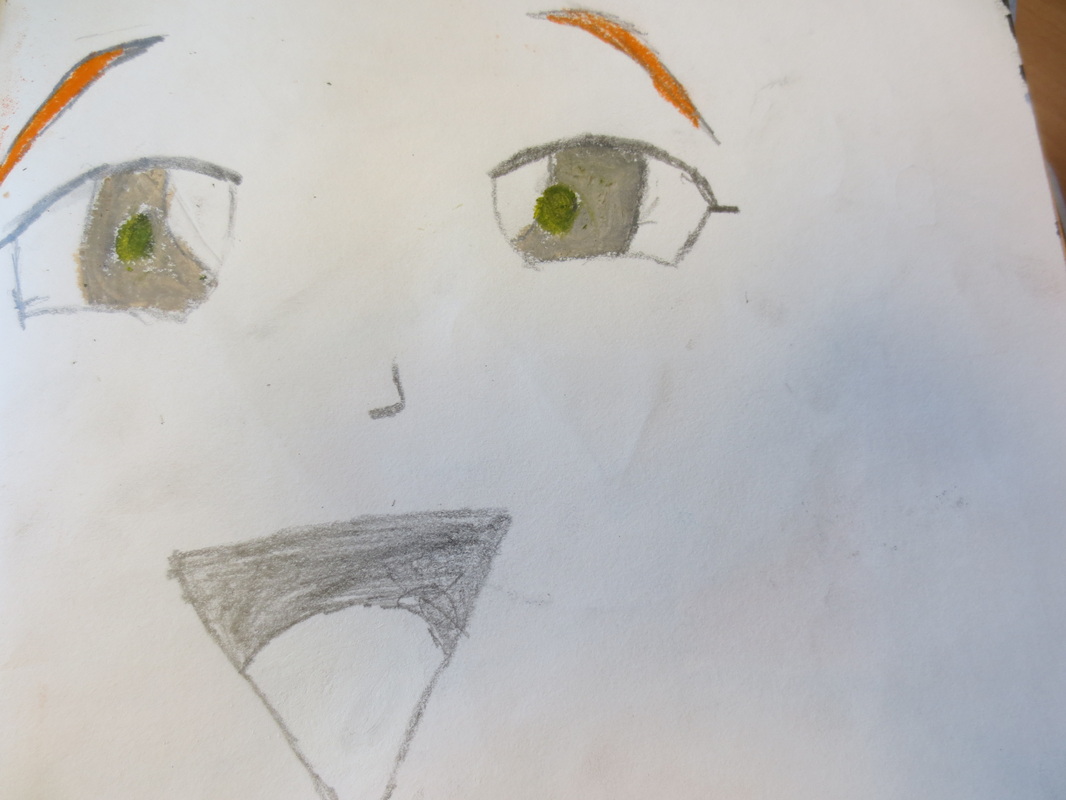
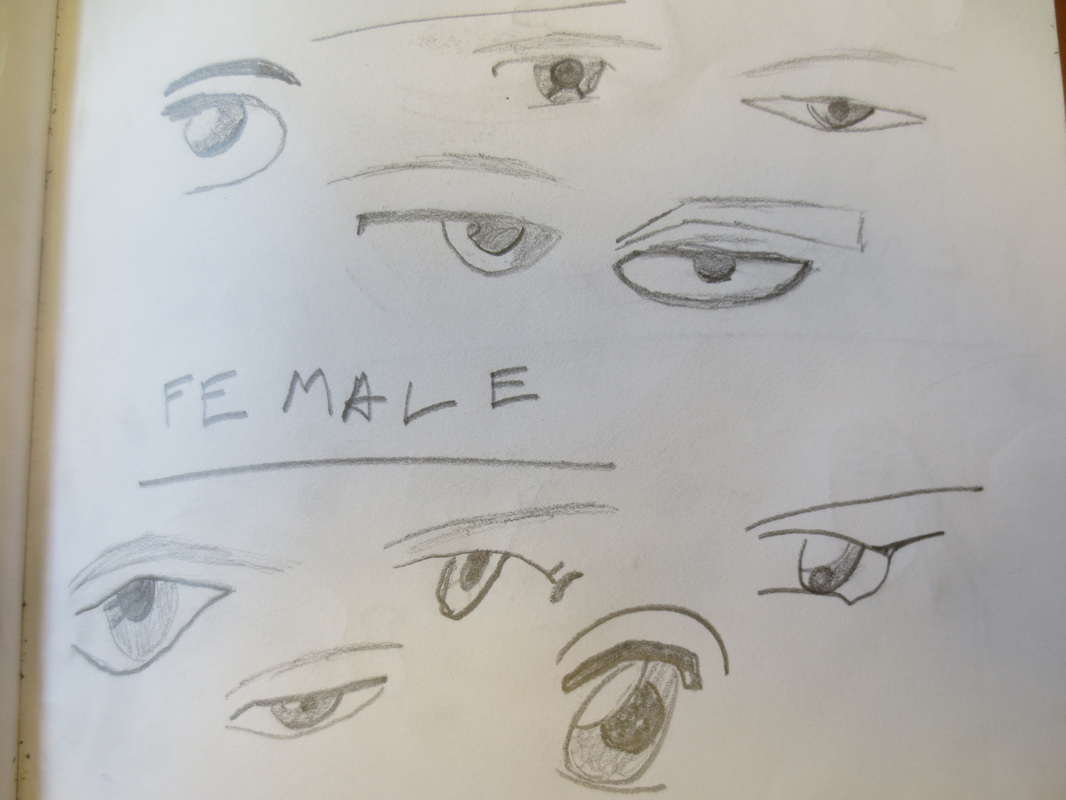
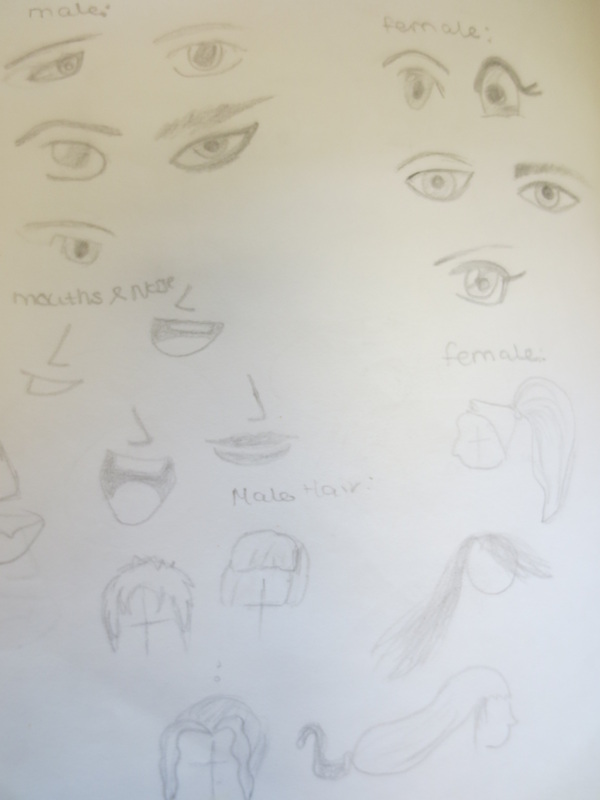
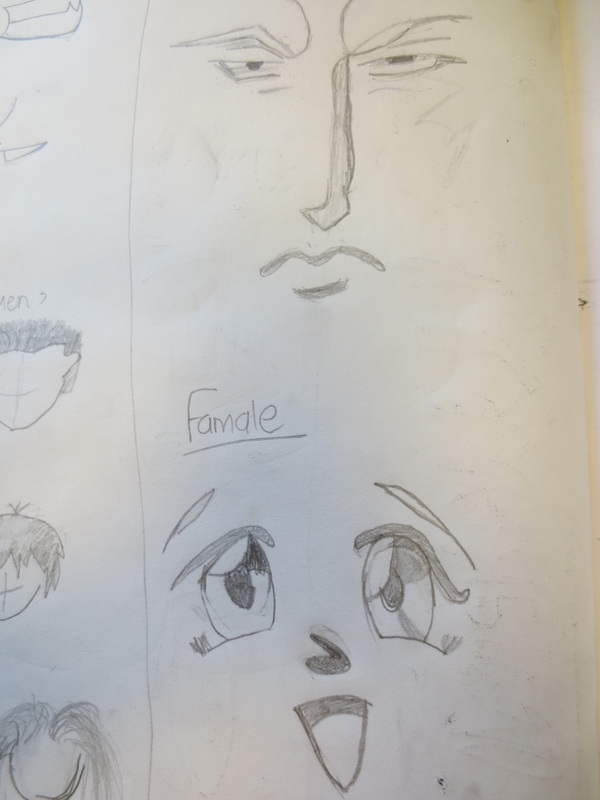
In Manga, one of the most important features are the eyes. The drawing of eyes allows characters to be recognizable and unique to the other characters, and are known as one of the most expressive components of the face.Female Eyes:
|
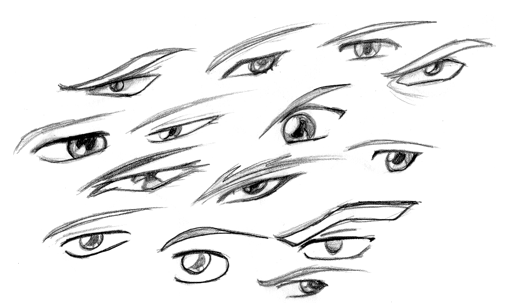
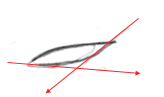
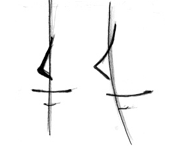
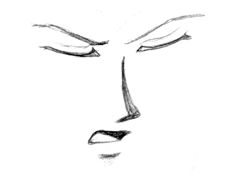
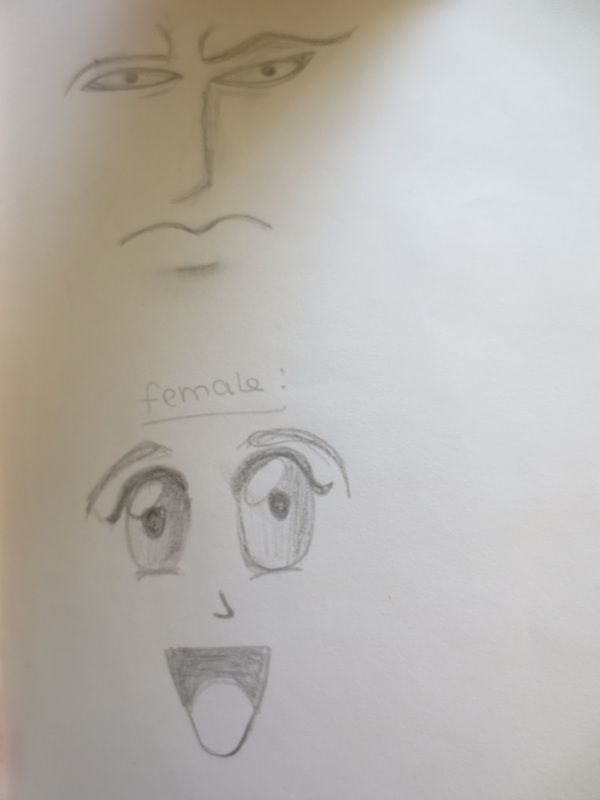
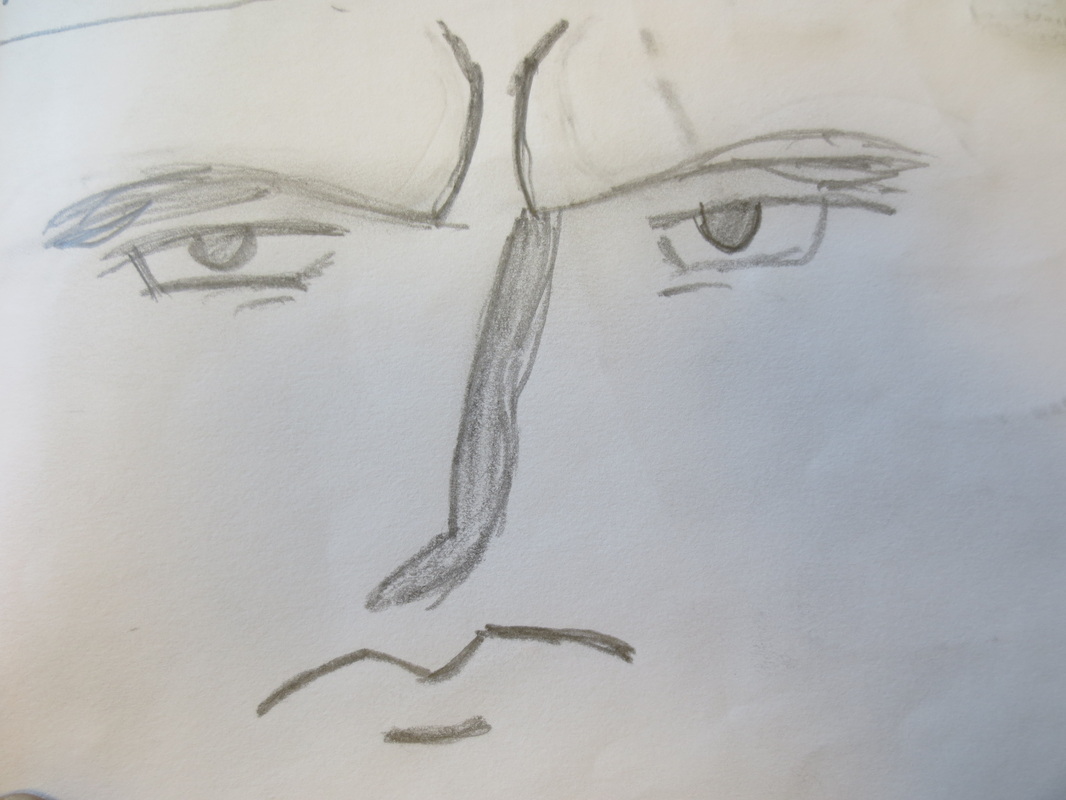
The easiest way to draw Manga, is to draw each facial feature in a step by step structure. Follow the instructions below and begin to practice drawing the different facial features of Manga.
|

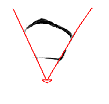
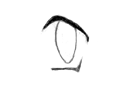


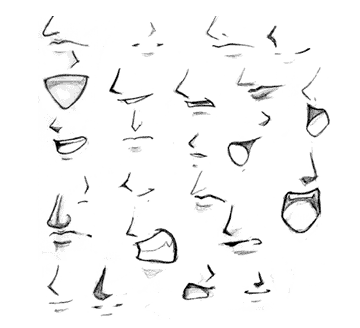
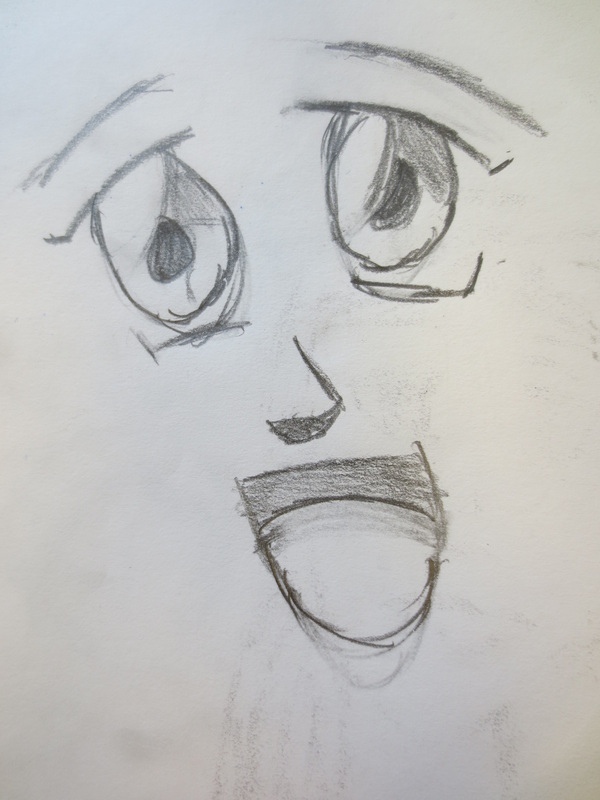
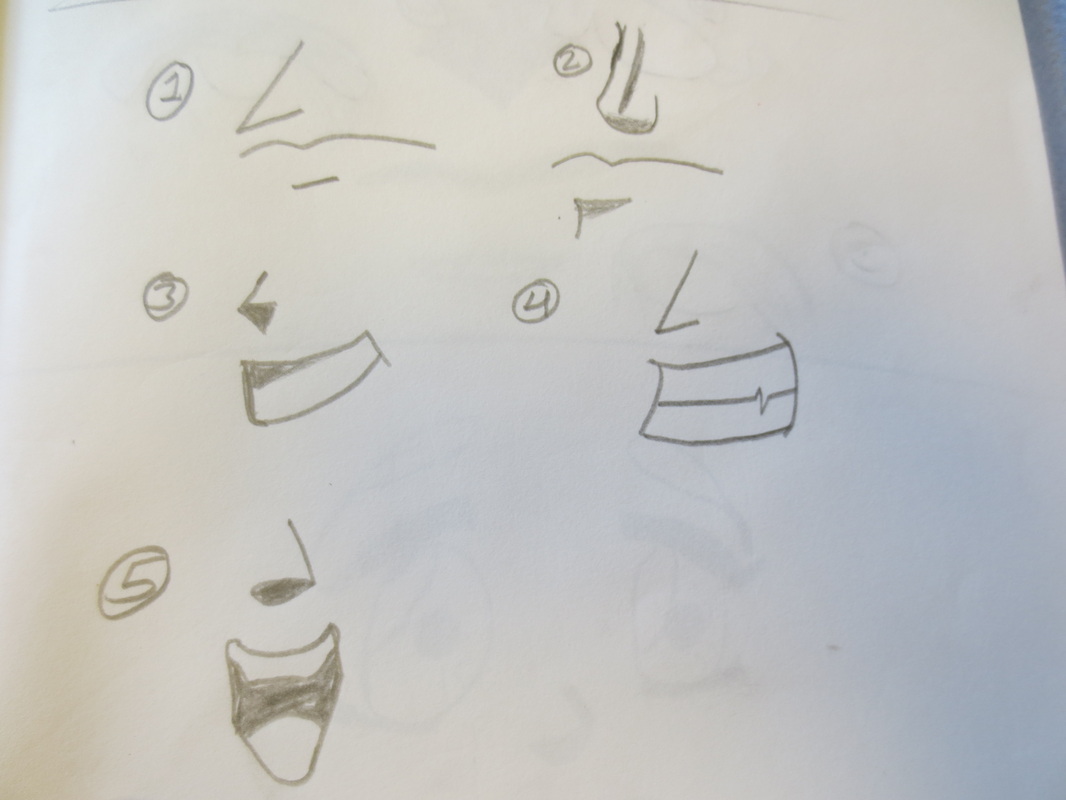
Creating Mouths and Noses:
|
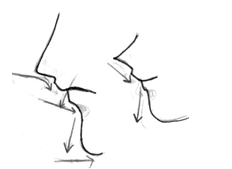
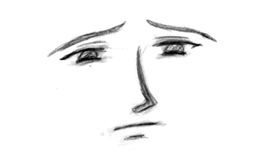
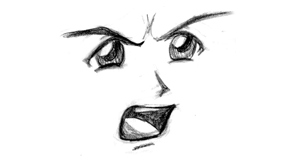
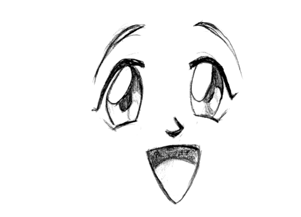
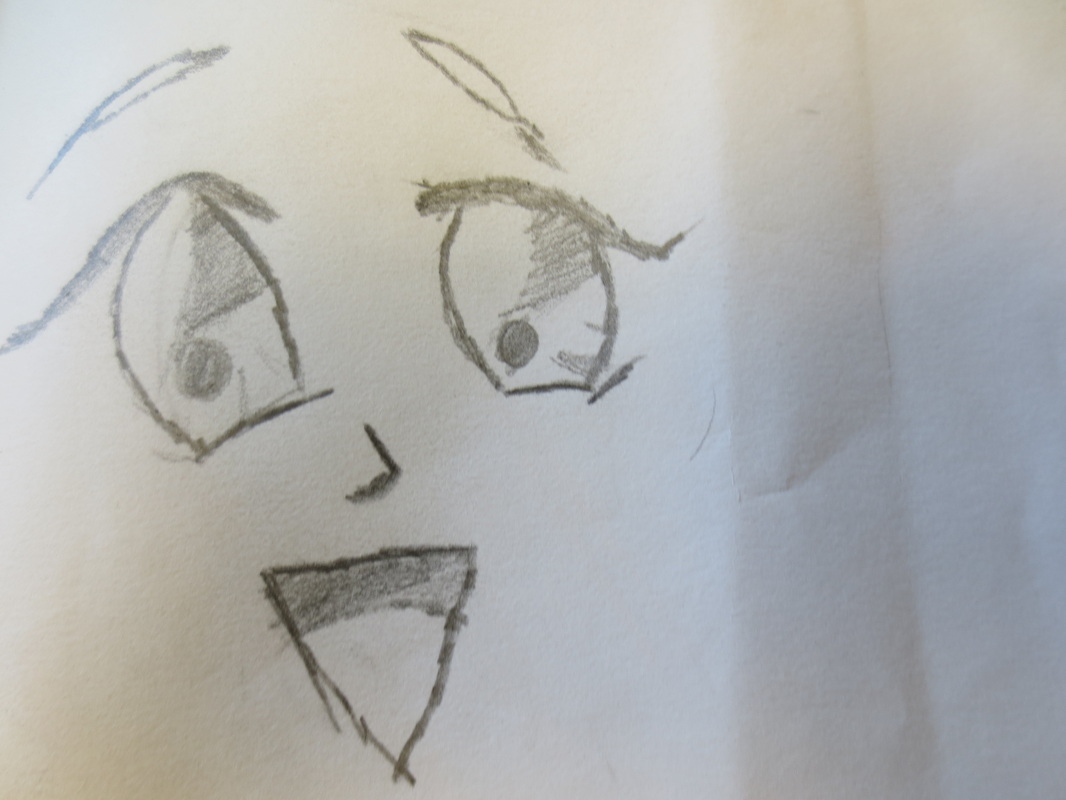
Manga Facial Expressions:
|


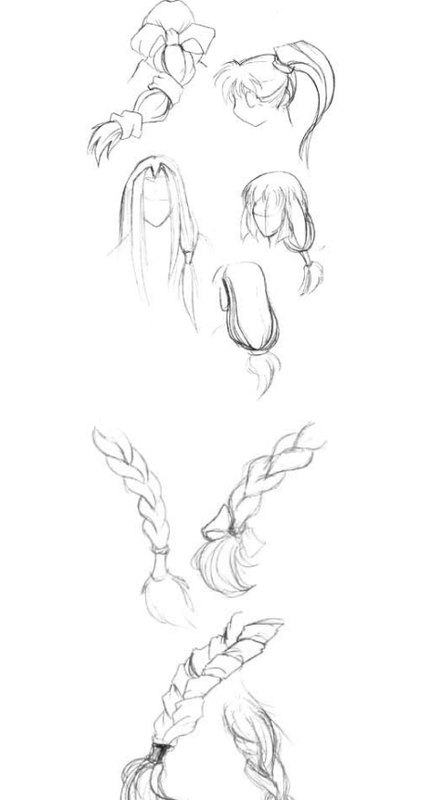
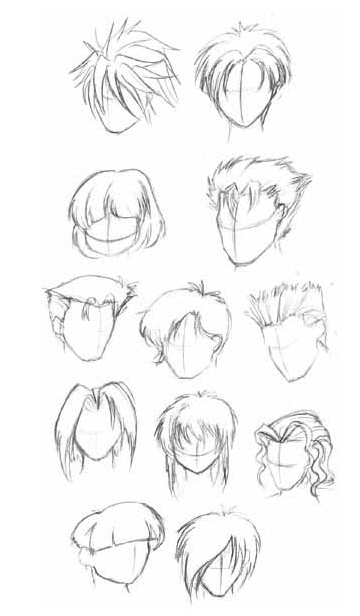
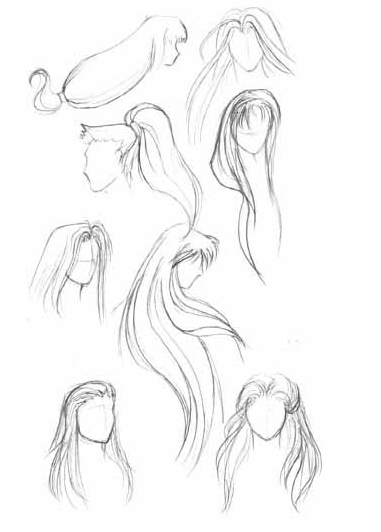
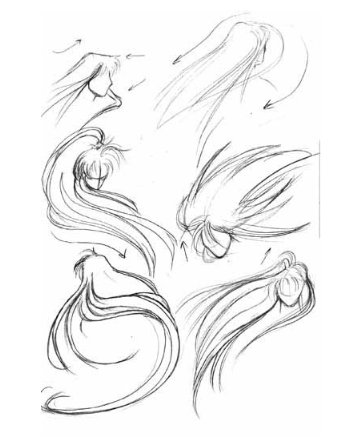
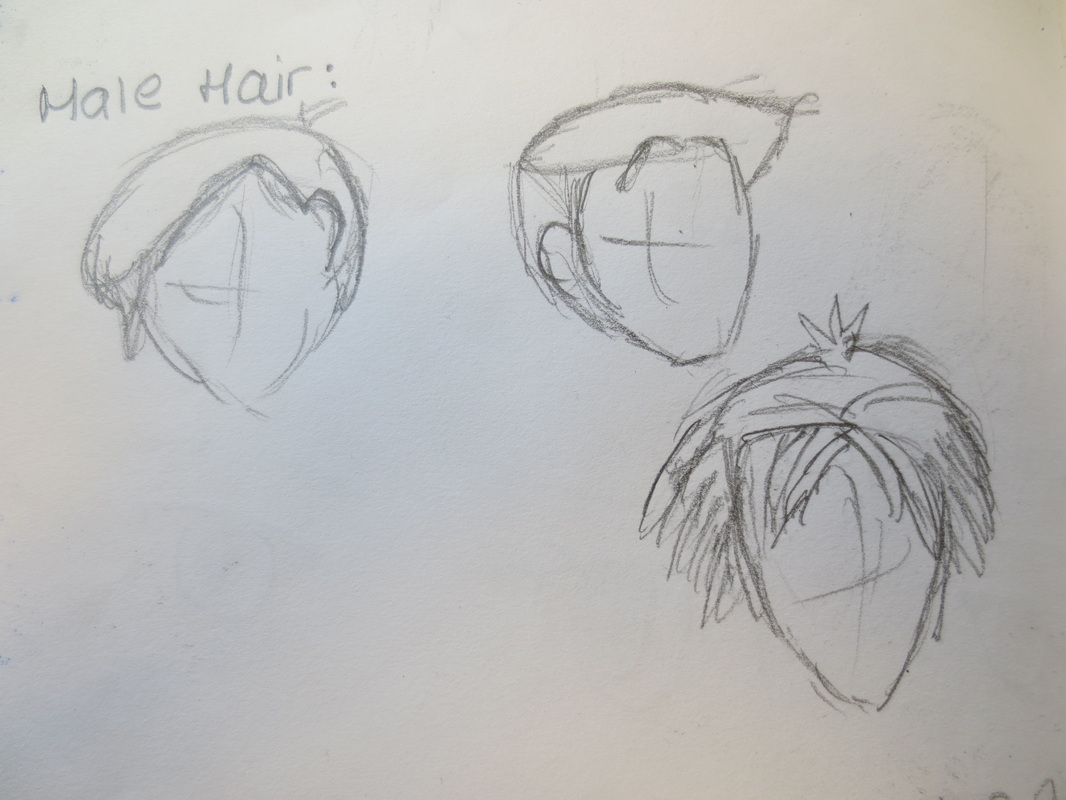
Manga Hair:
Manga hair is seen as being quite difficult, but similar to drawing the facial features, you must break down drawing the hair in sections.
|
|
|
|

|
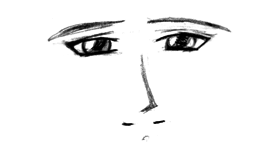
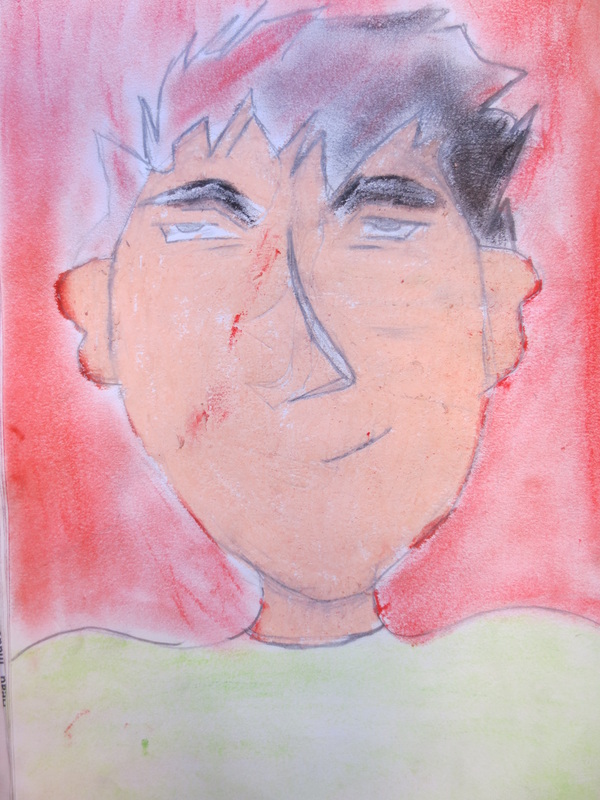
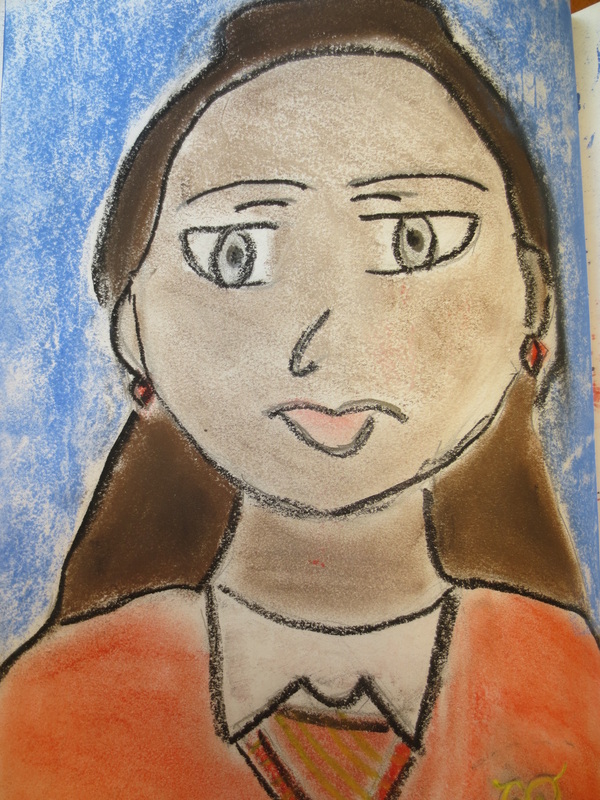
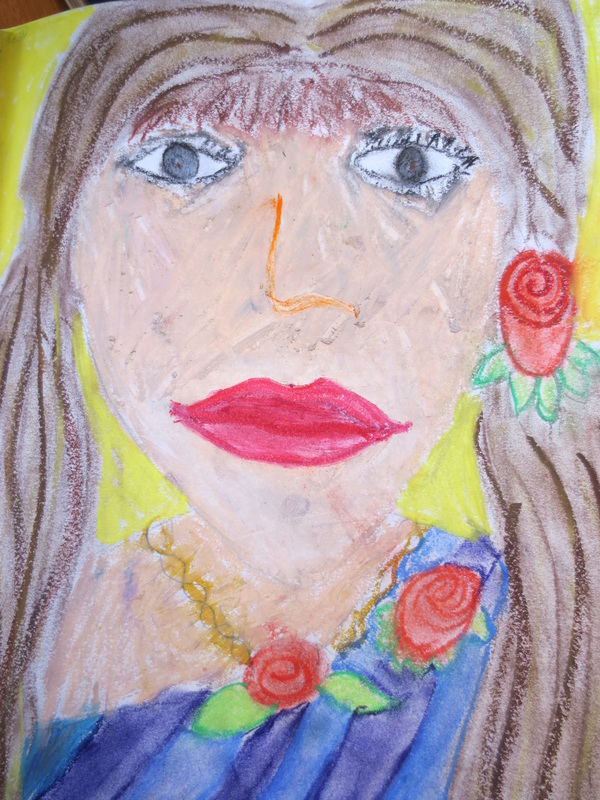
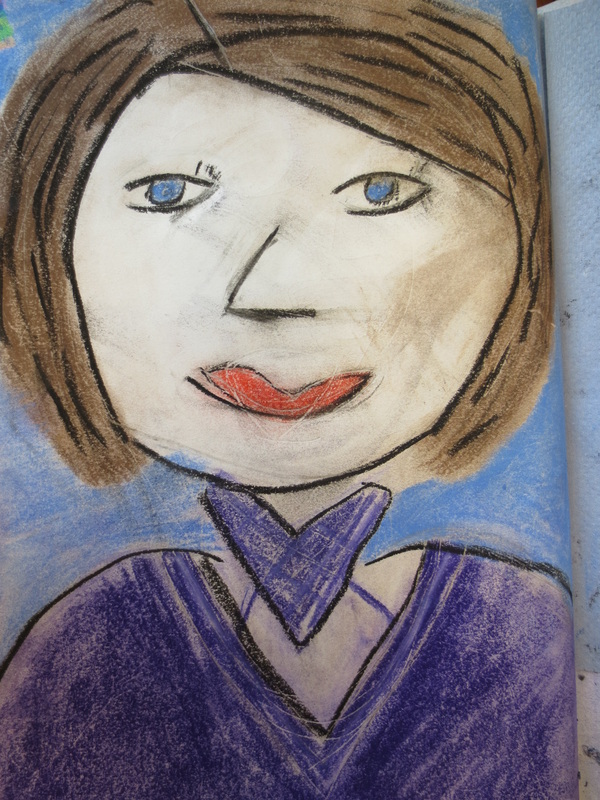
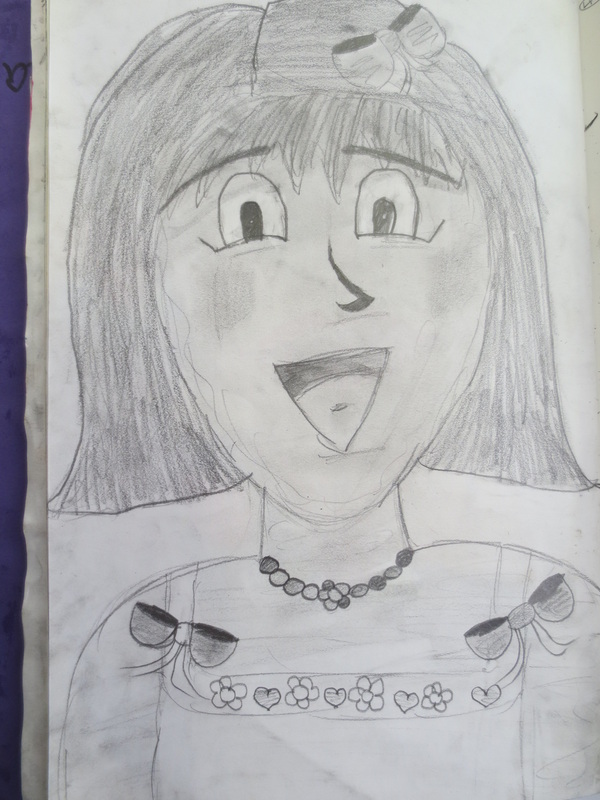
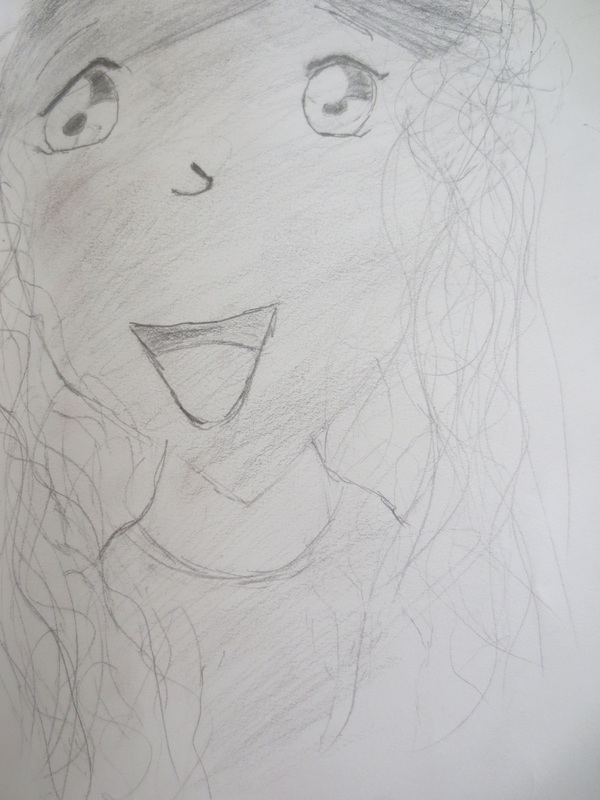
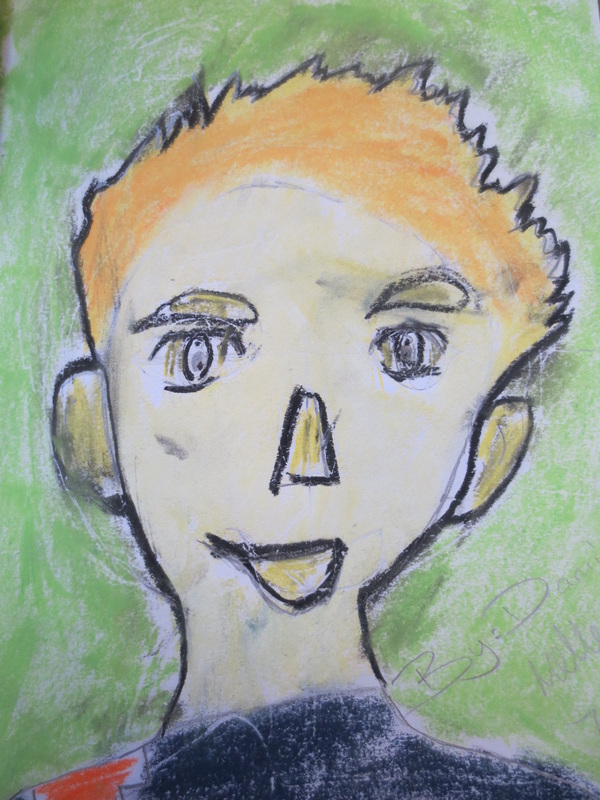
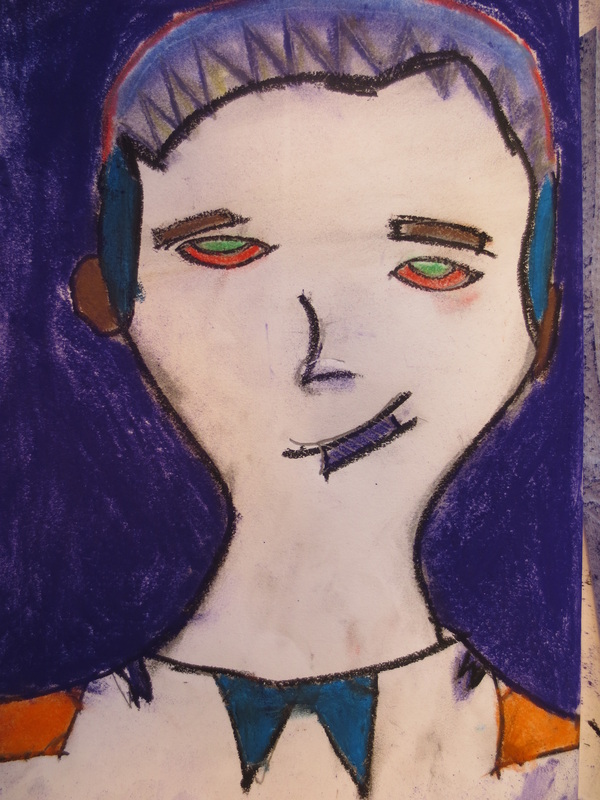
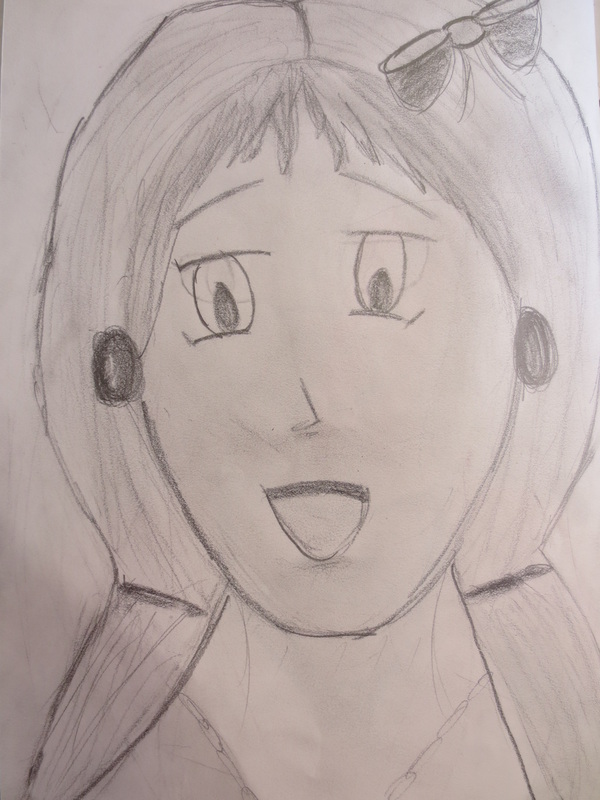
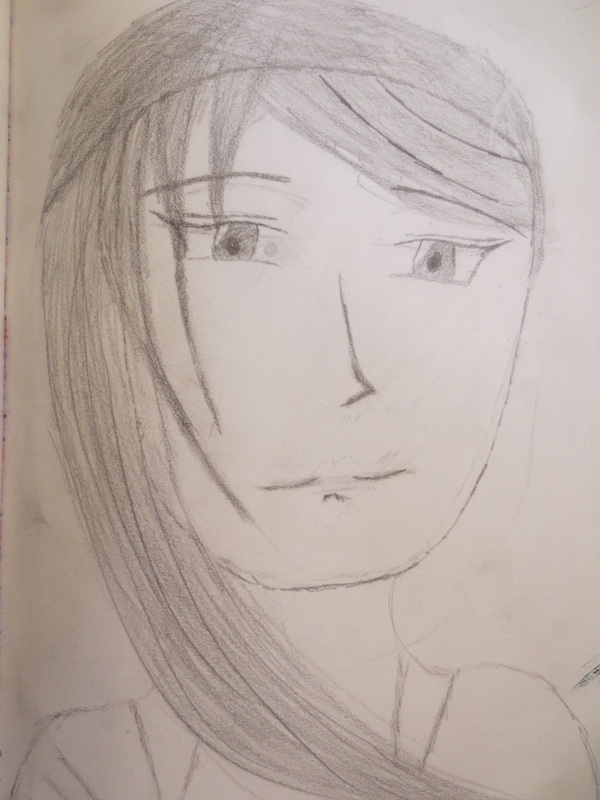
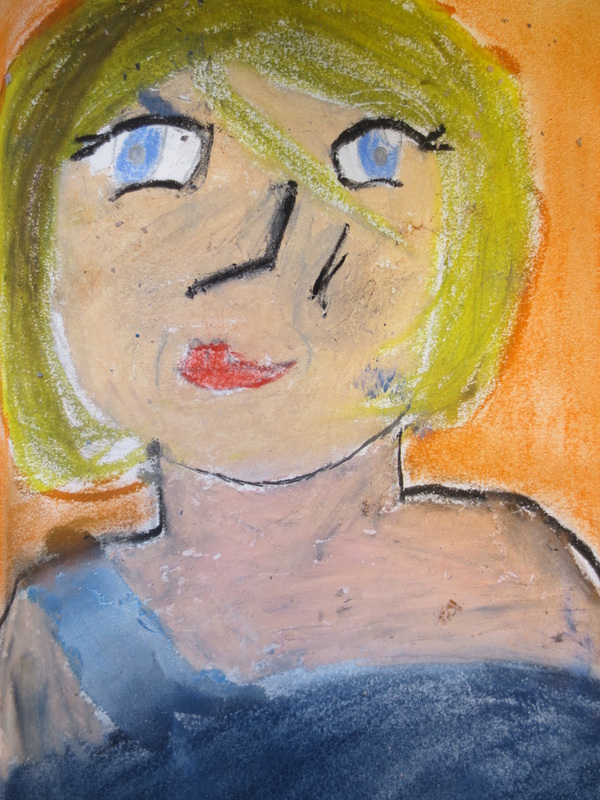
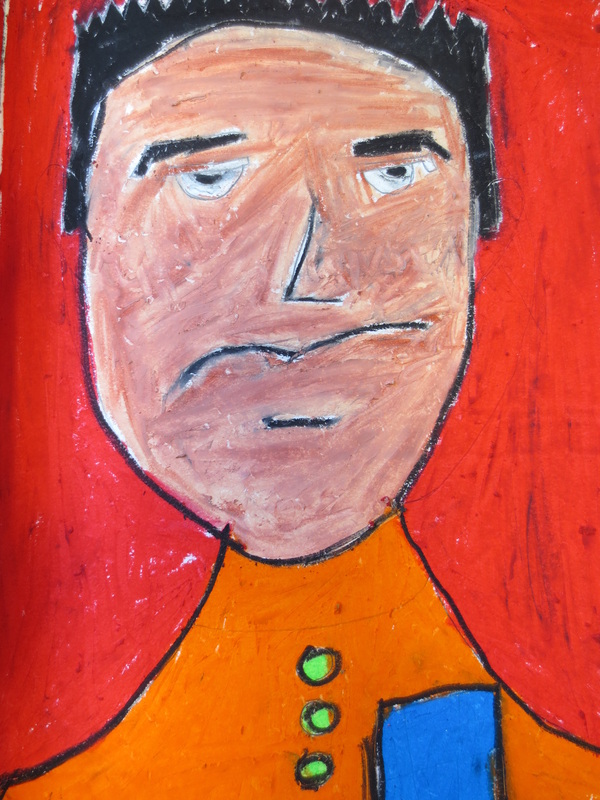
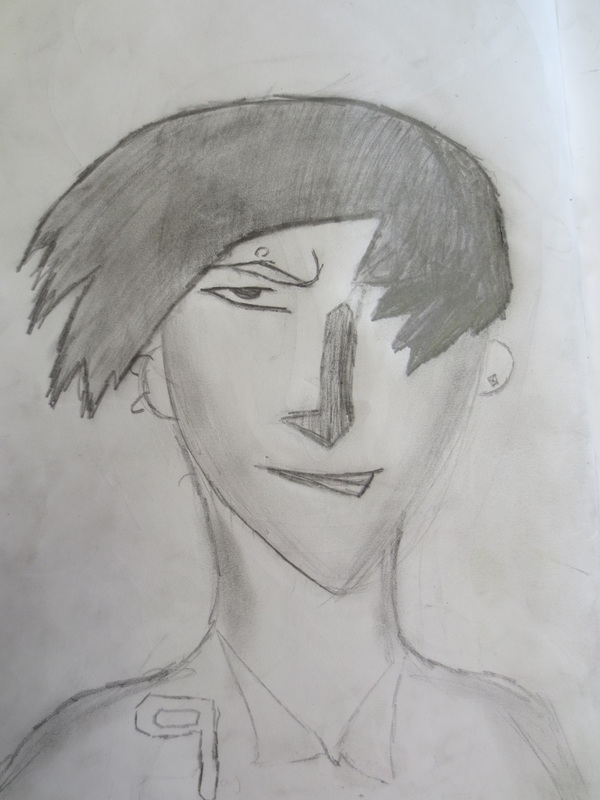
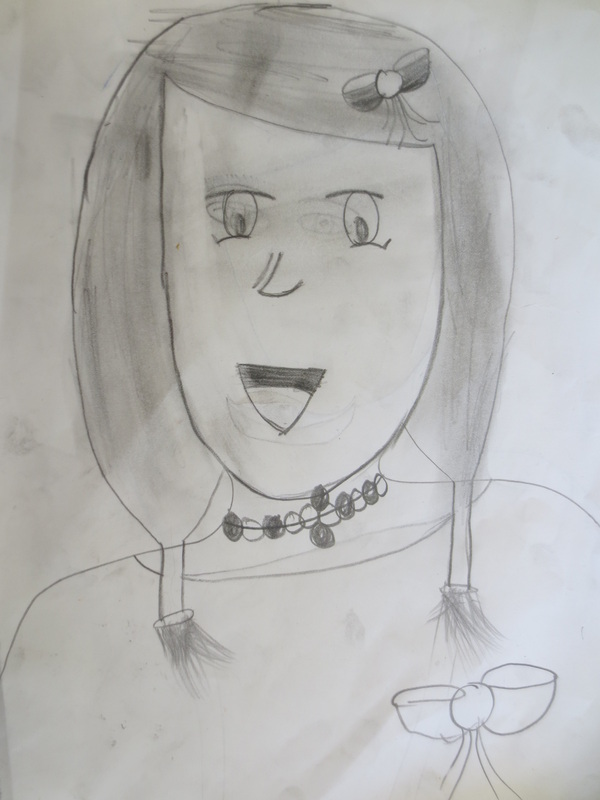
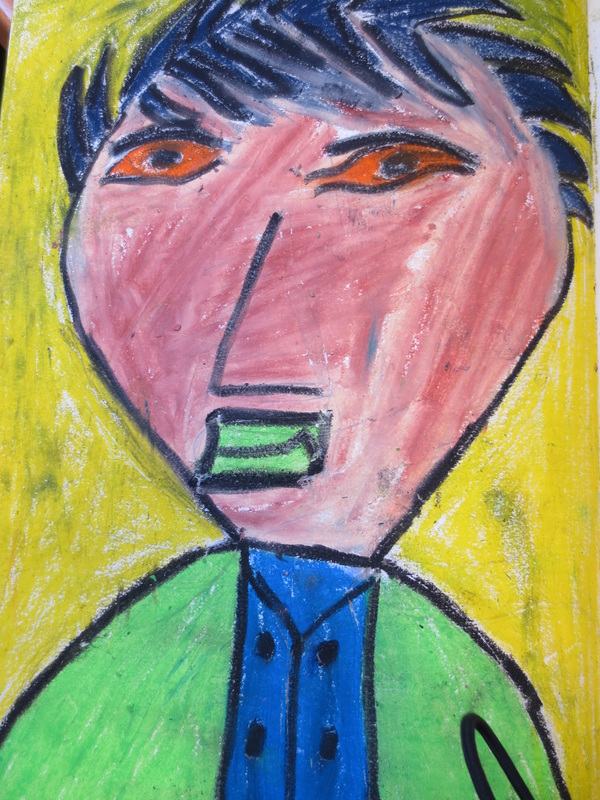
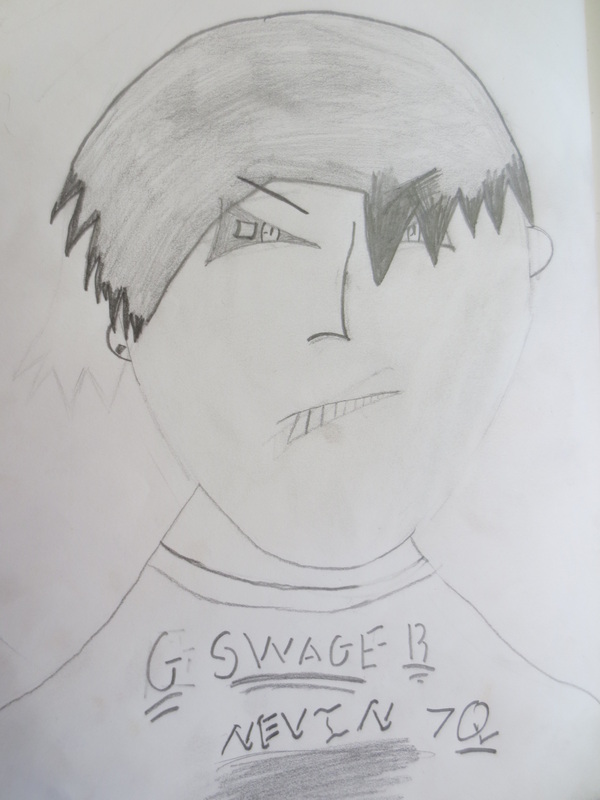
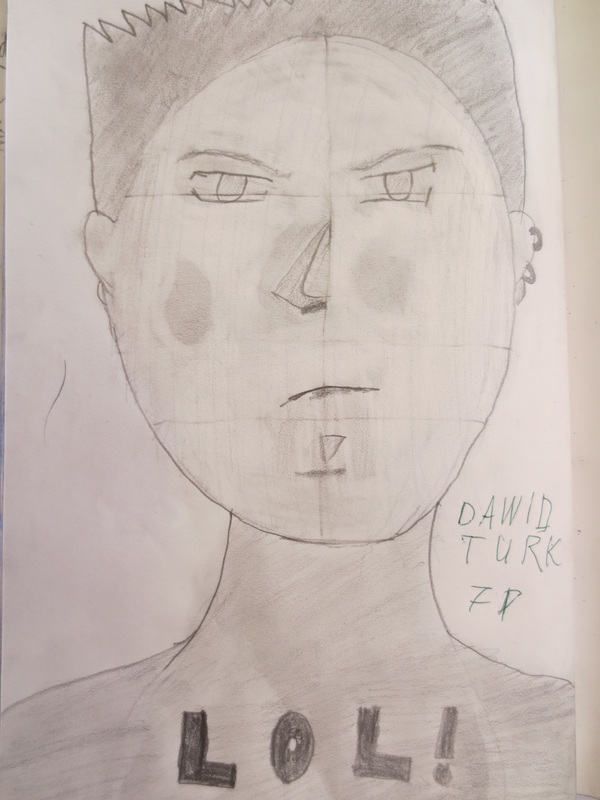
Practice Makes Perfect, Put Your Face Together!

|
|

|
1. Bring in a photograph of yourself to class. (Be sure that the photo is of a frontal view of your face).
2. Observe the shape of your features. Which eyes, mouth and nose combination and hair in manga, best suit your facial features?
3. On a blank sheet in your sketchbook, create a small contour or outline of your face.
4. When you begin sketching your manga, break up the face into equal components. (Refer to the facial dimension and realism link at the top of the website).
5. Choose your features. Begin by drawing the eyes. Once the eyes are in proper place, it will be easier for you to continue with the dimension of the other features, in proper proportion on the page.
6. From the eyes, you can draw the nose to mouth combination and move into defining the details of your facial features.
7. Complete the face by adding hair.
8. When the sketch of your self-portrait is finished, complete your work by adding layers of paint. Using thick paints allows you to add layers and create a bold, comic-like painting. Apply the paint evenly throughout your piece, choosing colours that will compliment who you are.
9. Outline your features and complete the face using a black felt-tip. Use crisp and neat lines to complete your painting.
|
|
|
|
|

|
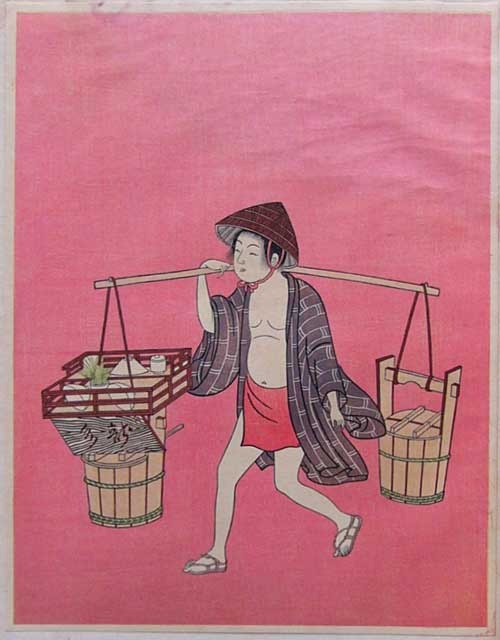
Japanese Costume and Pattern
Just by looking at this image: What conclusions can you come up with for what this costume is and what it is used for?
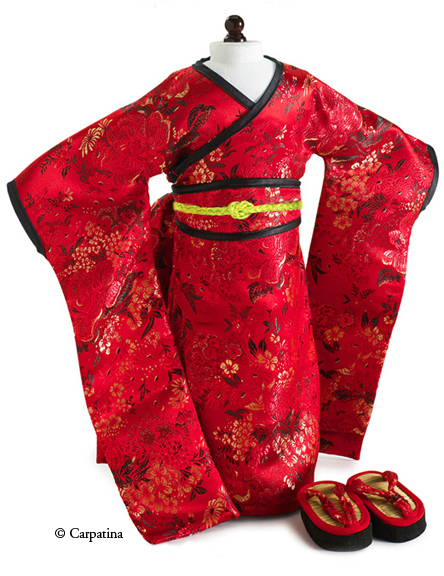
This costume is called a Kimono.
In Japan, the kimono was the traditional dress of both men and women, created using beautifully embroidered and decorated fabrics; usually made of silk or satin, which was very expensive and valuable.
For men: the kimono would be available in various sizes and consisted of no more than five components. Male kimonos would fall straight and should reach his ankles.
For women: the kimono was generally one size and could be folded and adjusted according to the woman's body. Women's kimonos were alot more complicated in design, with usually tweleve components and would be larger and long enough flow to the woman's feet and be tucked and folded. Women would dress in a different style of kimono depending on whether they were married or single.
Styles of the kimono would change according to the time of year.
Today kimono are worn only for special occasions, and usually is created using less expensive fabrics from traditional silk and satin.
What does a Kimono look like?
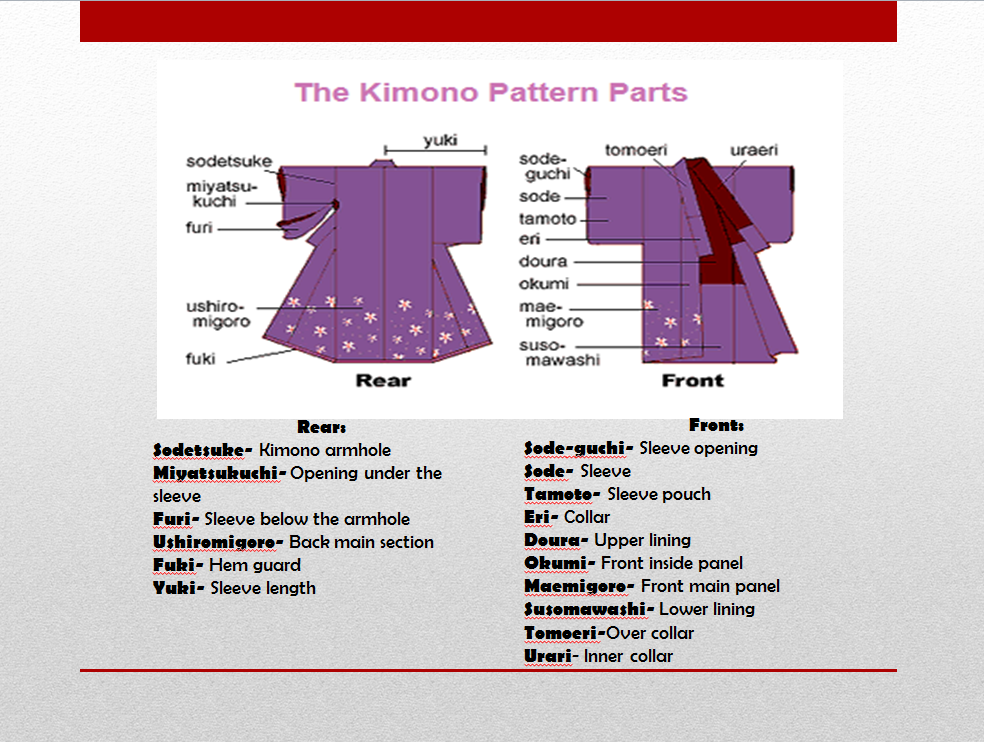
Back View:
Male Kimono: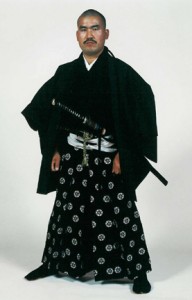
|
Folded View: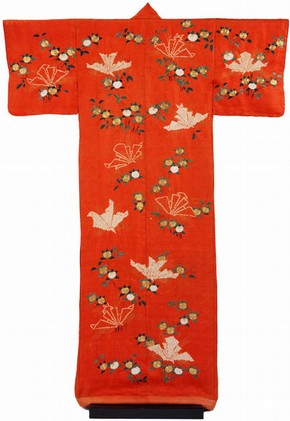
Various Styles: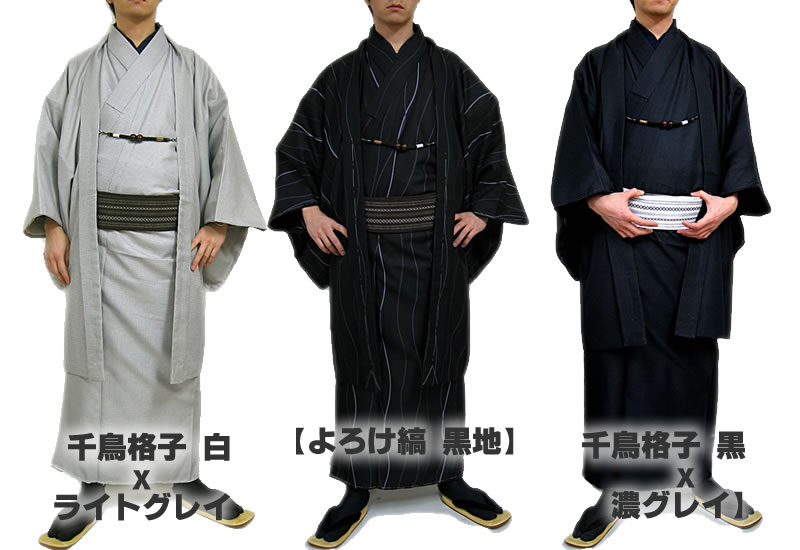
|
Traditional Japanese Dress: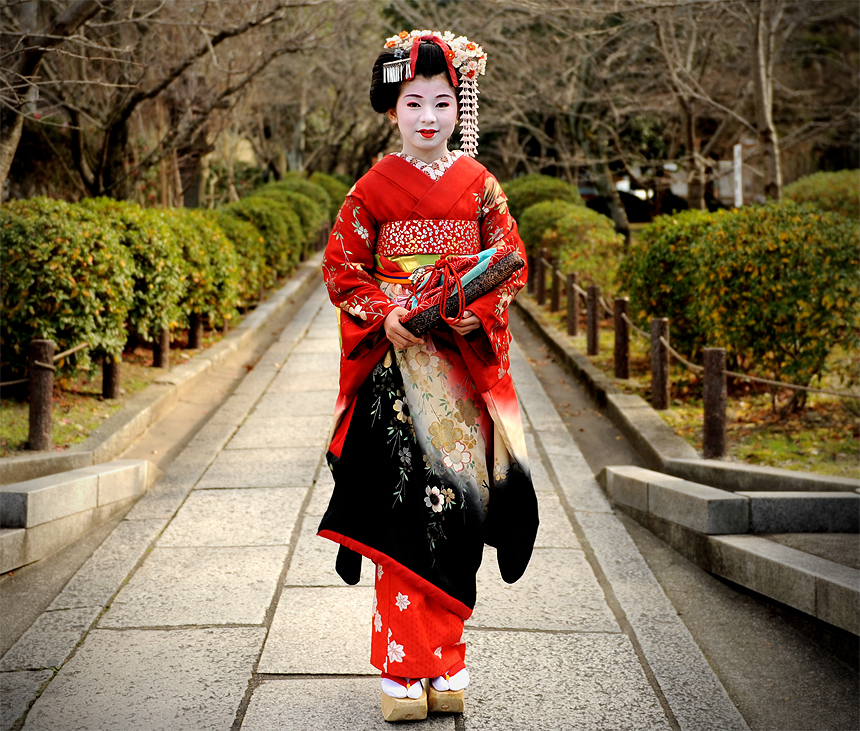
Traditional Japanese Dress: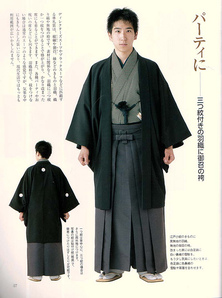
|
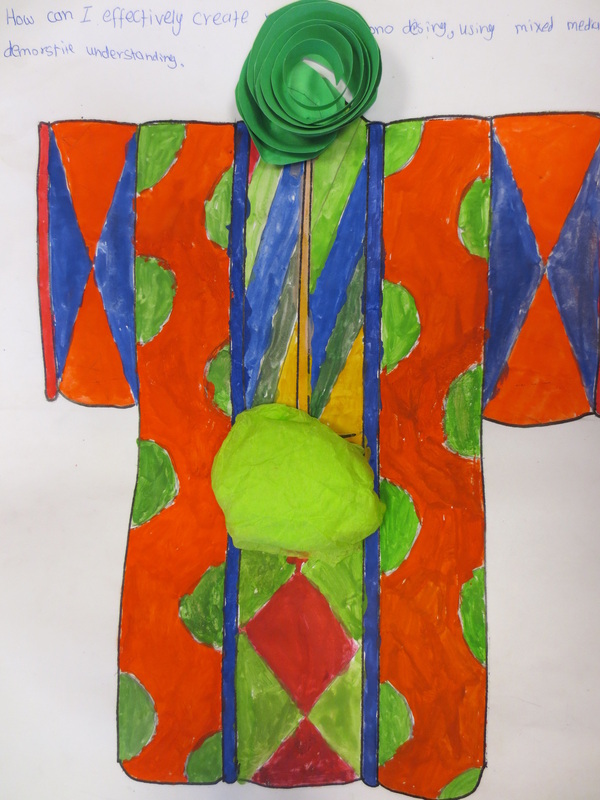
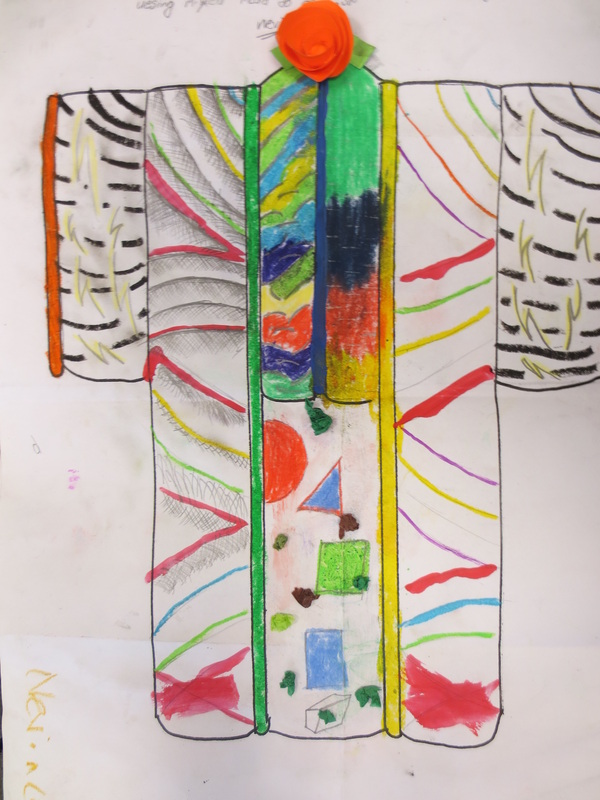
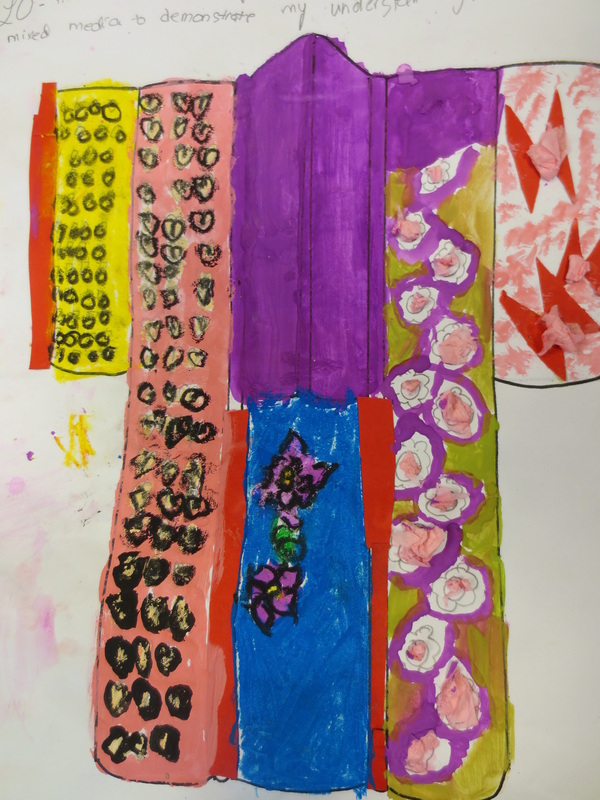
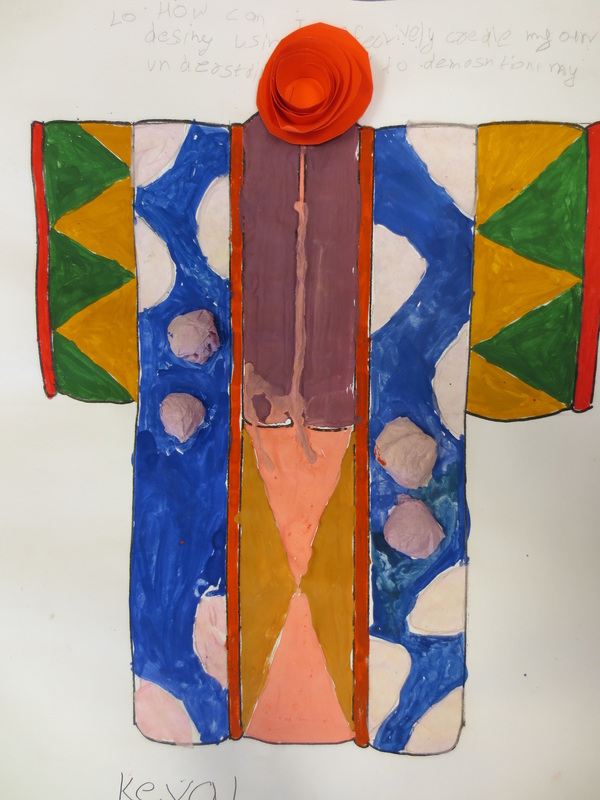
Lesson Objectives: How can I effectively create my own Kimono design, using mixed media to demonstrate my understanding of costume from other cultures?
H/L: Research various types of fabrics and patterns used in Japanese kimono designs.
Print off multiple images of the fabric, (in colour), and bring your samples to class.
Here are some examples of Traditional, Japanese, Kimono Fabrics:
|

|
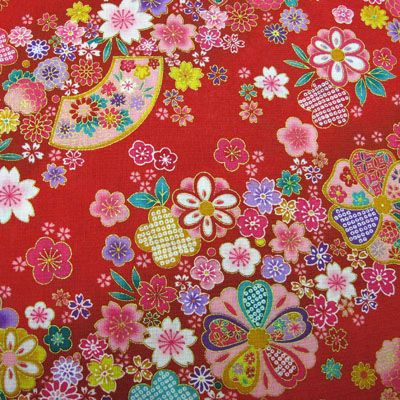
|
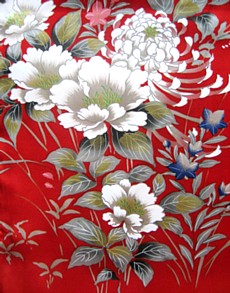
|
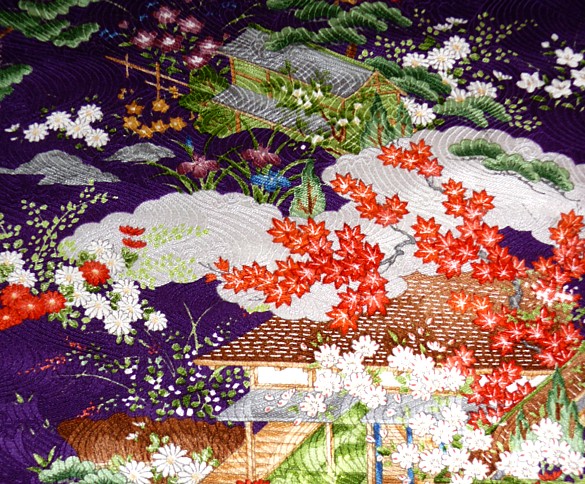
|
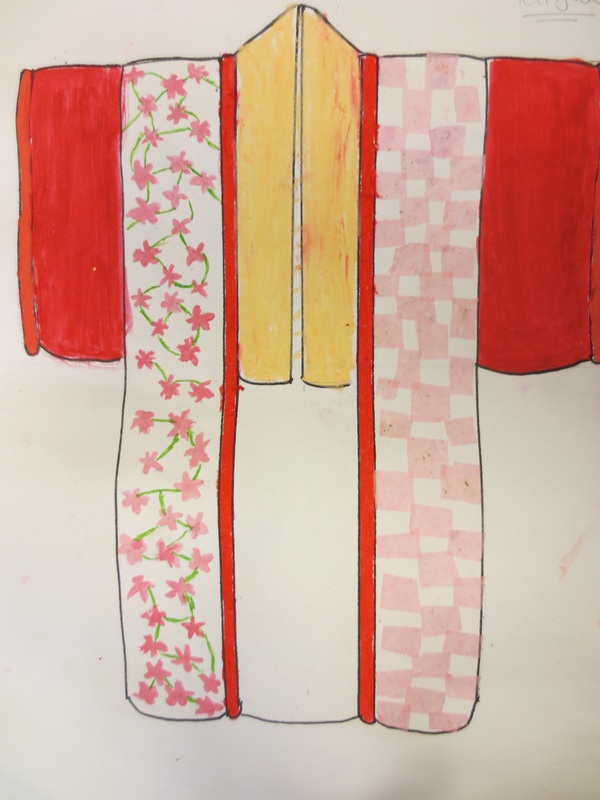
Putting Your Knowledge Into Practice:
1. Using your Kimono template on A3 Paper, cut your printed pattern into large strips and paste the strips in different areas of your template, leaving some areas of your page blank.
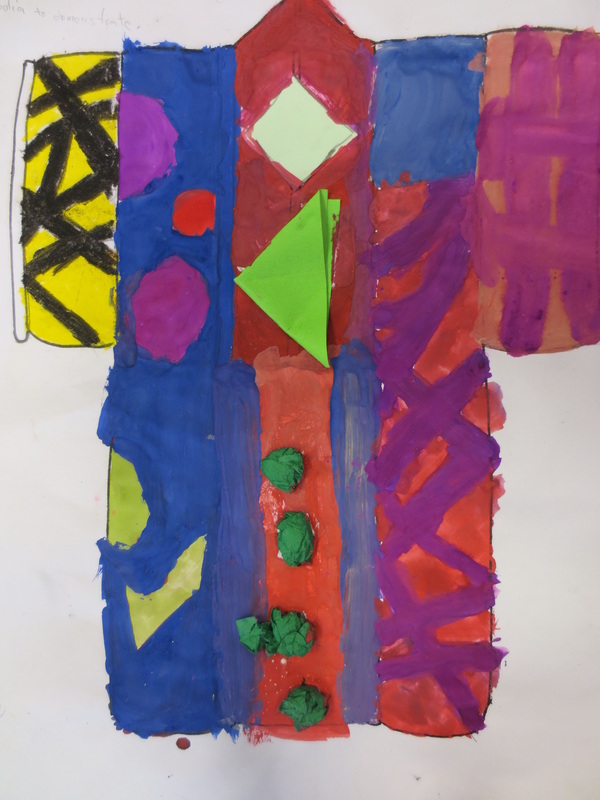
2. Observe the colours that are used in your kimono pattern. Choose small sheets of coloured paper, which match the colours in the fabrics. With your scissors, cut out different strips and patterns to try and mimic the original Japanese design, by pasting the paper into the pattern, (as if to continue the missing pattern).
*Try to make the pattern you create with your coloured strips, continue from the exisiting Japanese pattern, as though the original pattern was still in the blank spaces of your template.
*You want to make your work look as though those pieces have not been cut out, you want your work to look like one solid piece of art.
*You want to show the repetition of pattern and shape in your design.
3. Fill in the existing blank space using coloured pencils, be sure to colour hard on the paper, so that the coloured pencils look shiny and match the colour of the Japanese patterns you have chosen.
4. Complete your work by adding any details or exisiting lines with your coloured pencils.
5. If your work if completed properly, someone looking from further away will be unable to tell that you have used a variety of medium and materials to create a solid work.
KOMPLETING KOLOURFUL KIMONOS!! Year 7's Stylin'

|

|

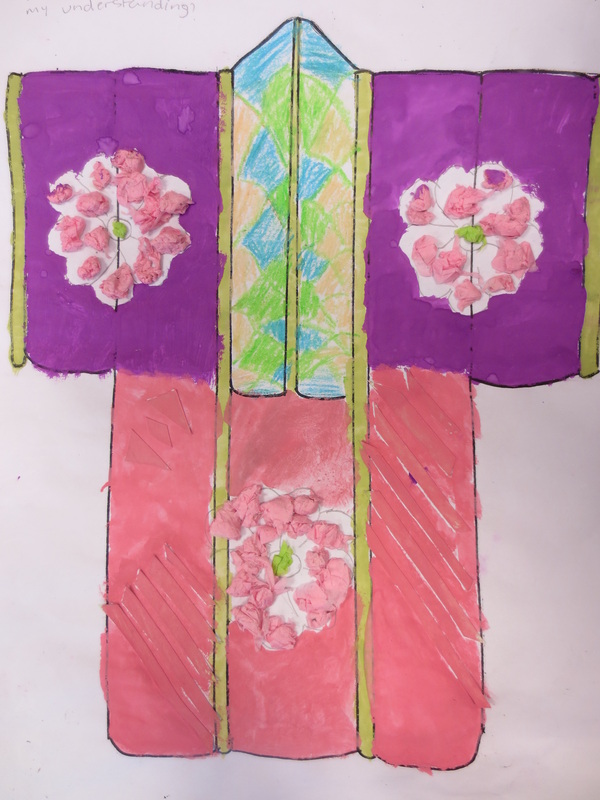
|
|
|
|


|
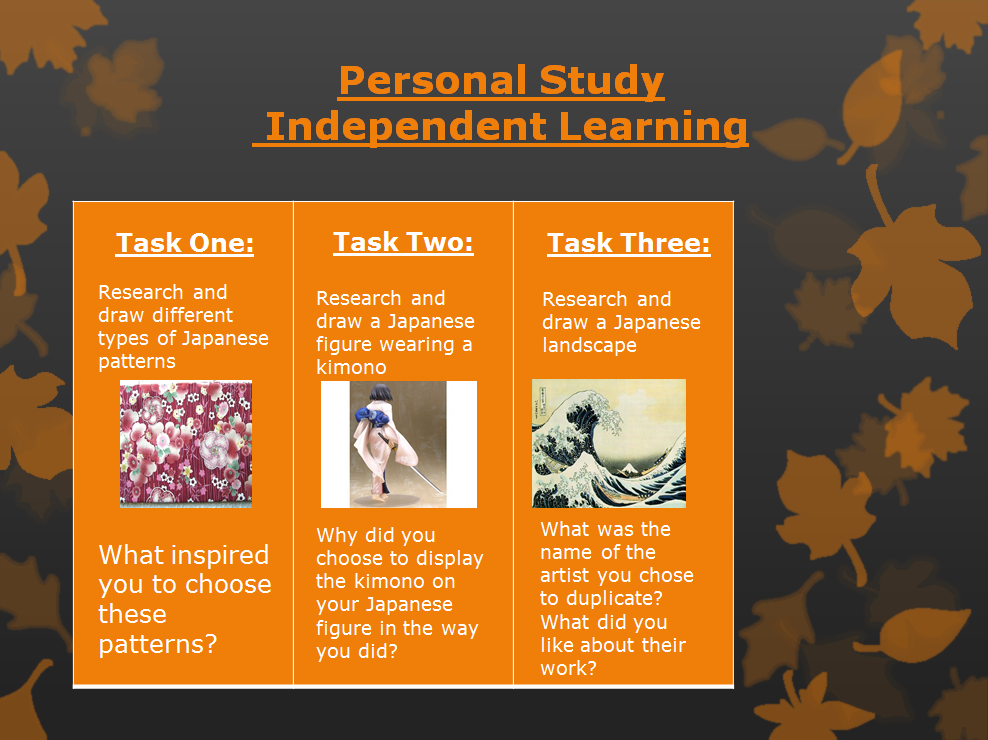
Personal Study on Japanese Art
Choose one of the three following tasks.
Independently research your tasks, and write down all of your observations.
Look at different Japanese patterns, kimonos and paintings.
Choose elements of Japanese art that you appreciate and are drawn too.
Think about the things you like and why these pieces have inspired you to research them further.
Lesson Objective: How can I use my research on Japanese Art to create my own Japanese inspired work of art?
- Using your research, sketches and ideas, put together your own work of art, (whether it be a pattern you've created from ideas you've researched, a figure wearing a kimono or a landscape painting).
- You may use whichever medium you decide is best to complete your work.
- Complete a large scale, independent work of art, including all the necessary details and colour to finalize your piece of art.
- Hand in for assessment.
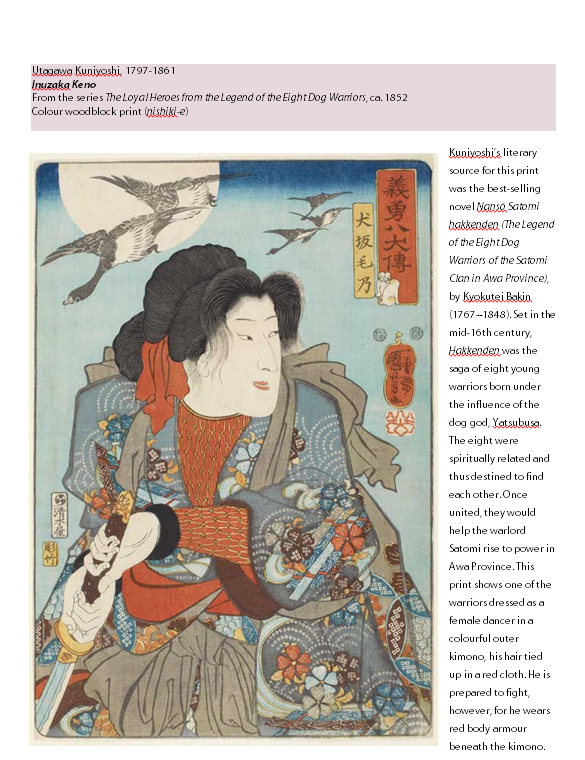
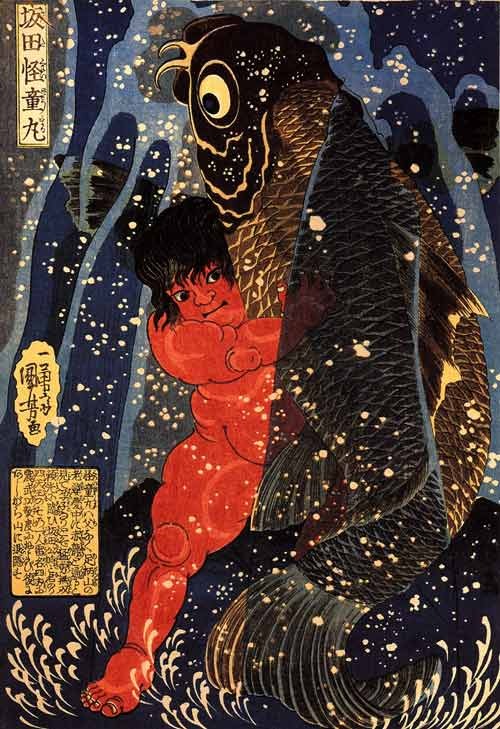
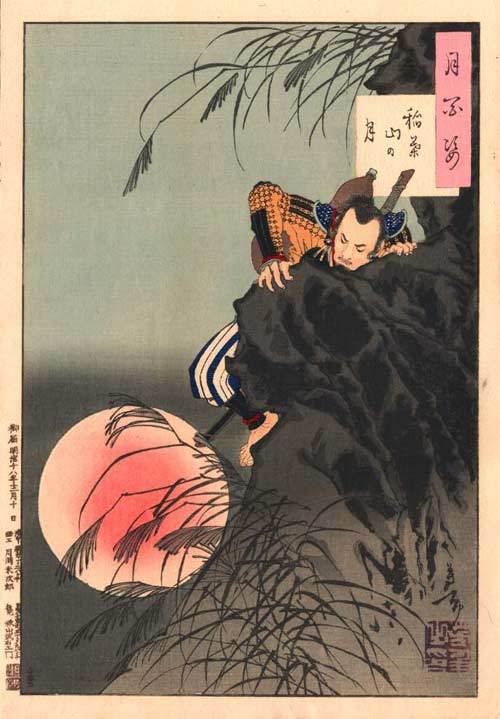
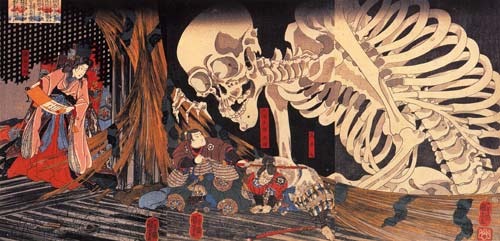
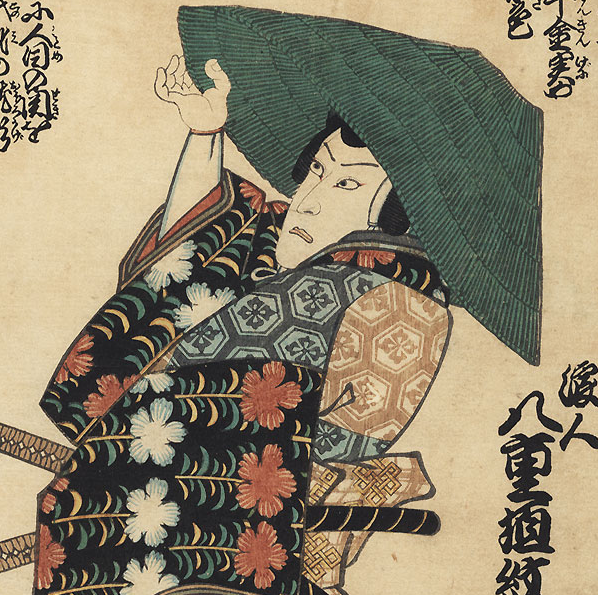
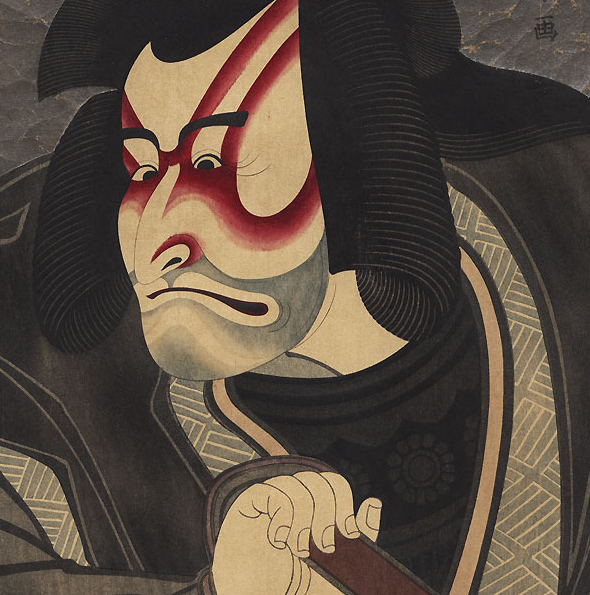
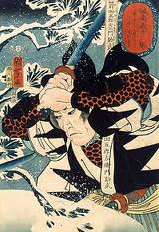
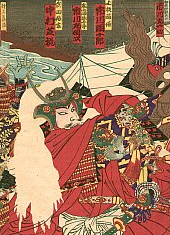
Lesson Objective: How can I create a Utagawa Kuniyoshi painting using chalk pastels?
|
|

|
|
|
