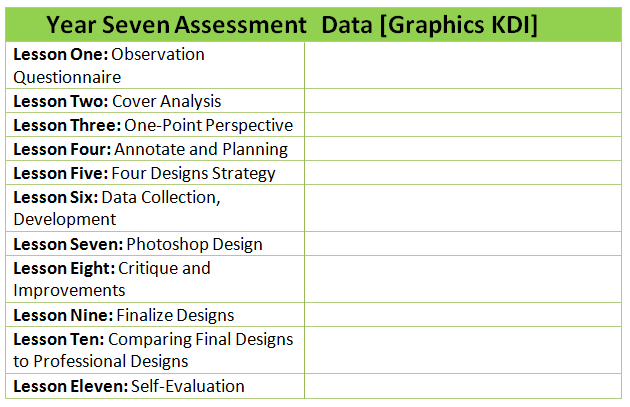
Year Seven, Creating CD/DVD Covers in Graphics
What is Graphics?!

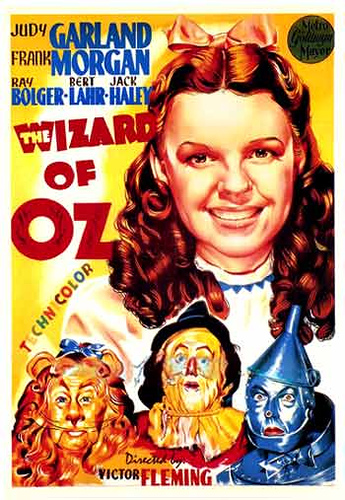
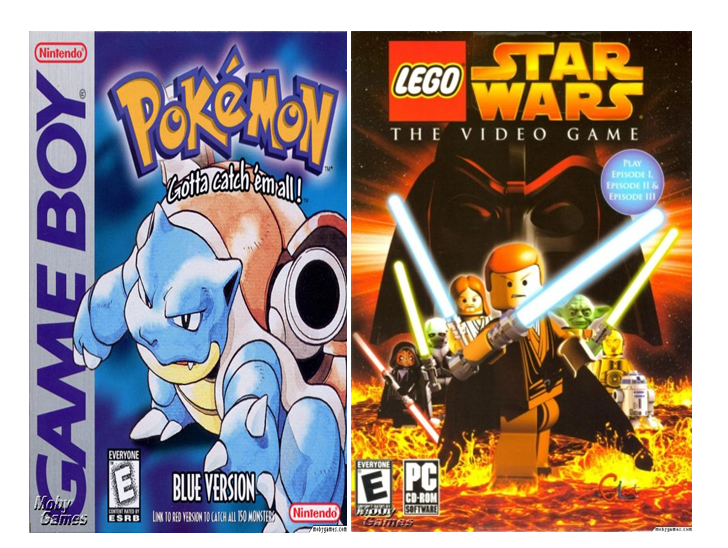
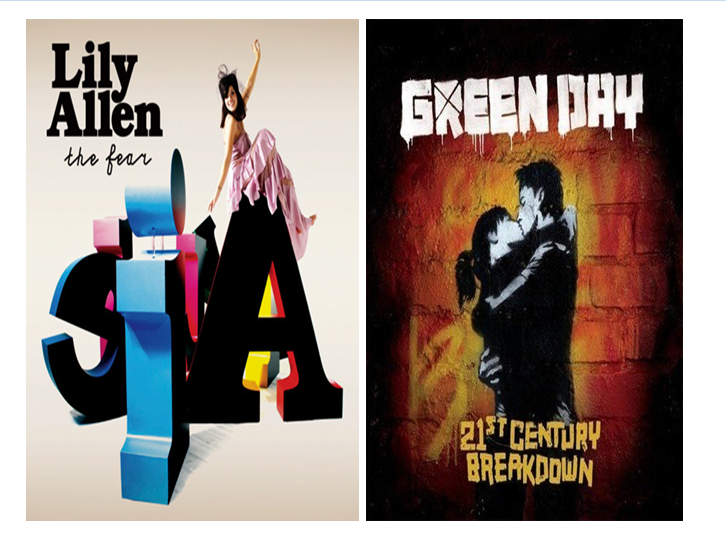
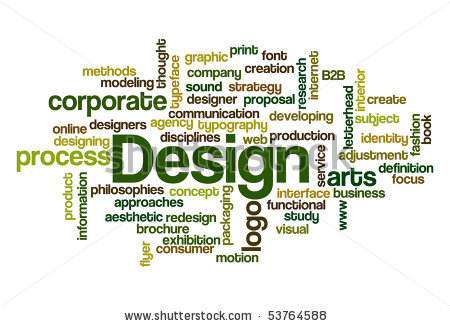
Observe the following images in the anchor chart on the left. Can you identify which images are a form of graphics and which are not? How do you know? In your own words, can you describe what graphics is?
Lesson One:
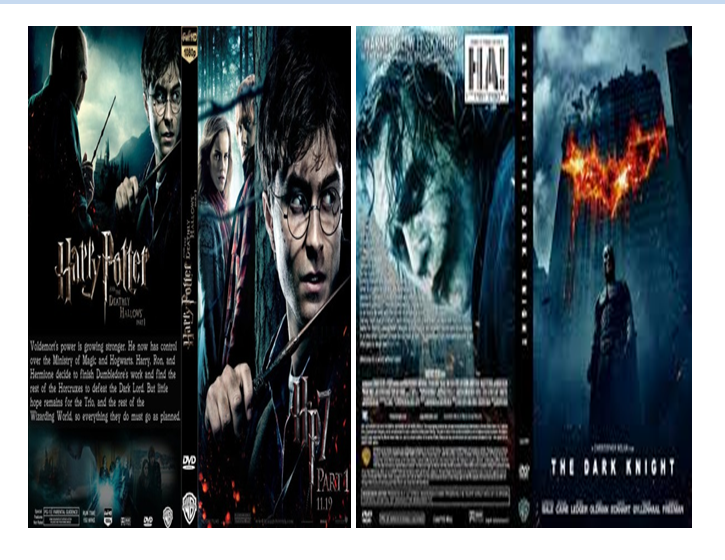
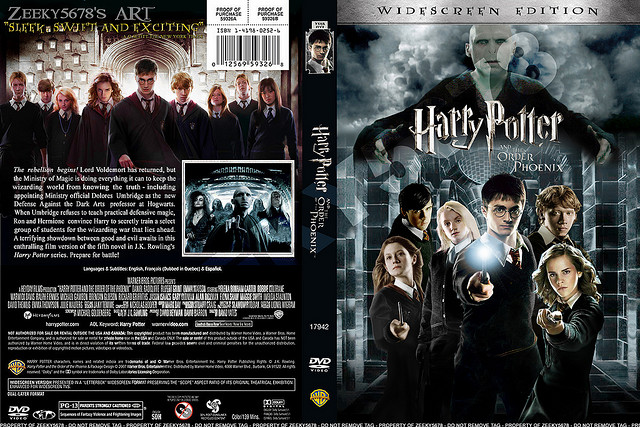
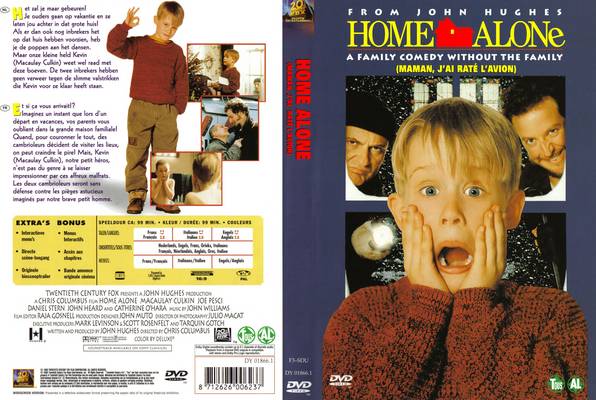
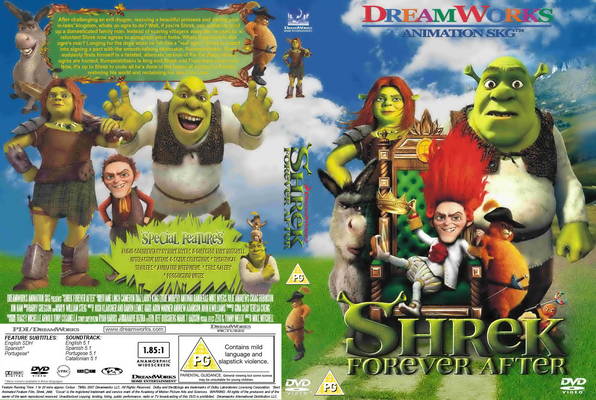
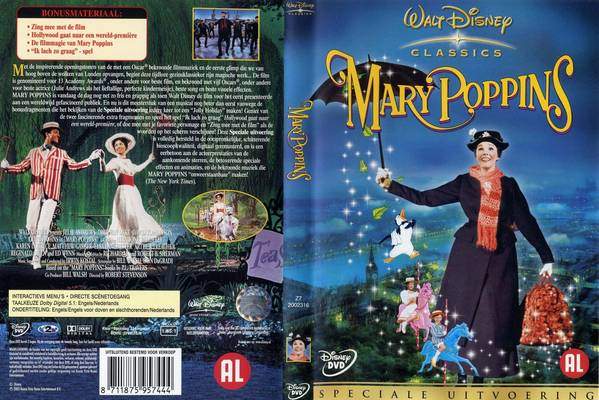
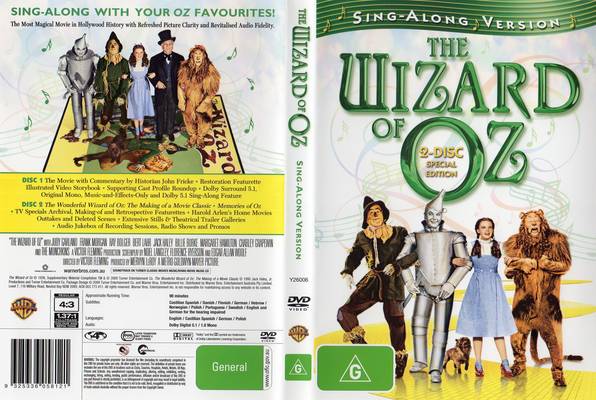
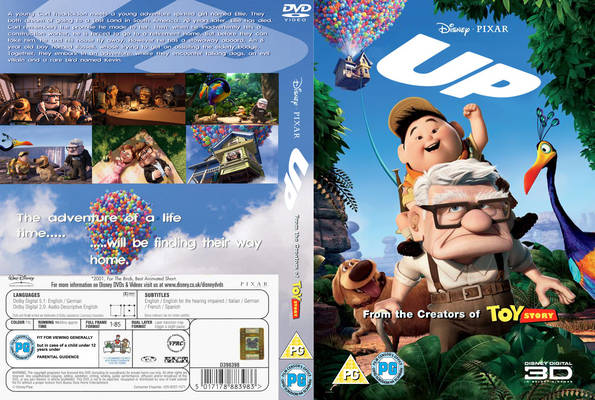
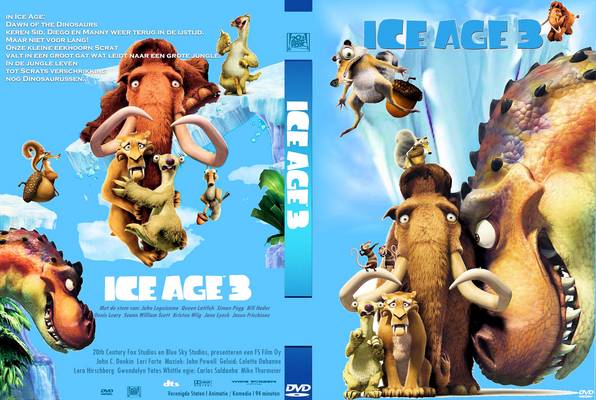
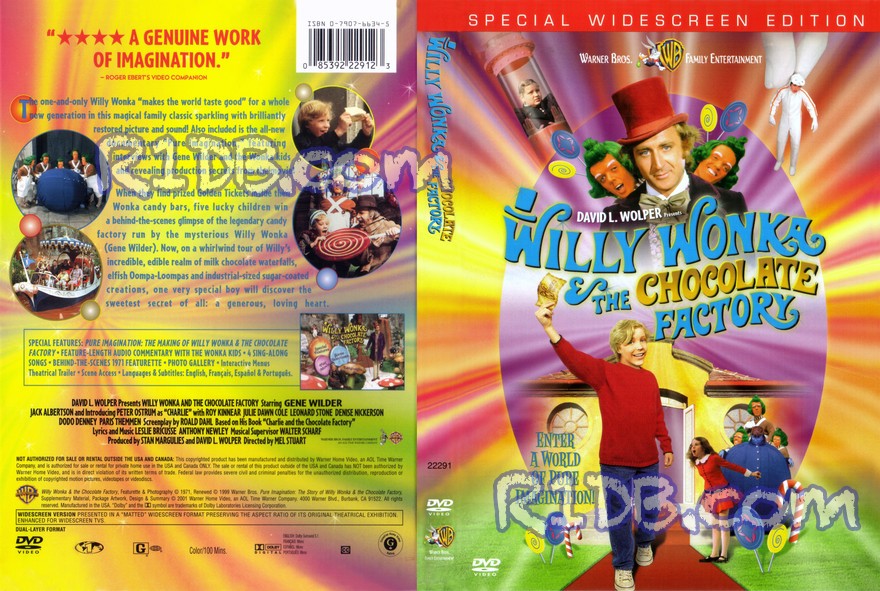
Objective: Can I evaluate which adverts are more successful than others, based on the graphics alone?
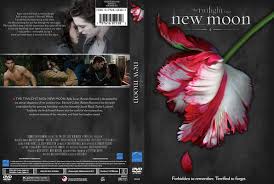
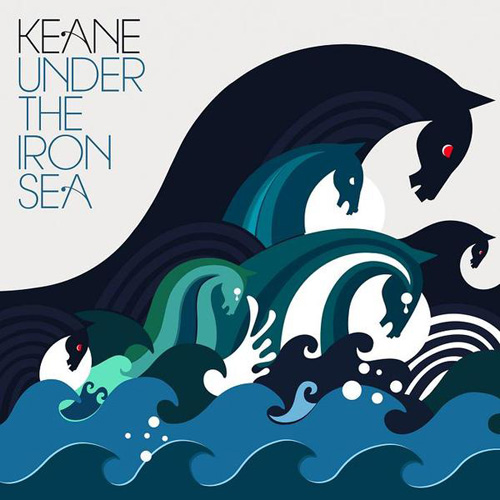
Which DVD would YOU purchase, just by looking at the adverts.

|

|
|

|

|

|

|

|
Observe, Reflect, Re-Create, SUCCESS!
1. Choose the advert that you believe to be the least successful, from the eight you have observed.
2. List the improvements that could be made to make this advert more successful? (What could you change?).
3. Re-create the advert, on a piece of A4 paper, in pencil, showing the improvements you have listed.
Use coloured pencils only!
Outline all of your penicl marks!
Be sure your work is
presented NEATLY before you hand it in.
Examining and Re-creating Successful Adverts
1. Working with a partner, observe the adverts below and really looking at the graphics that have been used.
2. On one side of your blank A4 sheet of paper, paste what you and your partner think is the most successful advert in the middle of the page. (Reminder to write "Most Successful" above the image).
3. On your A4 paper, being to write down all of the reasons why this advert is successful. Use arrows, key words and examples to support your thoughts.
4. Complete the same task with the other advert you were given on the opposite side of your A4 sheet. Decide between your partners whether the adverts are successful, or unsuccessful, based on your opinion.
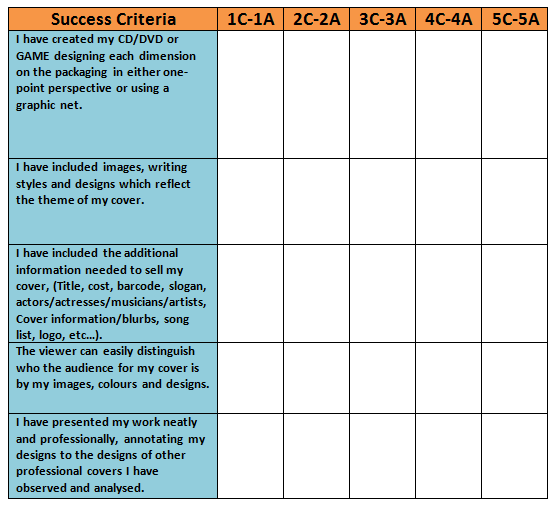
Does My Work Reflect The Example Above?
|


|
Lesson Two:
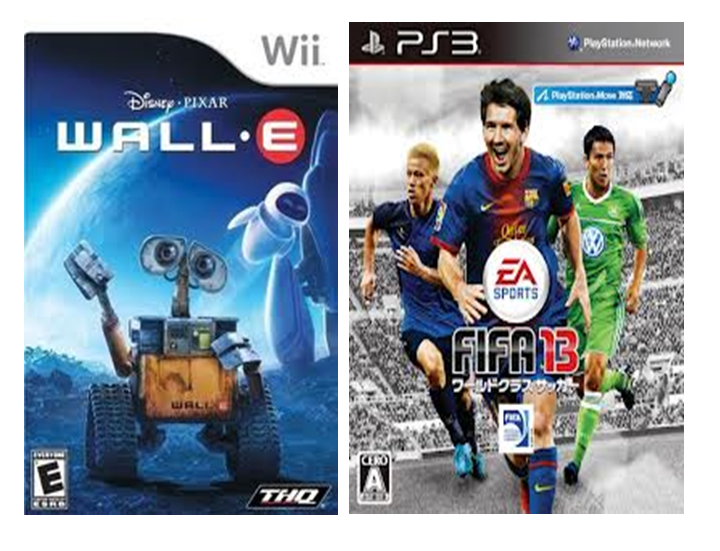
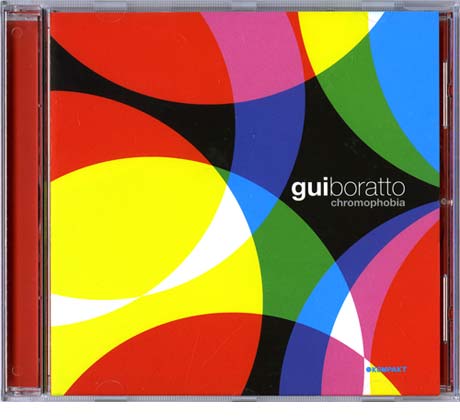
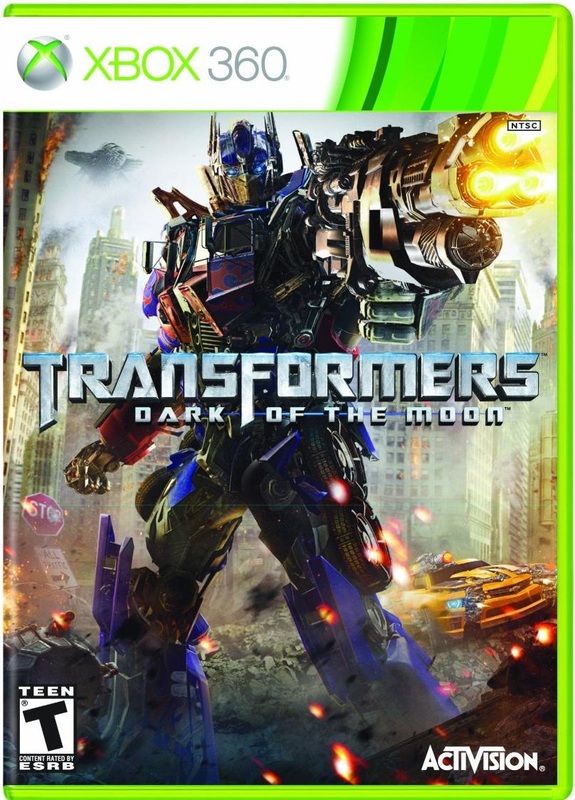
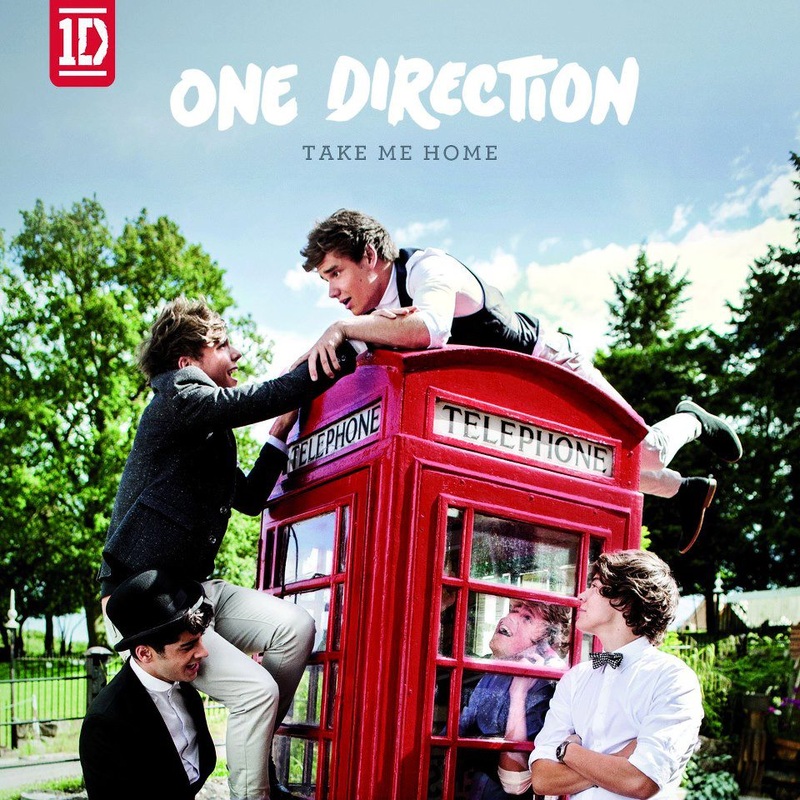
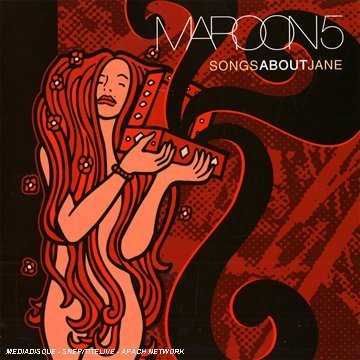
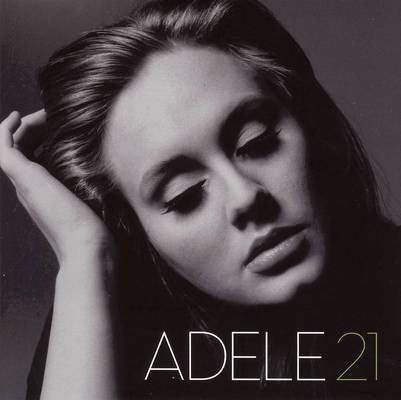
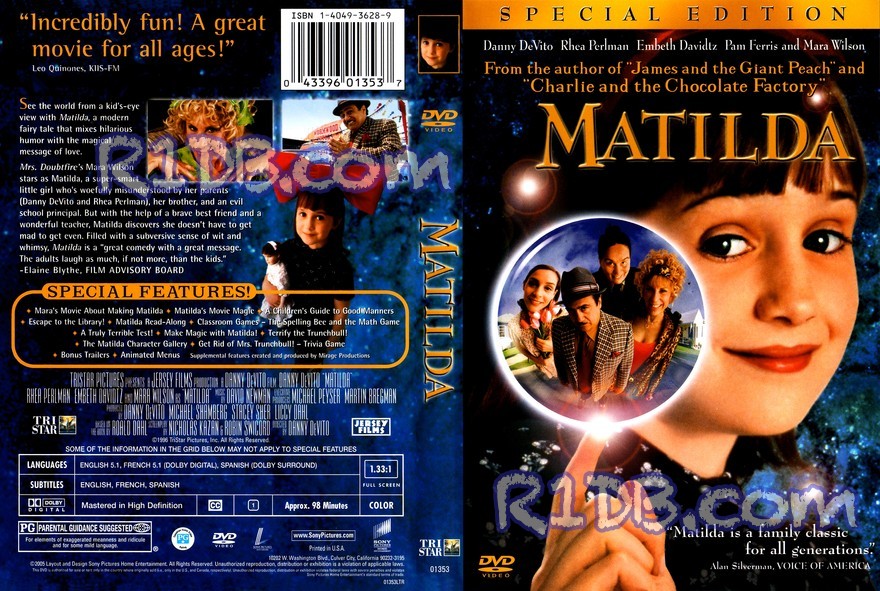
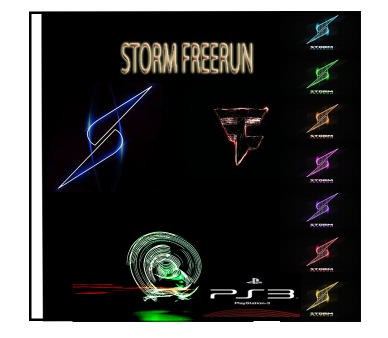
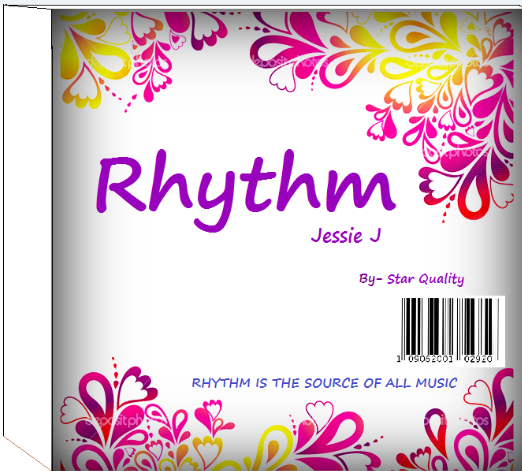
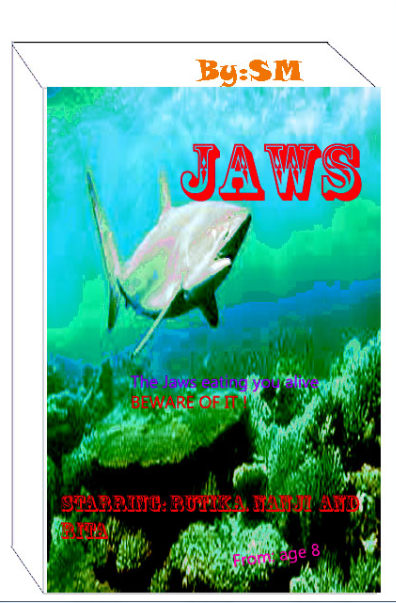
Objective: Can I create a reflective, observation about these companies and who their targeted audience is, judging by the covers of these four CD/DVDs?
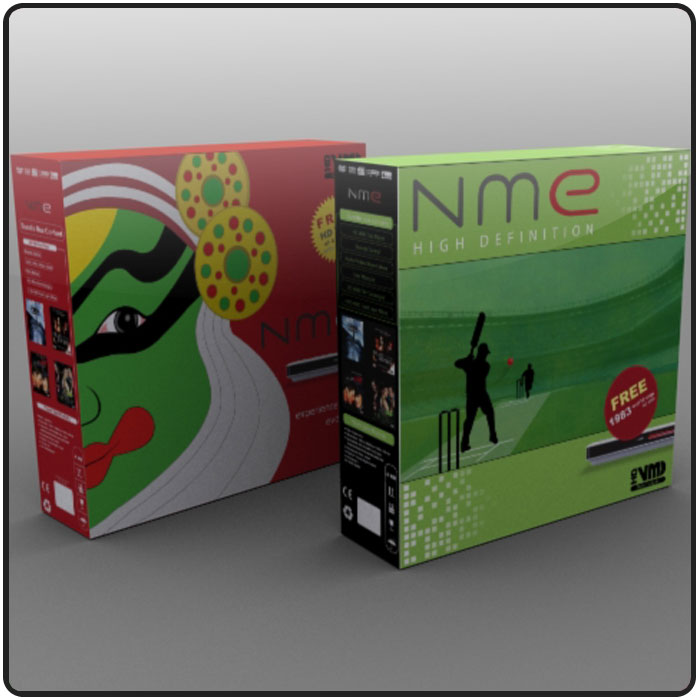
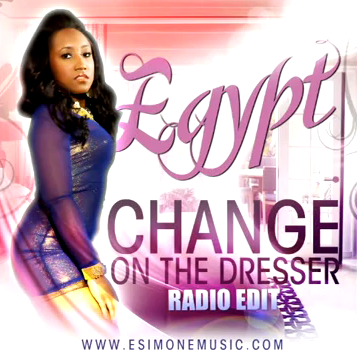
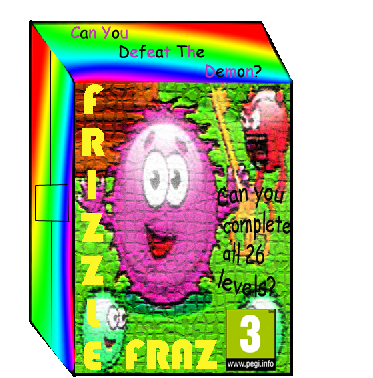
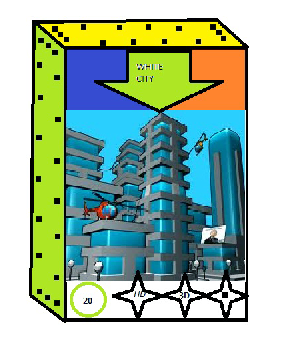
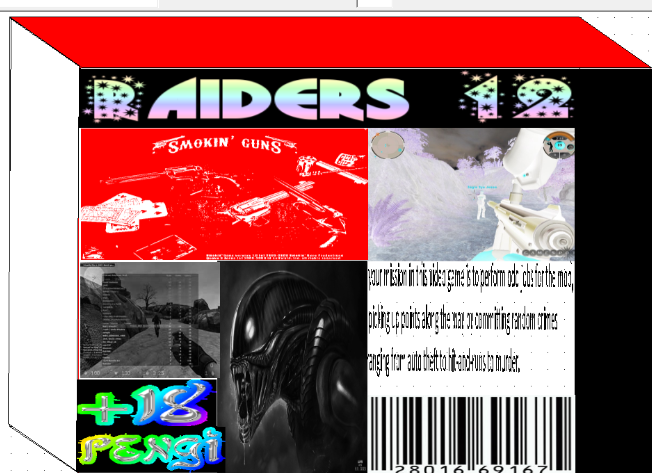
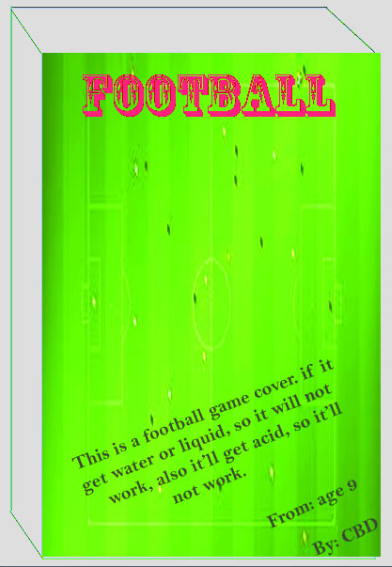
What makes these CD/DVD Covers Effective? Can You Tell Who The Audience Is?
Why would a customer want to buy them based on their graphics?
|
|
|
|

|

|

|
Effective Vs. Ineffective Adverts; Observational Response
1. List the different advert cases you and your group or partner have observed.
2. What is the first thing that grabbed your attention about the graphics used on each case? Explain in detail.
3. Which case was most effective? Explain why.
4. In your opinion, what is the most important thing you look for when purchasing a CD/DVD?
5. Are you able to tell who the audience is? (Male, female, age group, etc...)
6. Why are graphics used on CD/DVD cases, why not just sell them with a blank background and a name?
7. Which case was the least effective and why? Explain in detail.
8. If you were designing the graphics for the least effective CD/DVD case, what would you do differently so that people would want to purchase your product? Explain your answers using exam
Lesson Three:
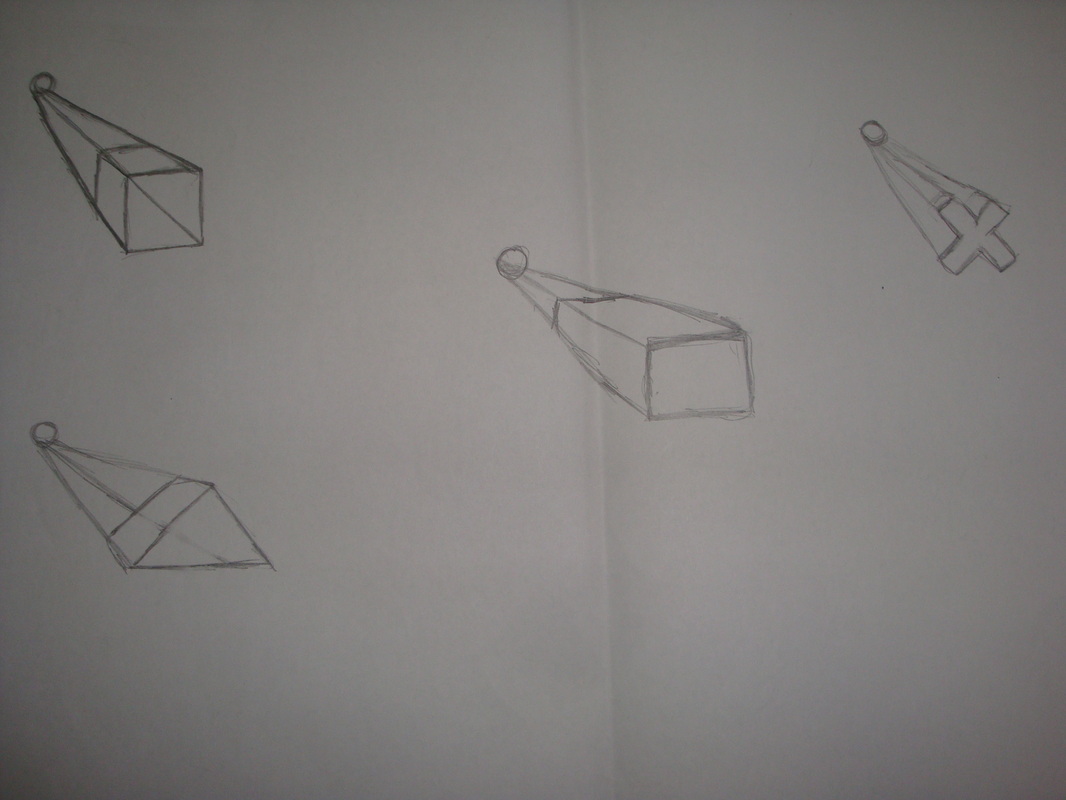
Objective: How can I create a 3-Dimensional square and rectangle, using one-point perspective?
*Key Term: |

|
One Point Perspective of Shapes:
Drawing in one point perspective http://www.youtube.com/watch?v=PnD0Lf2O8KM&safe=active
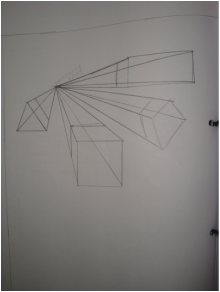
a) Draw the vanishing point and first object as a 2-Dimensional Figure.
b) Join the corners of the shape to your vanishing point using light lines.
c) Complete your perspective drawing by connecting all your lines through the vanishing point. Check your perspective, where would the next lines need to go in order to make your shape take a 3-Dimensional Form?
d) Practice drawing other shapes using one-point perspective.
Refer to worksheet: http://www.technologystudent.com/despro2/singp1.htm
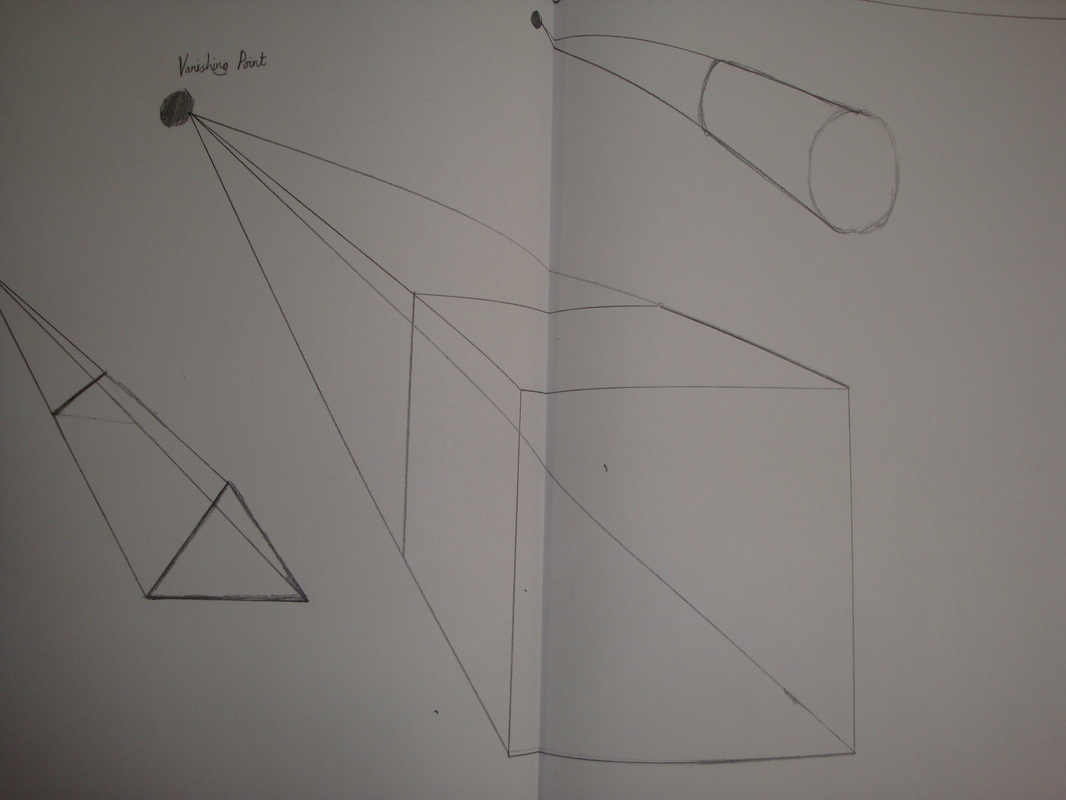
One-Point Perspective of CD/DVD Case

|

|
|
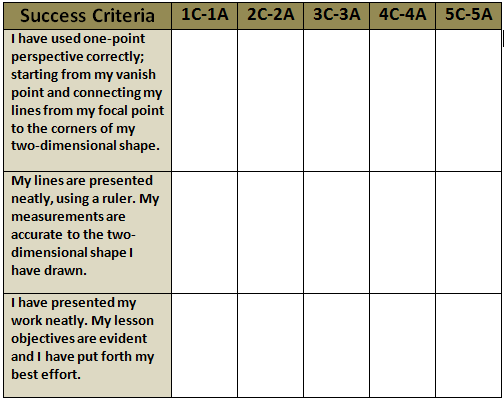
How can you tell if your one-point perspective was drawn correctly?
Lesson Four:
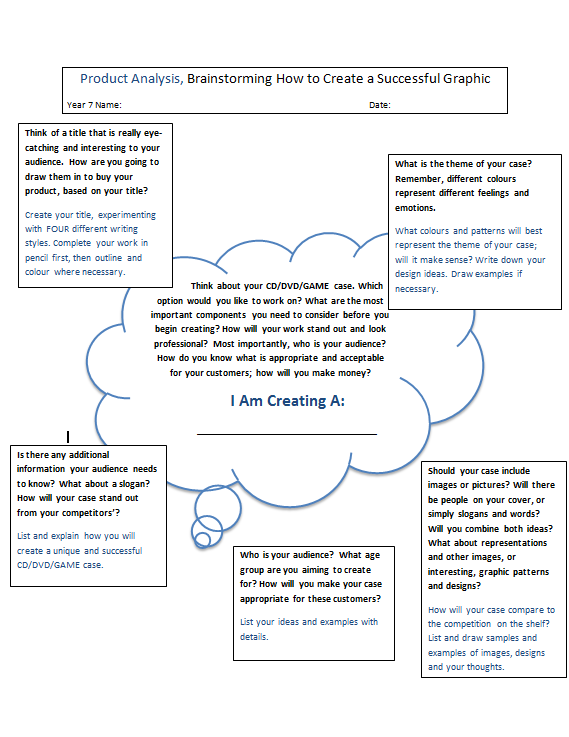
Objective: Am I able to brainstorm ideas from text-world, text-self, text-text, in order to create a unique and entertaining cover for a CD or DVD? How can I ensure my design is successful?
Before You Begin Creating Your Designs, You Must Brainstorm! Use Your Reciprocity! Be Resourceful! Be Reflective of Your Work!
Lesson Five:
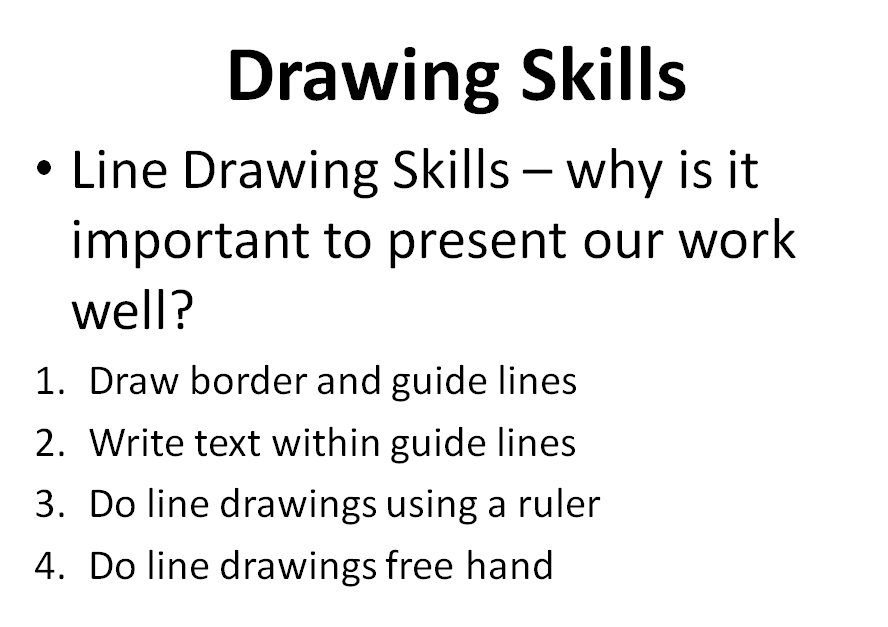
Objective: Can I create successful and interesting line and free-hand drawings and writing styles, which relate to the theme of my cover?
Key Terms: |

|

|
THINK ABOUT IT!
What is the theme of your case?
Looking at your product analysis worksheet, begin thinking about your design.
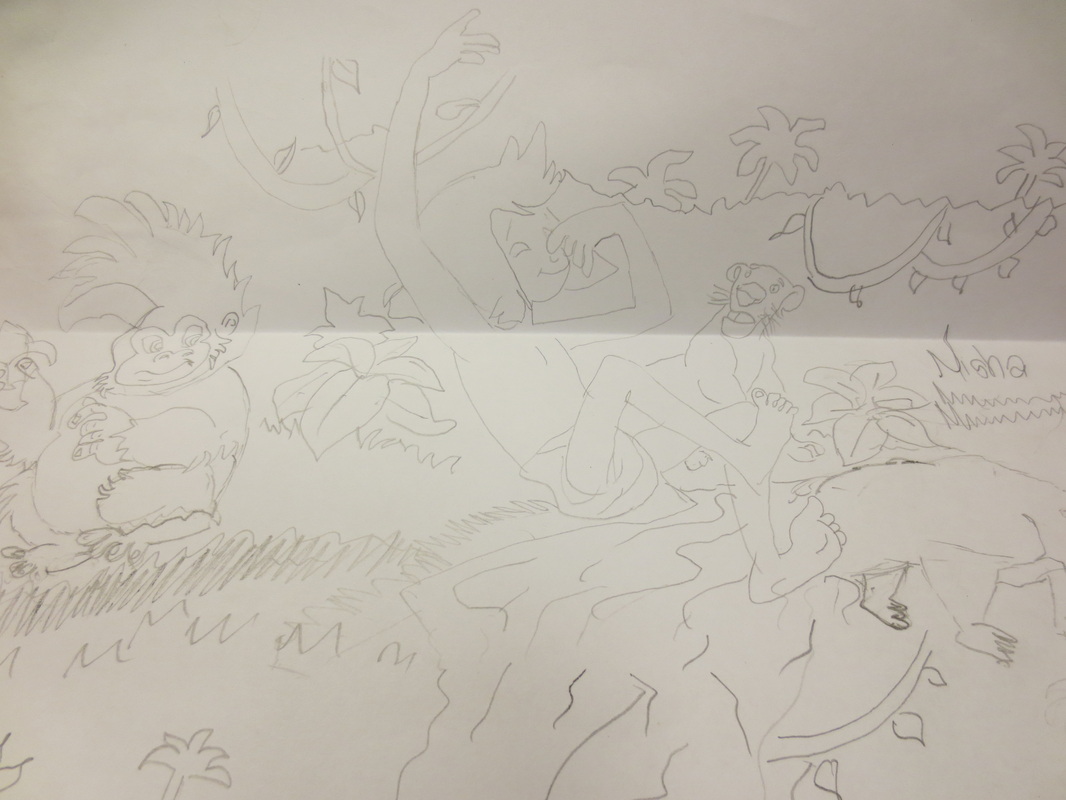
1. Practice using free-hand or line drawings and create different images and pictures to represent your CD/DVD case.
*Keep in mind... Will there be people on your cover, or simply slogans and words? Will you combine both ideas? What about representations and other images, or interesting, graphic patterns and designs?
Let's Look A Little Deeper.
What colours and patterns will best represent the theme of your case; will it make sense?
2. Practice using free-hand or line drawings to create different colours and patterns that will represent the theme of your case.
*Remember, different colours represent different feelings and emotions. TAKE A LOOK!
Different Colours Create Different Emotions and Themes:
http://www.technologystudent.com/despro2/colmood2.htm
Check It Out!

Let's CREATE!!
On A3 paper, create various line drawings using a ruler.
Once complete, create drawings free-hand, experimenting with different types of lines that are used in creating design, portraying emotion and completing a final project. |
|
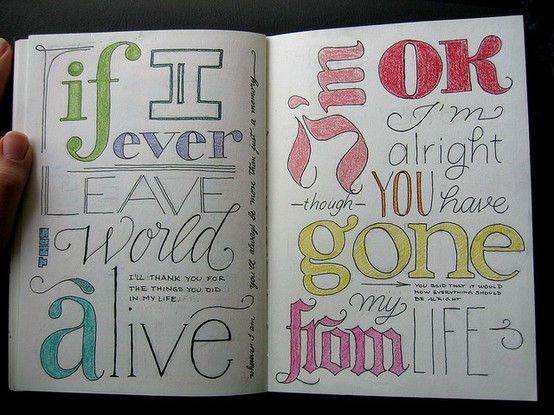
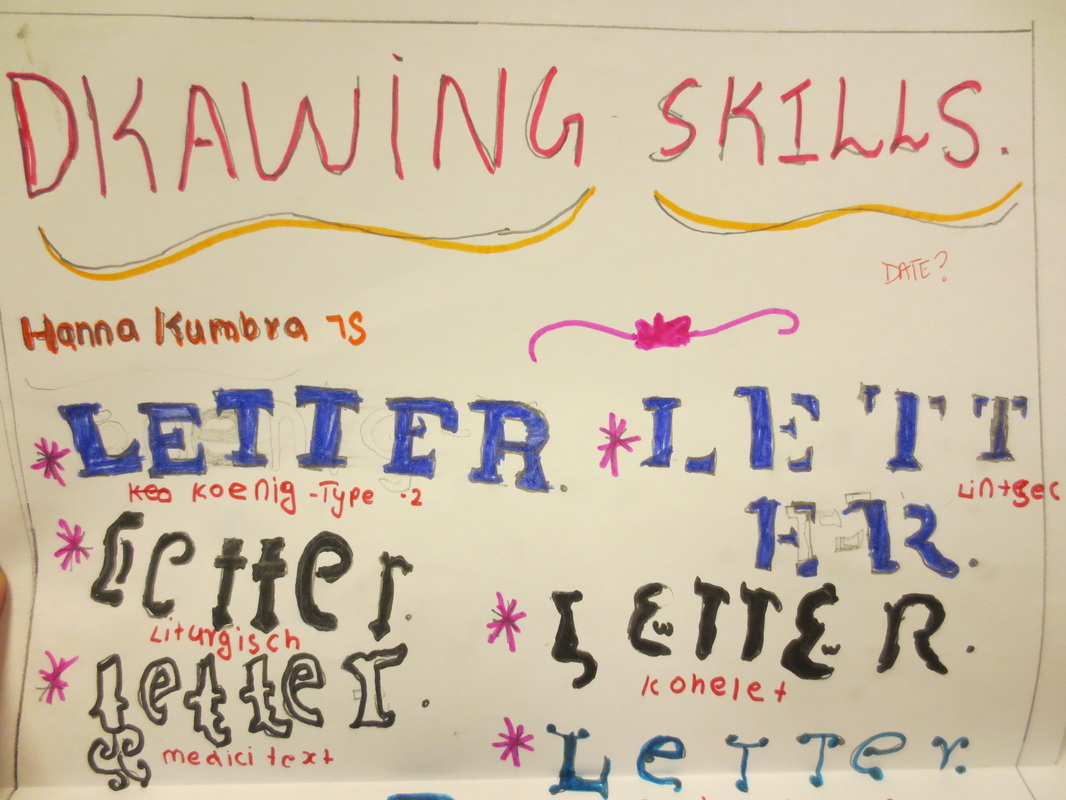
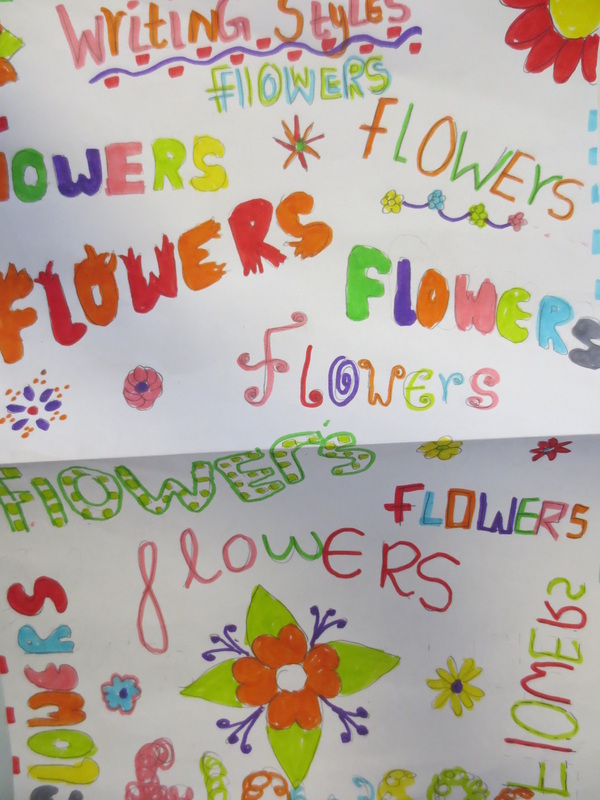
By now you have colours, patterns and images for the theme of your case; so what about your font styles?
Examine the differences in writing styles below. What is the best style of writing you could use to represent the theme of your case?
Examine the differences in writing styles below. What is the best style of writing you could use to represent the theme of your case?

|
|
3. Practice writing the title of your case using at least 3 different writing styles.
*Use http://www.1001freefonts.com/ for more font ideas to inspire you.
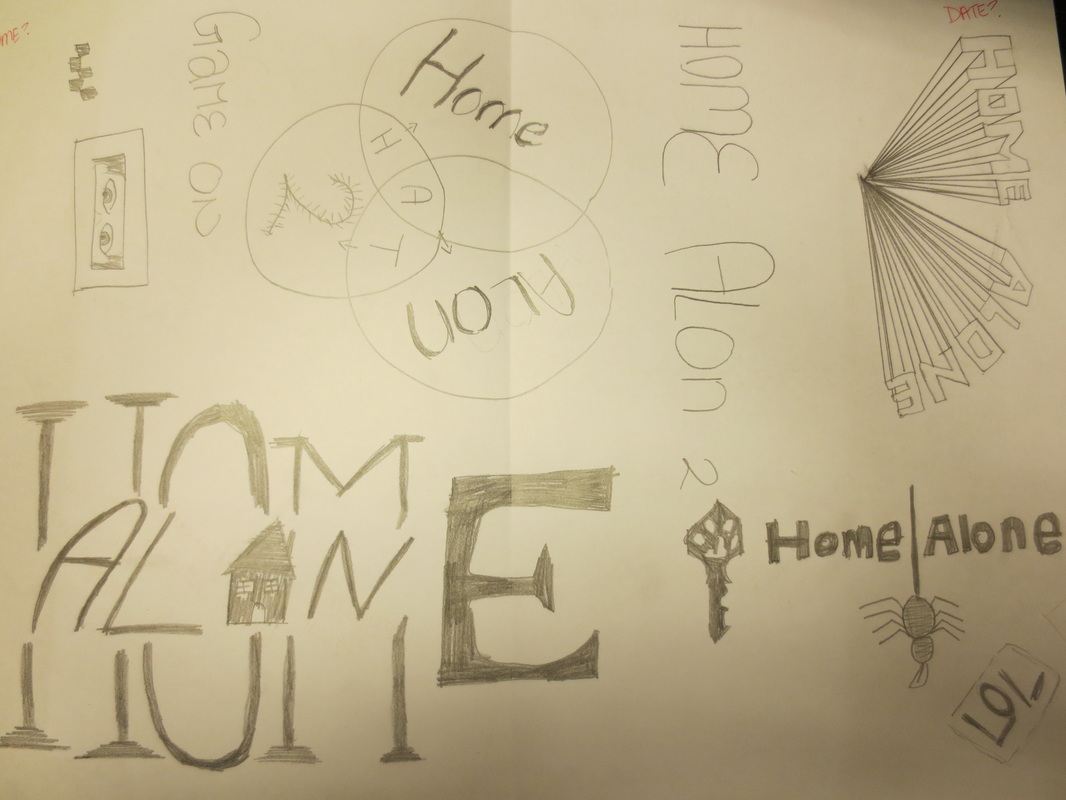
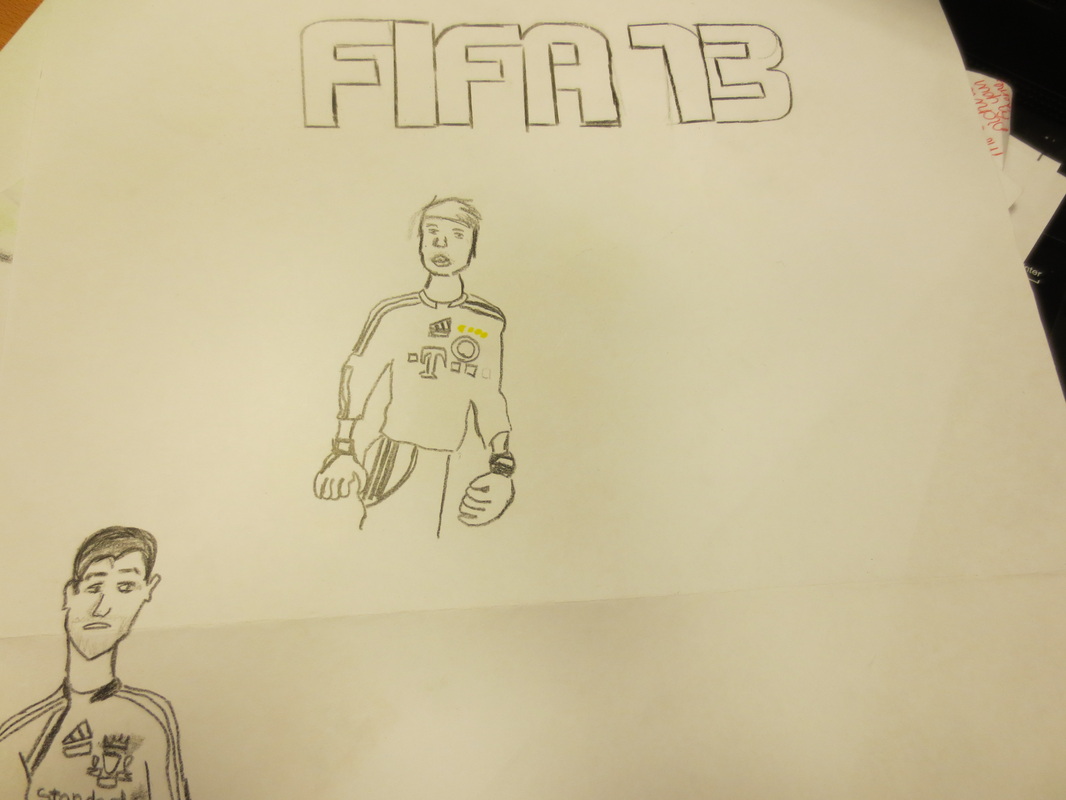
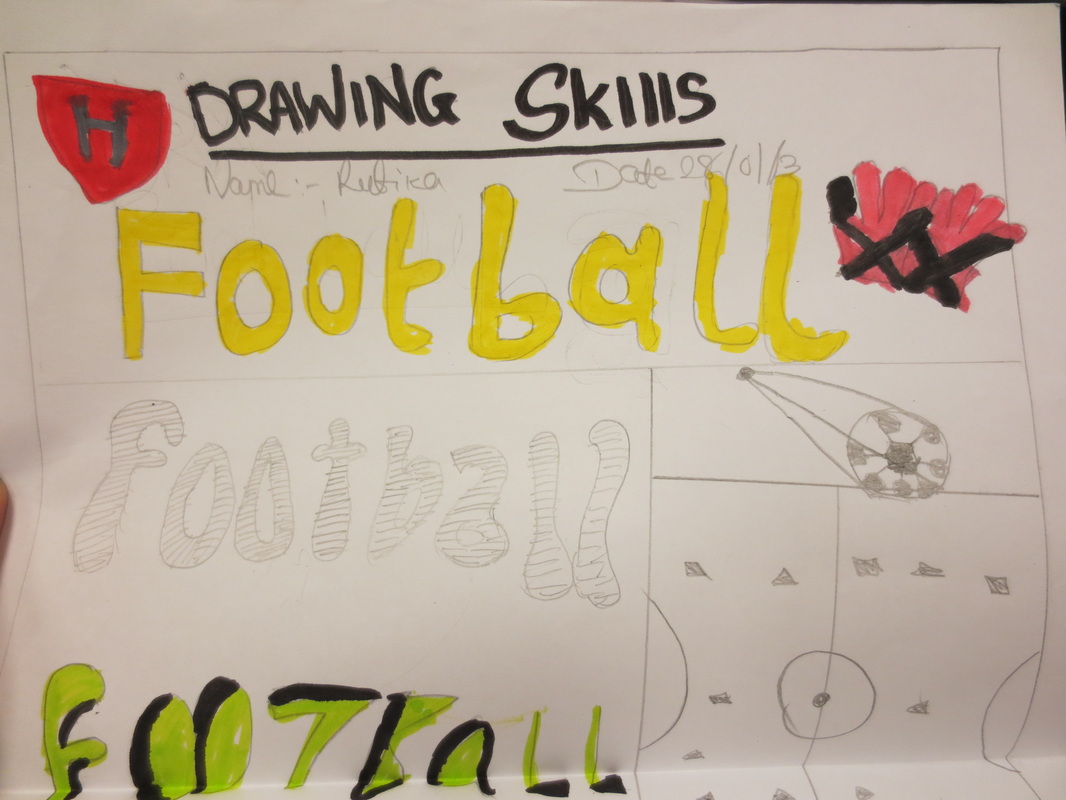
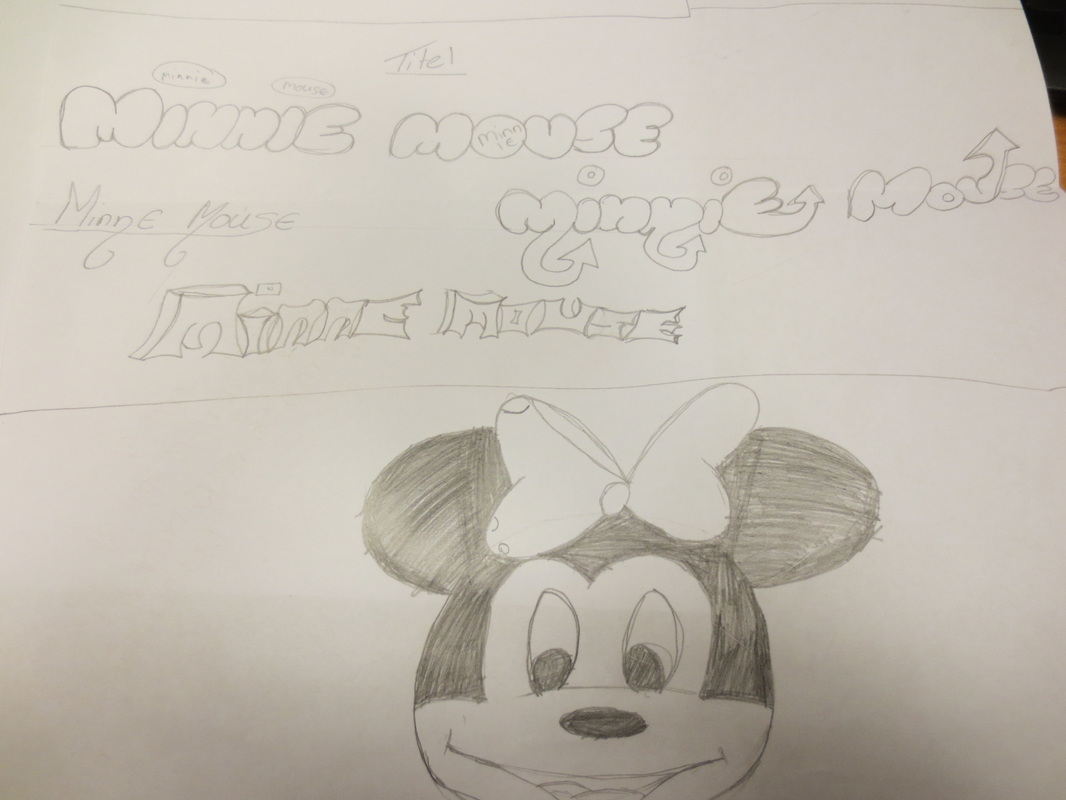
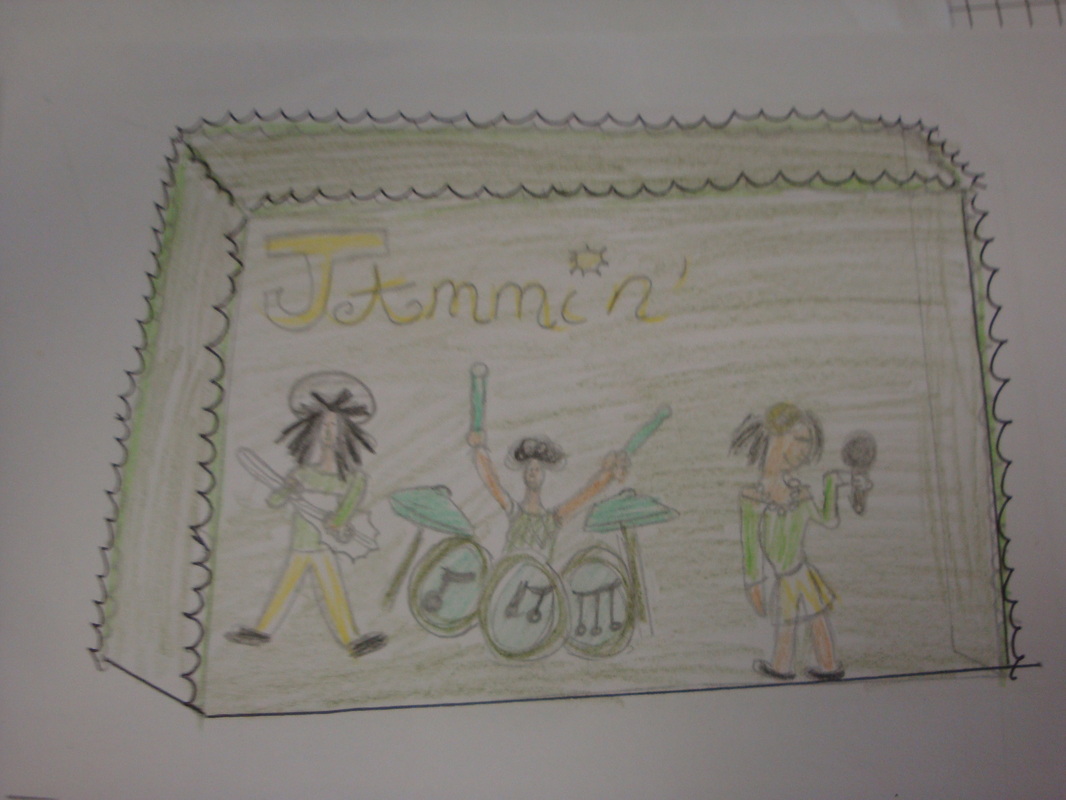
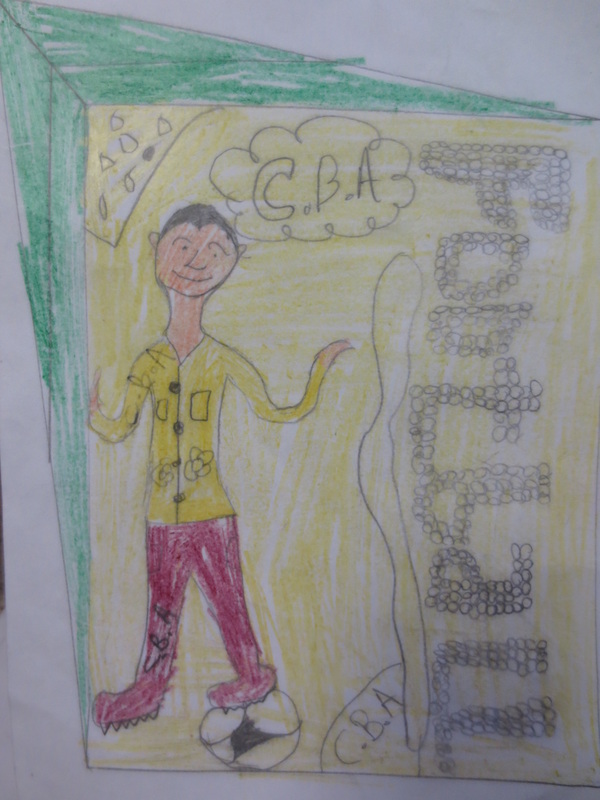
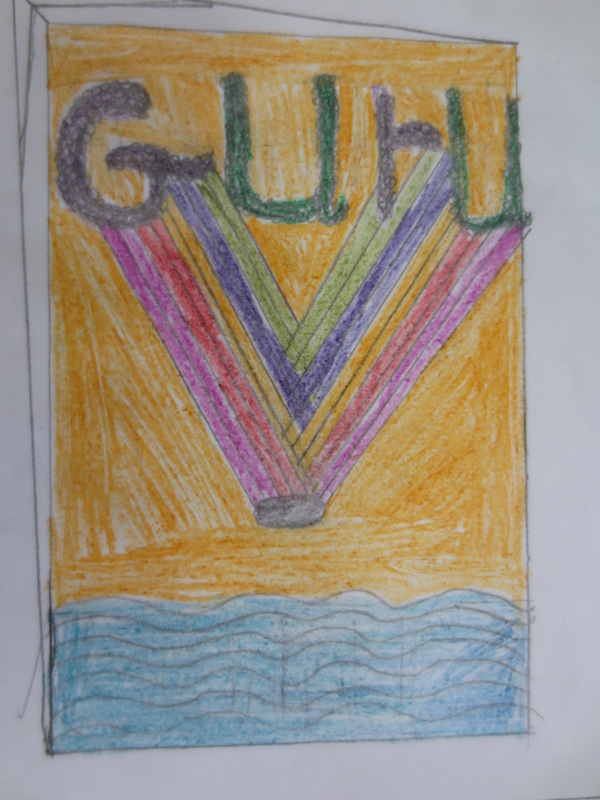
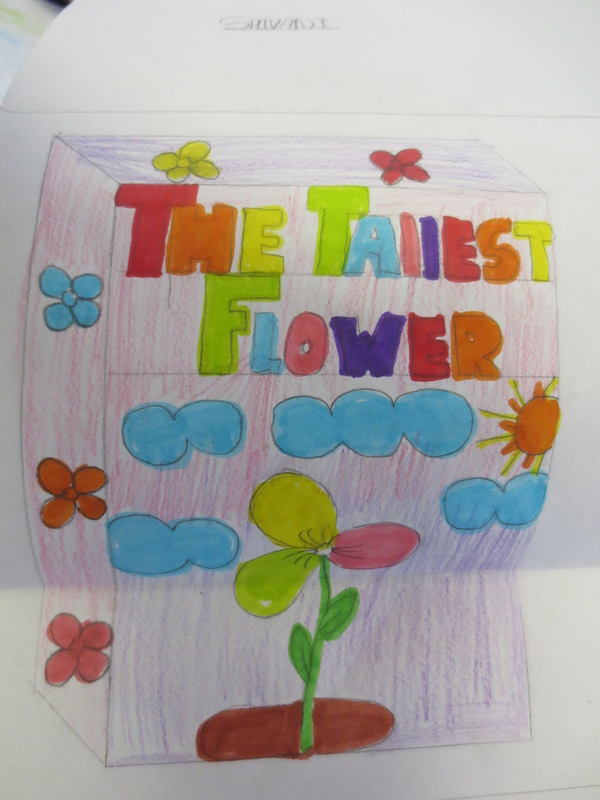
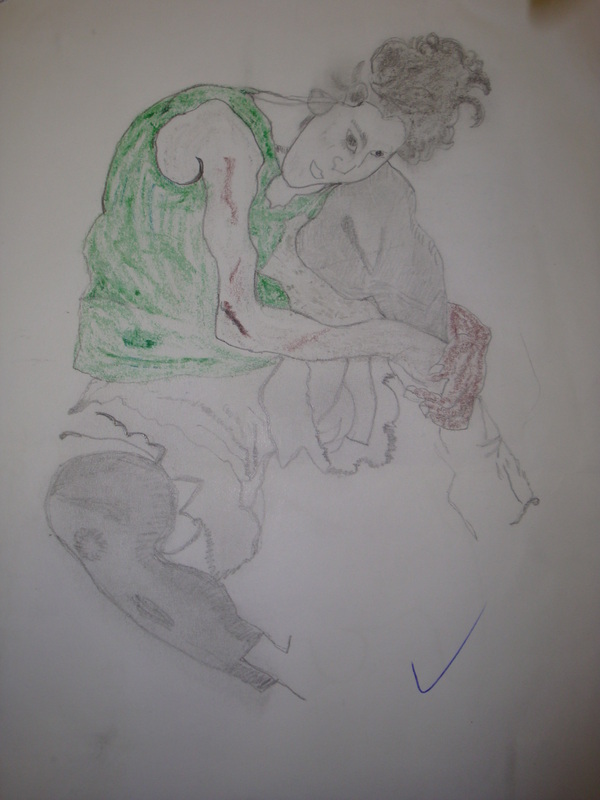
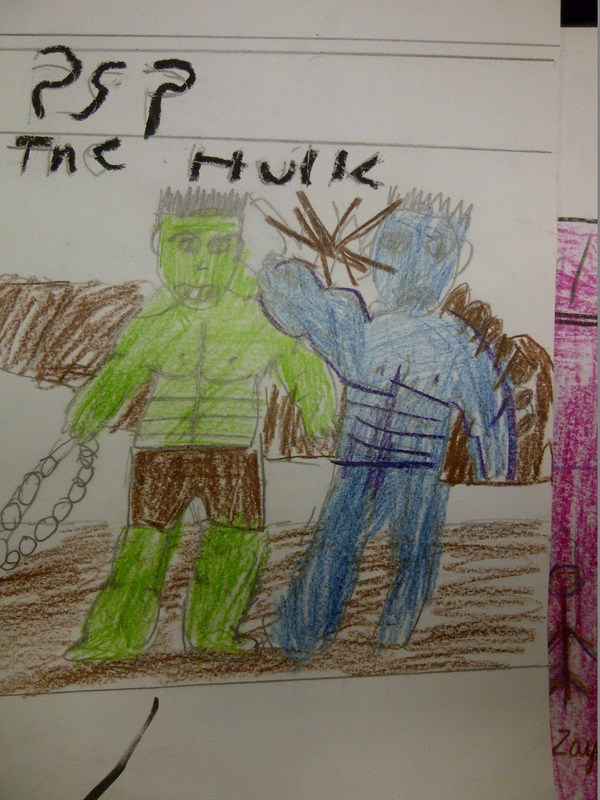
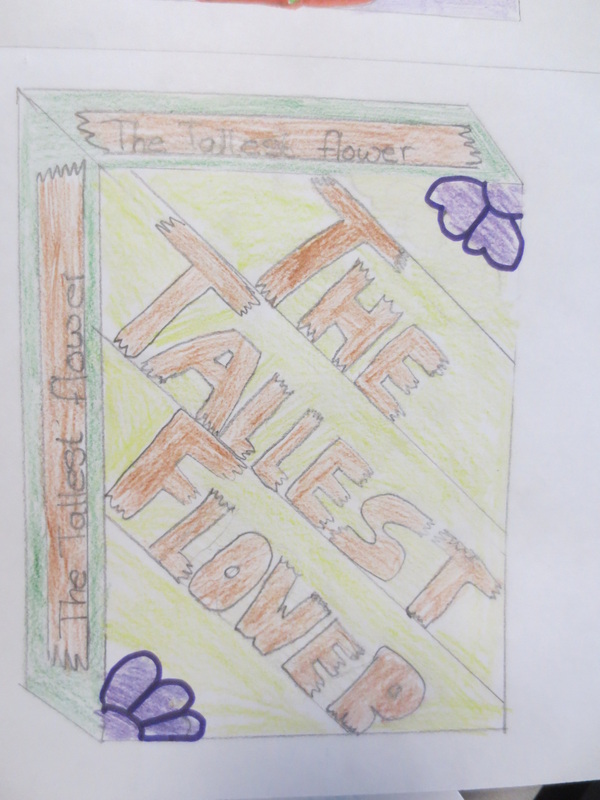
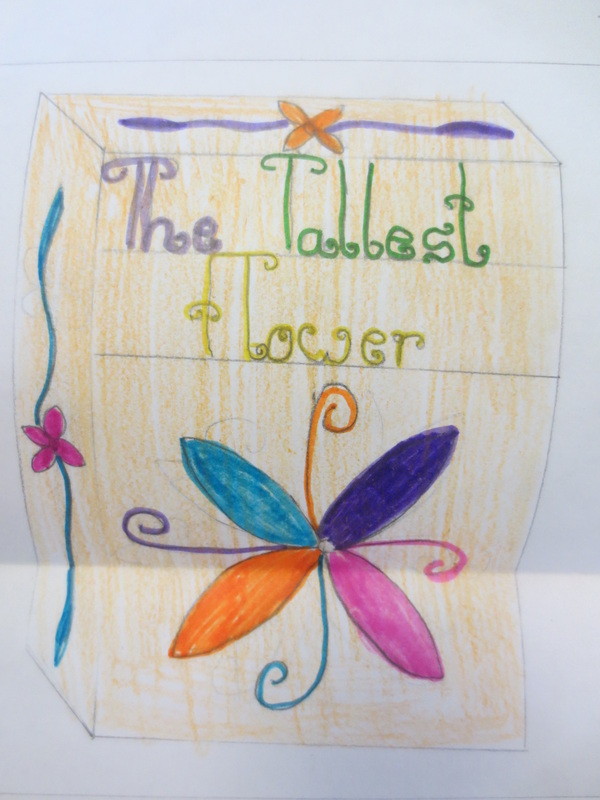
Samples of student's excellent efforts in brainstorming and design preparation. Does your work look like this?
|
|
|
You Are Quickly Becoming A Design Expert!!
*Now that you have been resourceful in your brainstorming and prepping of your designs, begin collaborating all of your ideas together into fluid case designs.
*Now that you have been resourceful in your brainstorming and prepping of your designs, begin collaborating all of your ideas together into fluid case designs.
Lesson Six:
Objective: How can I create my own, SUCCESSFUL, CD/DVD cover based on the theme I have chosen?
Key Term: |
|
Designing Your Own CD/DVD Covers
Using the information studied over the course of the term. In One-Point Perspective (Refer to the GRAPHICS LINK for reminders), create FOUR ONE POINT PERSPECTIVE CD/DVD SHAPES. Be sure to leave your vanishing point lines in, and rub out the lines within your shapes.
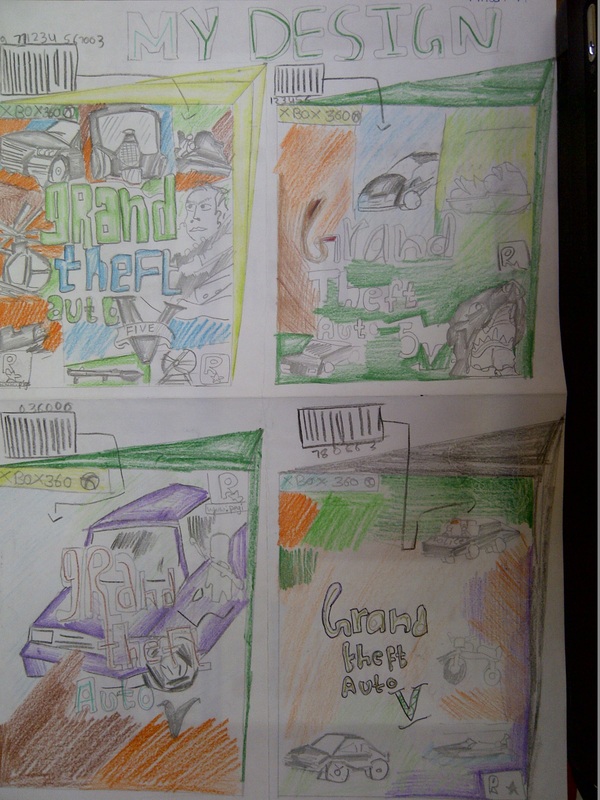
Create FOUR of YOUR OWN ORIGINAL designs, using your choice of colours, fonts and style (make each example different) for either a MADE-UP BY YOU cd or dvd.
*REMEMBER: PRESENTATION IS IMPORTANT!!! Be sure to present your work NEATLY, colour your images in COMPLETELY and NEATLY using coloured pencils ONLY! Only use marker to OUTLINE your pencil marks. Be sure your Font is READABLE TO THE AUDIENCE and you experiment and take risks! AND PUT YOUR NAME ON YOUR WORK!!!!!*
MOST IMPORTANTLY, HAVE FUN!!!!
|
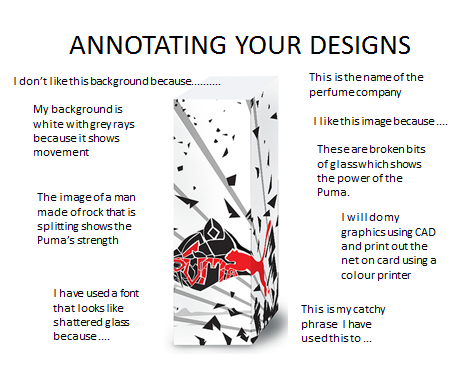
My background is......Because it shows..... The Image of.......Shows...... I used a font that looks like......Because...... This ........ Is the name of the CD/DVD Company Because....... I like this image..........Because..... I don't like this image........Because..... This is my catchy-slogan or title...........I have used this one because....... |
|
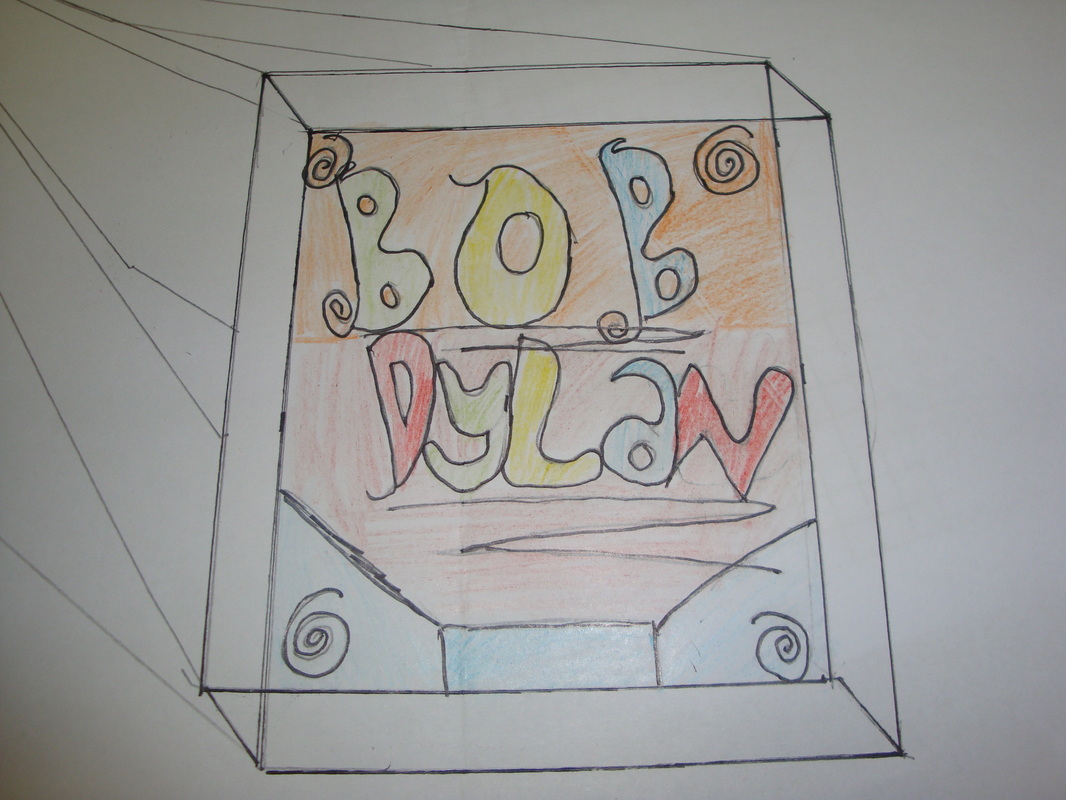
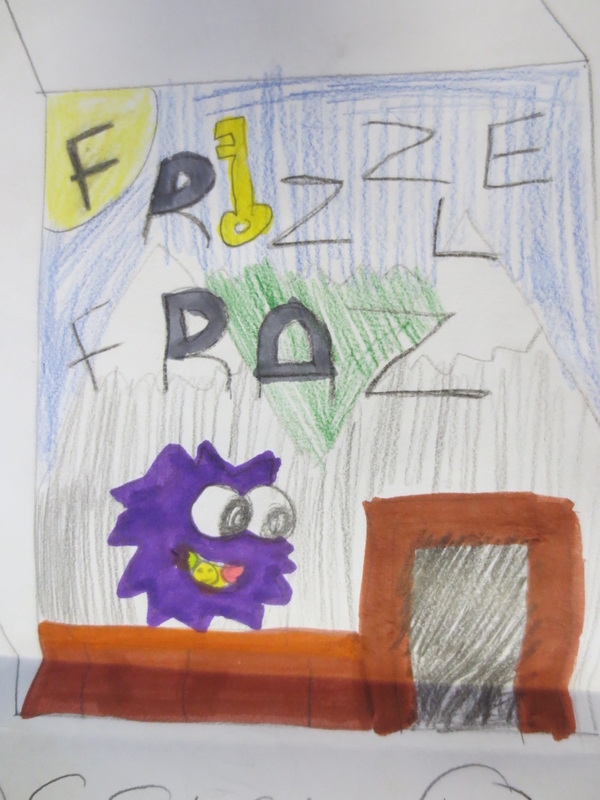
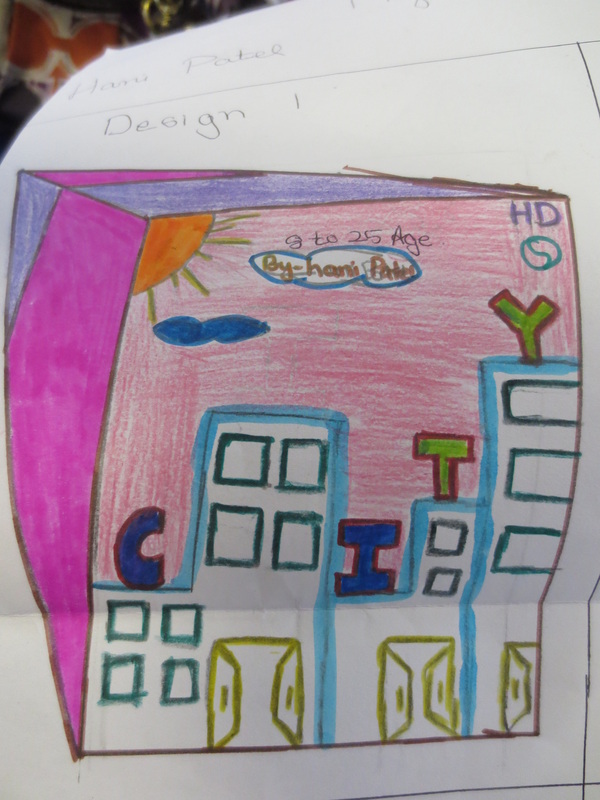
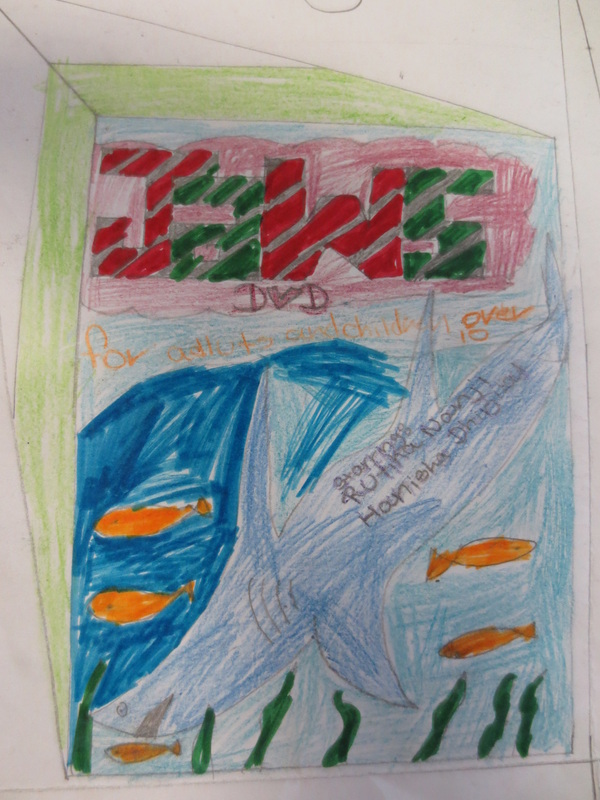
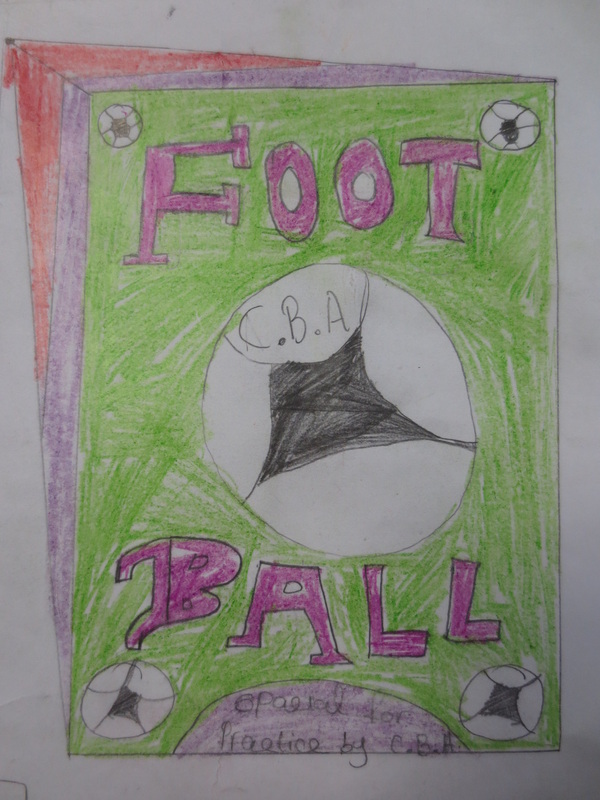
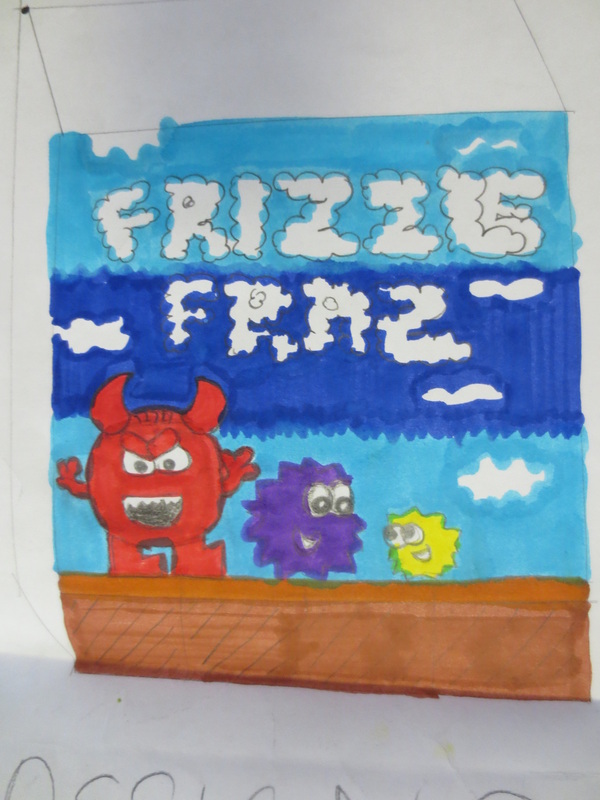
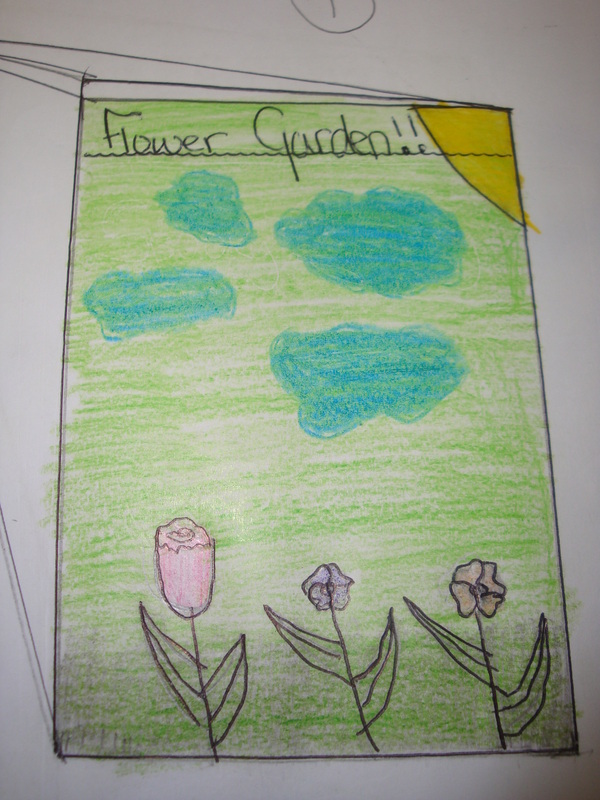
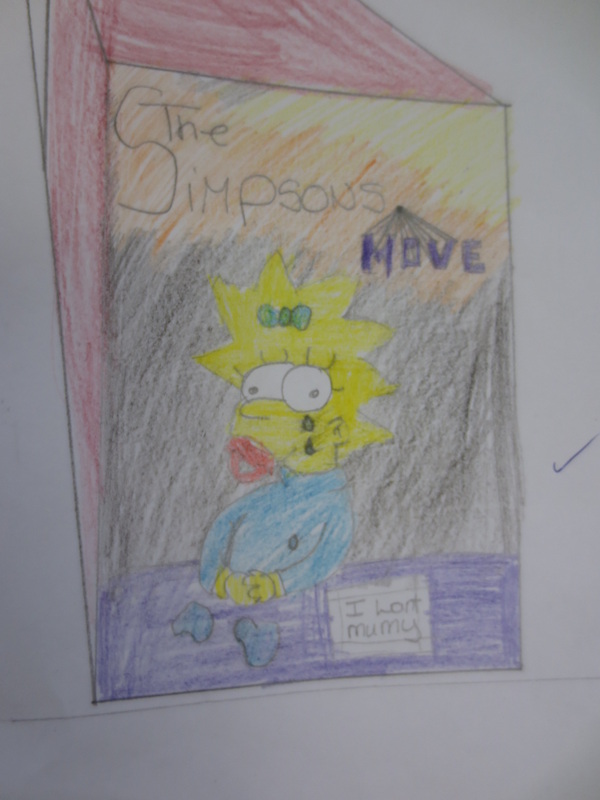
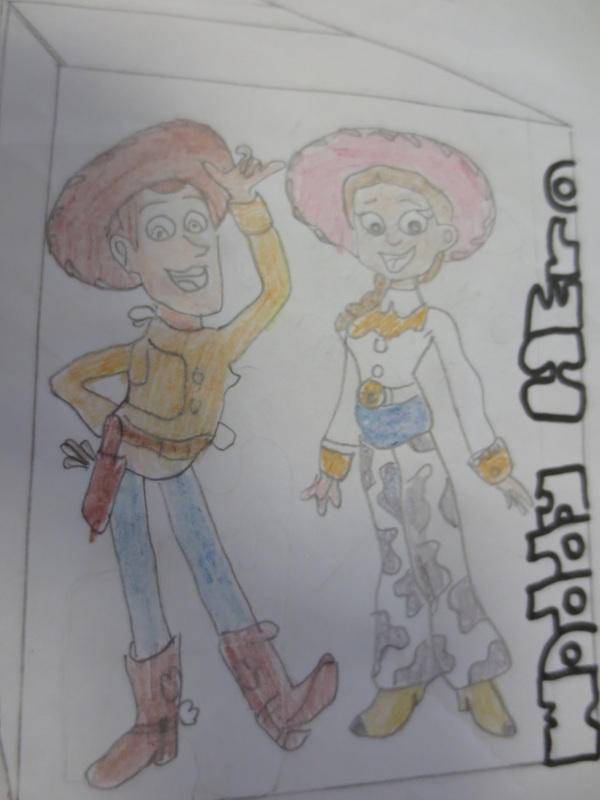
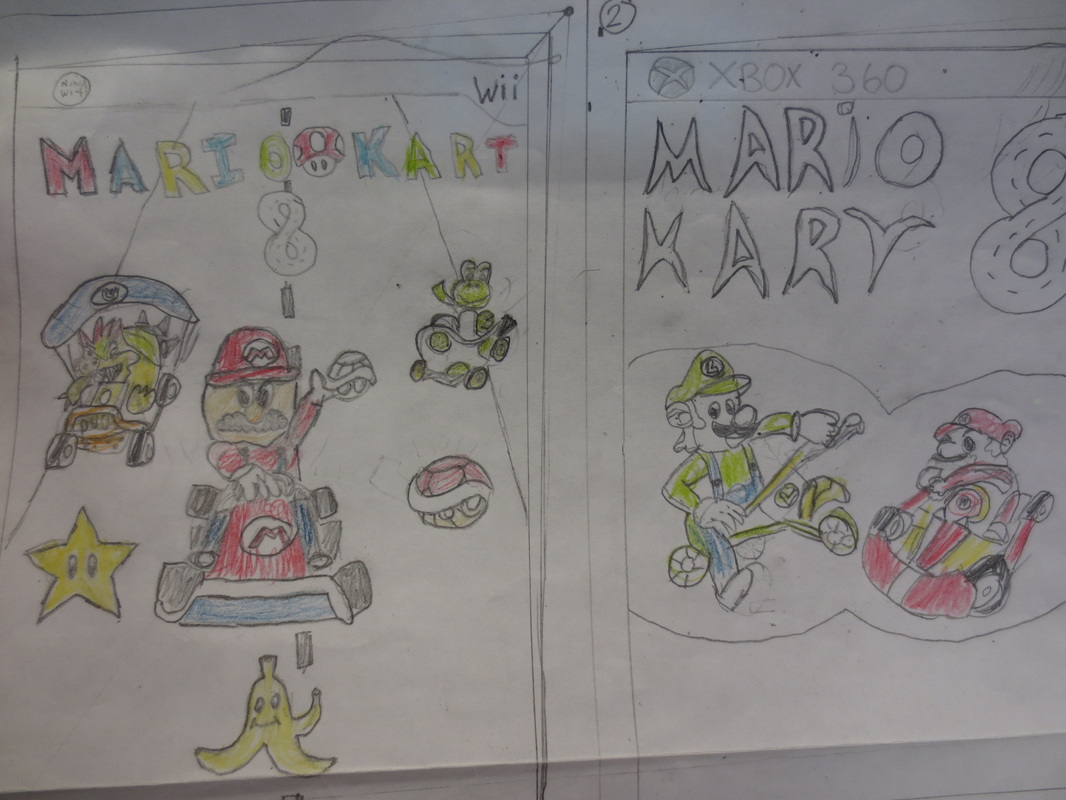
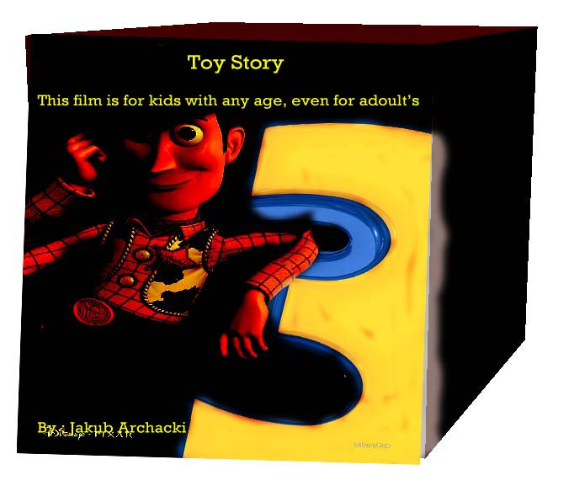
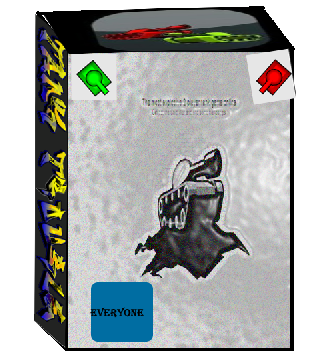
Examples of CD/DVD Cover Designs For Inspiration For Your Own Designs:

|
|

|

|

|

|

|
|

|
|
|
|
|
|
|

|
|
|
|
|
|
|
How will your case compare to the competition on the shelf?
Lesson Seven:
Objective: How can I improve my work, in order to make my design more marketable?
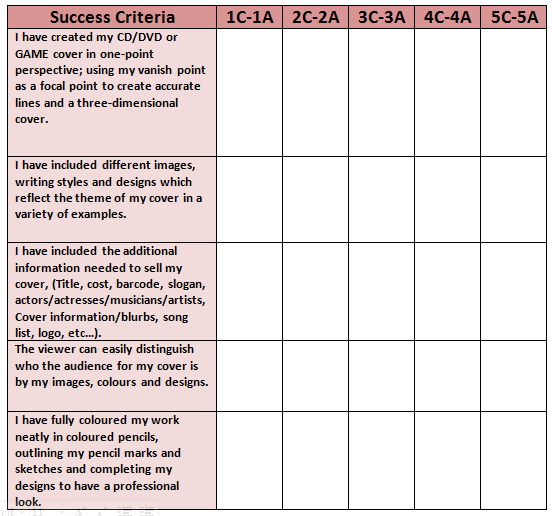
ASSESSING YOUR DESIGNS
After you have completed your FOUR CD/DVD Cover Designs, you will participate in a design survey.
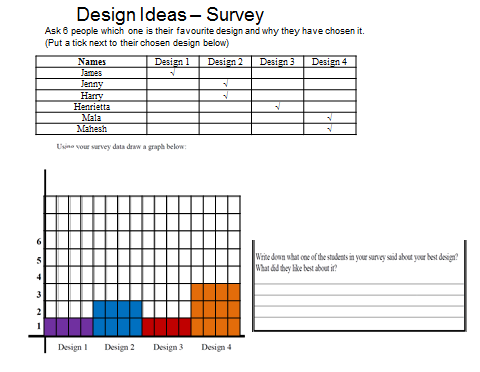
#1a. On A4 Paper, Re-create the 3 Graphs in image on the left using the title DESIGN IDEAS-SURVEY; remember your name and the date.
b. Your first table should include a column for names and four additional columns for the names of your four designs.
c. Your second table should be a bar-graph with the number of students you will survey listed on the left-hand side and your four designs listed on the bottom.
d. Your third table, should include the sentence, "Write down a comment from one of the students you surveyed who LIKED your BEST design. What did they like best about it?"
#2. Go around the classroom and choose from SIX different students in your class (try to choose people you don't always talk to get various opinions) to survey.
#3. Complete ALL THREE tables, neatly/organized!!
Now that you've had some feedback, answer the following question, using EXAMPLES to explain your thoughts.
a). THINK ABOUT IT! What can you do to make your design the most successful?
Successful Designs Are THOUGHT OUT, They TAKE TIME, And The Are PRESENTED NEATLY. Do your Year 7 designs look like this?
|

|
|

|


|


|
|


|
Lesson Eight:
Objective: How can use digital technology to make my design more professional?
We Aren't Done Yet!!!
|

|
Photoshop Video: How to Design Your Own CD/DVD Cover Graphically
http://www.youtube.com/watch?v=bTSt4c2Zk-M
Part 1. Choose your favourite design and re-create it graphically using Techsoft 2d Design V2 and Photoshop.
Write down your reasons for choosing this design to continue with. #
Part 2. Using the Developmental Worksheet: Now that you have chosen your favourite design, make two changes (graphically) to your design to improve it. Explain clearly why you have made these changes to your design and in what way has it been improved?
Lesson Nine:
Objective: If you saw your design at the store, would you purchase the product based on your graphics?
Evaluating Your Work
Judging from the layouts of professional CD/DVD Cover Designs, how does your design compare?
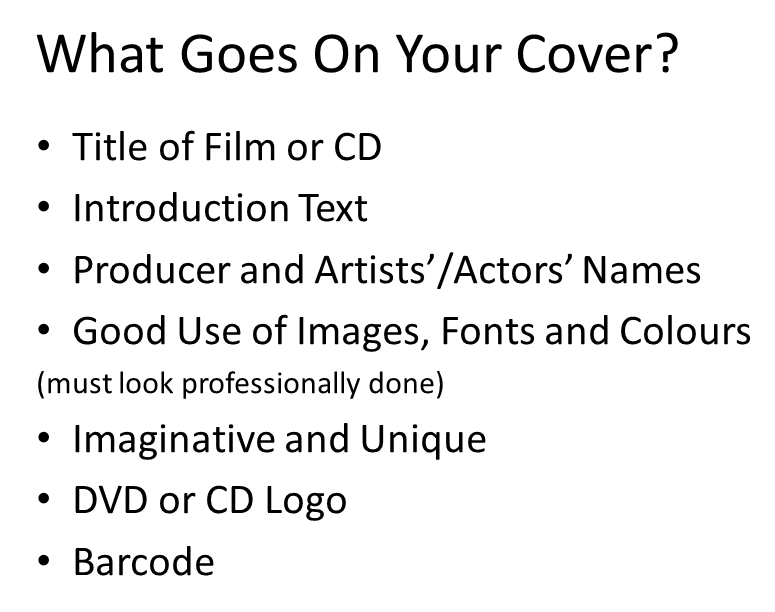
Have you included all the necessary informtaion for your audience?
Year Seven Creates Success! Can You Guess Who Their Audience Is?

|
|


|


|


|


|


|

Lesson Ten:
Objective: Have I designed a successful and entertaining CD/DVD cover for my audience, based on my previous lessons and applications?
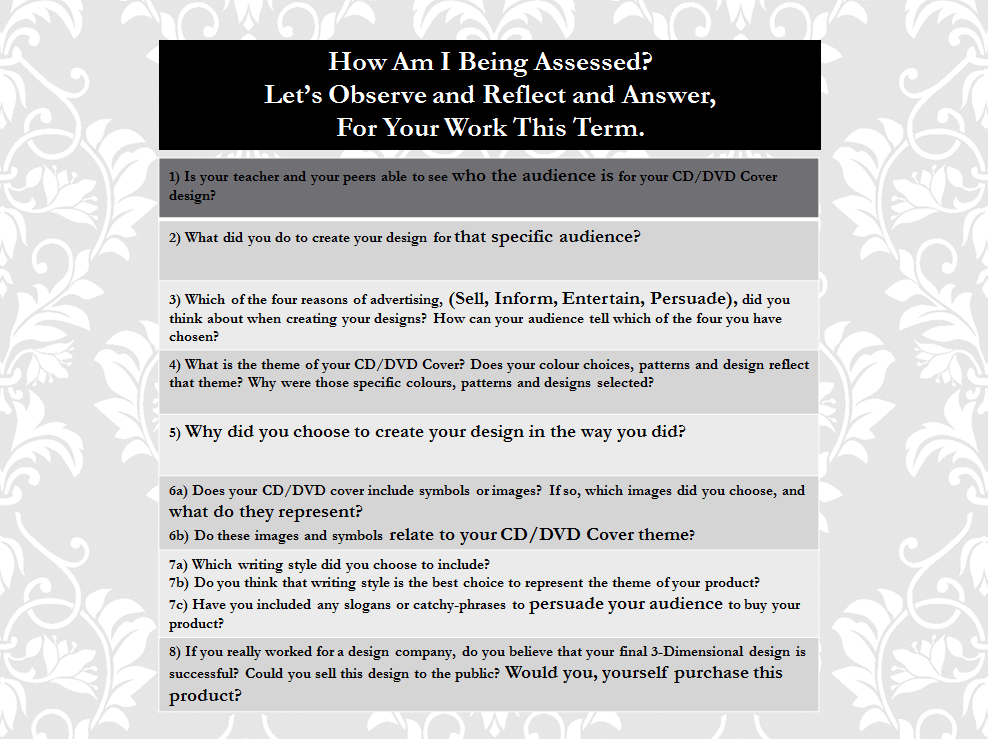
Personal Design Questions- Assessing Your Work
If You Are Asked To Answer These Questions:
On a blank sheet of paper, write the title (Personal Design Questions), your name and the date at the top of the page. Answer the questions IN DETAIL, using EXAMPLES to SUPPORT your thoughts. Answers MUST be writting in FULL SENTENCES, be mindful of your spelling and grammar, and submit work NEATLY.
If You Are Asked To Observe and Reflect On Your Work:
Read carefully through the following questions in conjunction with your designs. Observe your work over this term. Can your design speak for itself? Are you are able to look at your design and know the answer for each of the following questions? Reflect on everything you have learned this term. Have you produced your best work?
Have I Created A Design That Would Be Marketable In A Shop?
Making Connections.
Comparing your final design with a professional, marketed design.
Professional CD Cover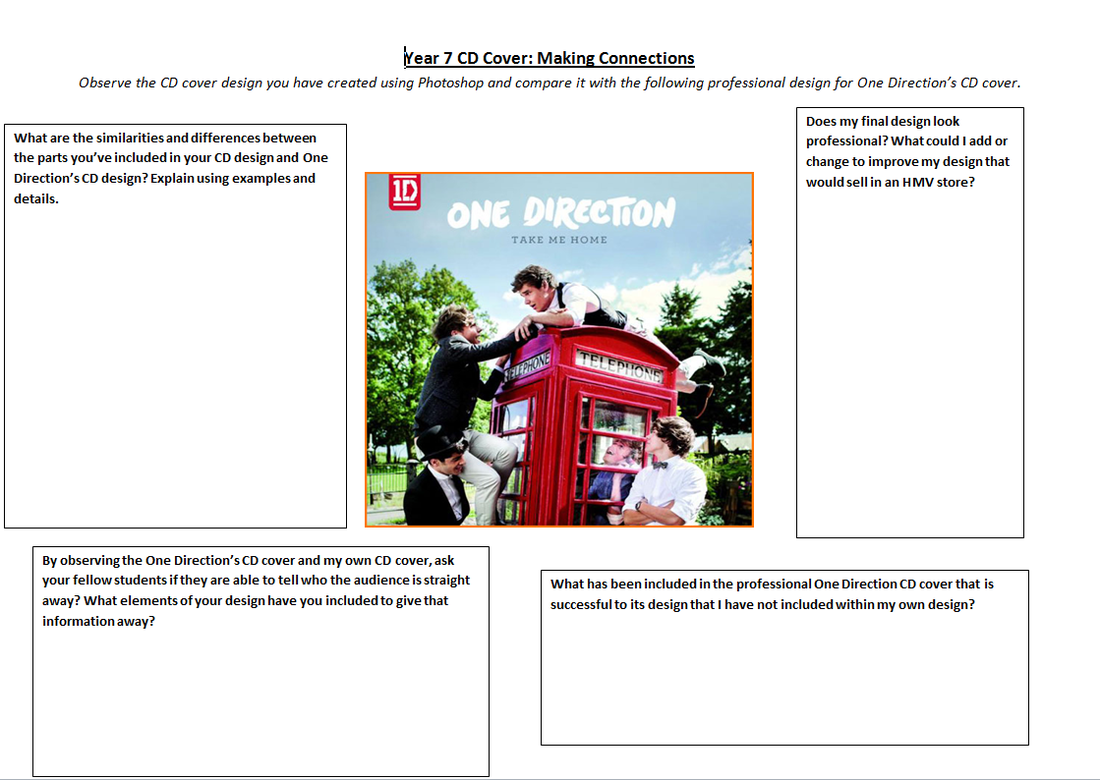
|
Professional DVD Cover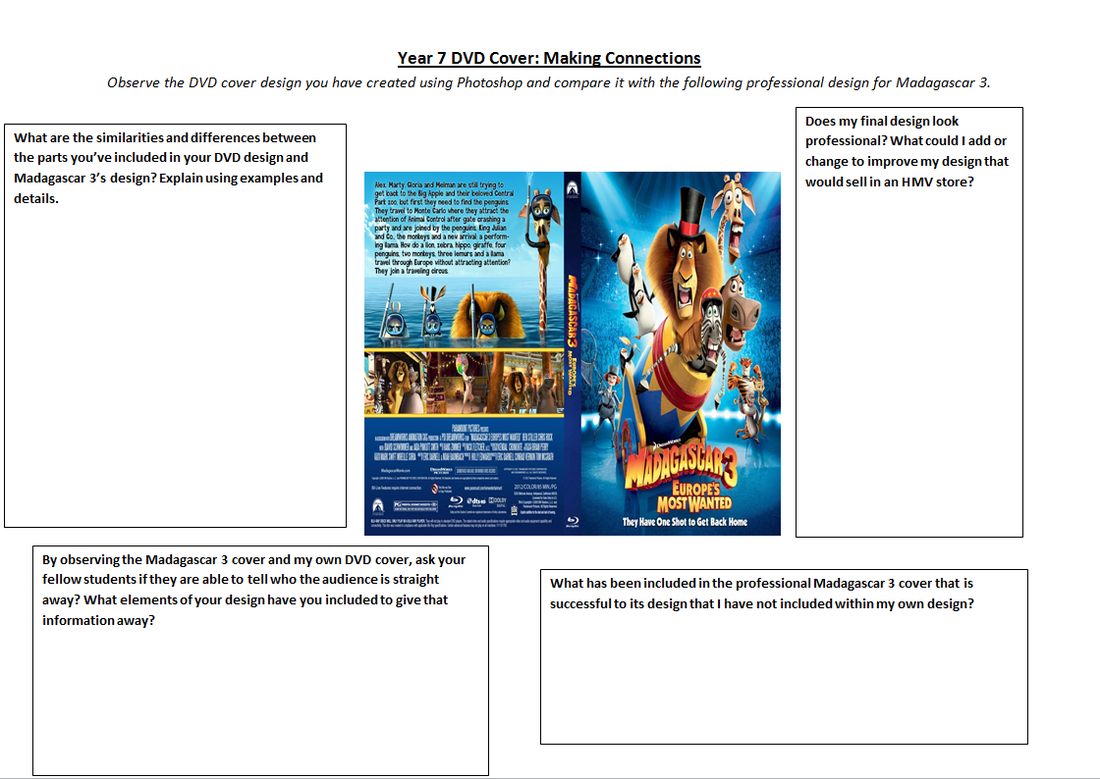
|
Professional Game Cover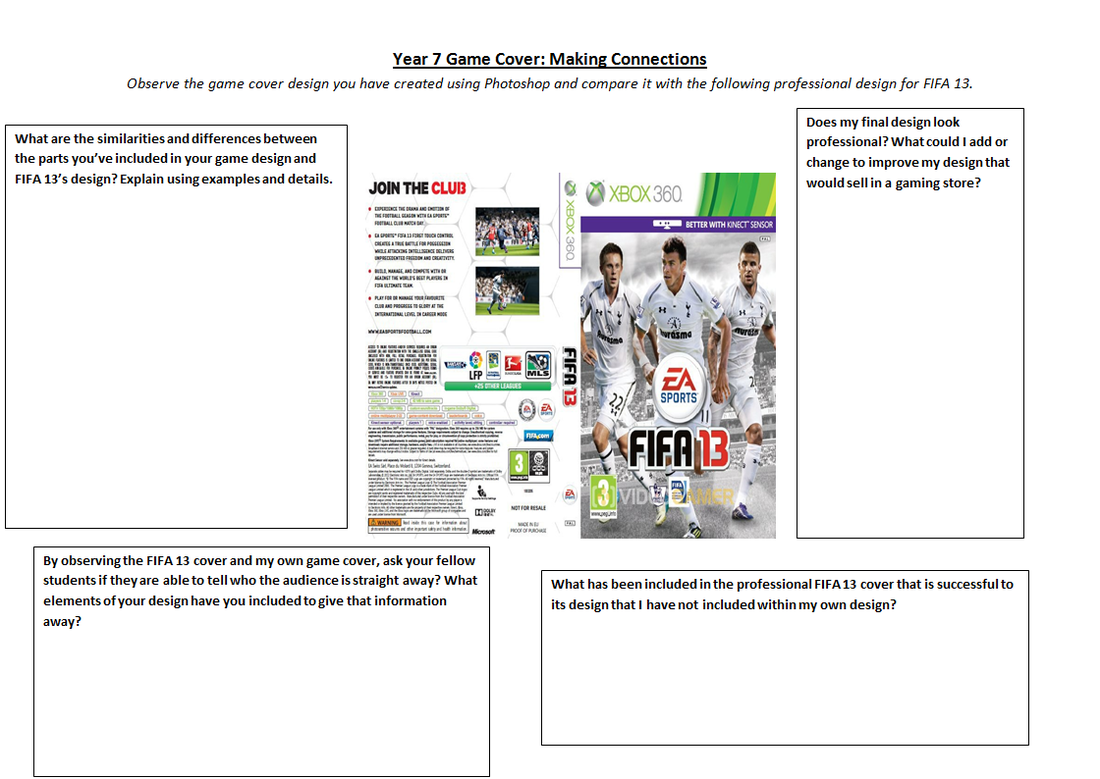
|
Key Terms Review Sheets!
Year Seven
Key Terms Puzzle: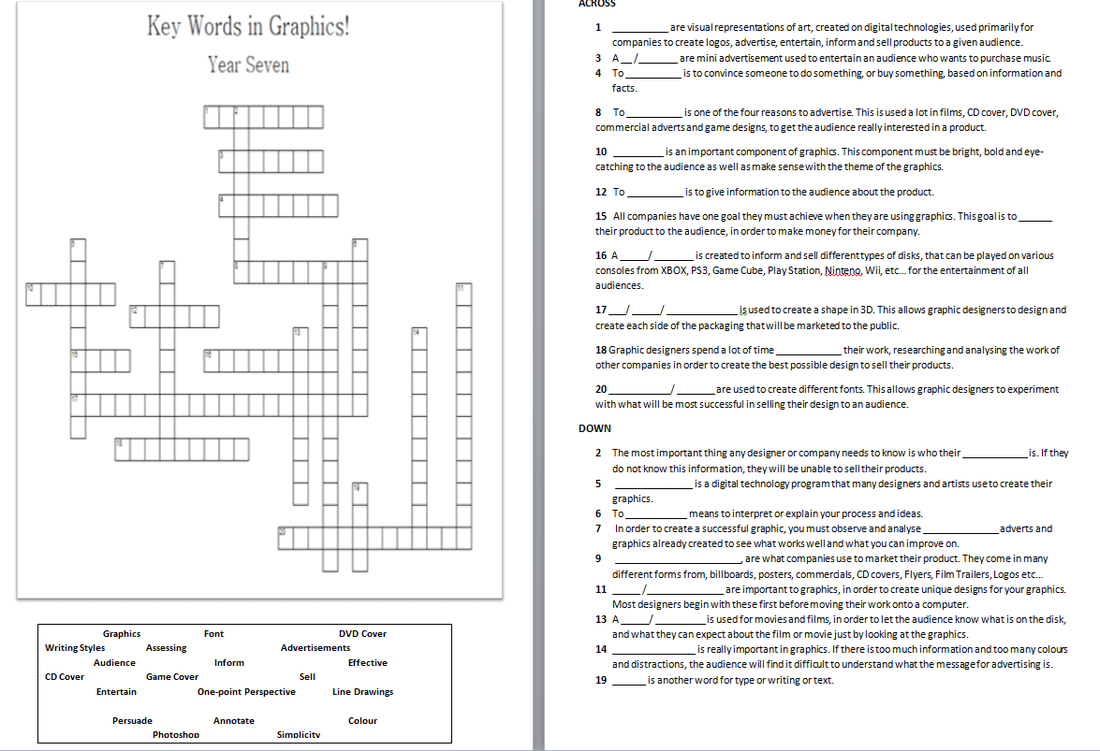
|
Key Terms Word Search: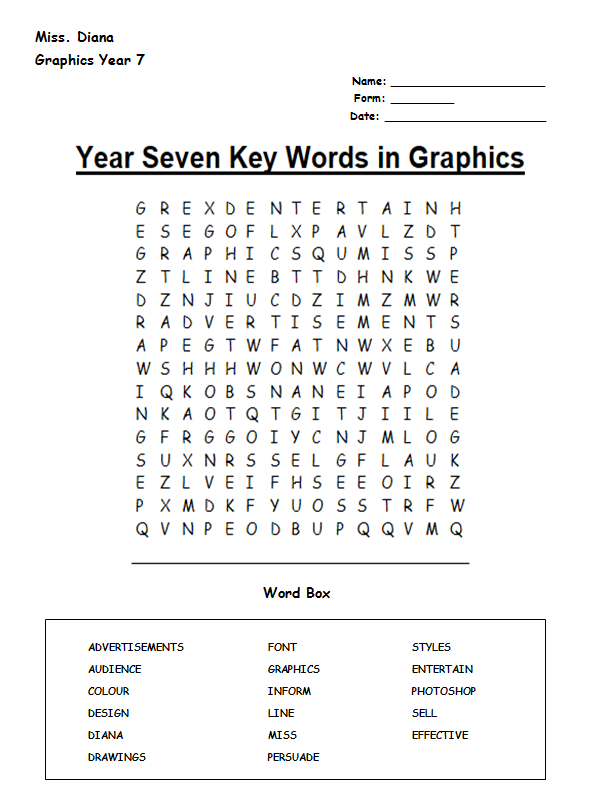
|
