Vincent Van Gogh
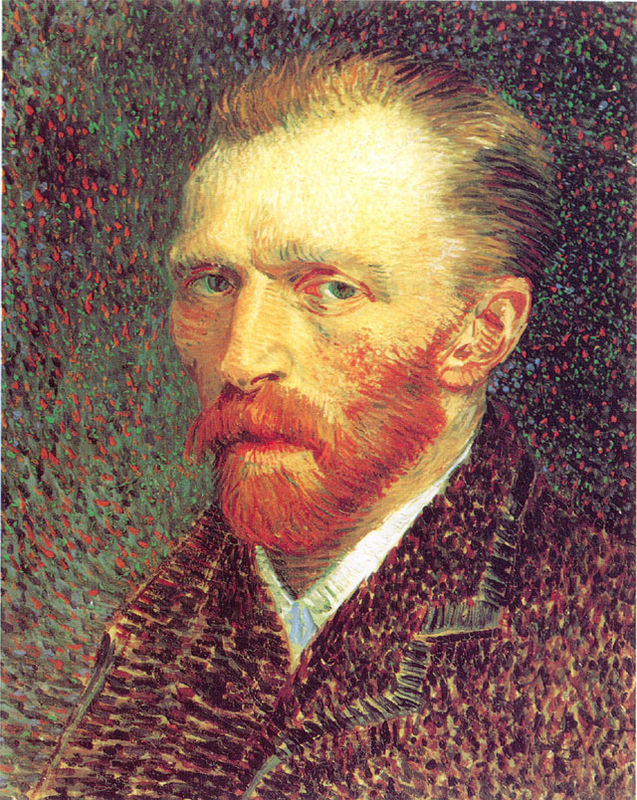
Vincent Van Gogh is a Dutch painter from the Netherlands. Van Gogh's early painting style was percieved as dark and ominous, which was not a popular style in his time; in 1886 he moved to Paris to study and learn from the popular French Impressionist painters.
Vincent Van Gogh is one of the most well-known artists of our time. However, he wasn't always so famous. In fact, throughout his life, he had painted over 2000 paintings and only one of those paintings was ever sold, until after his death.
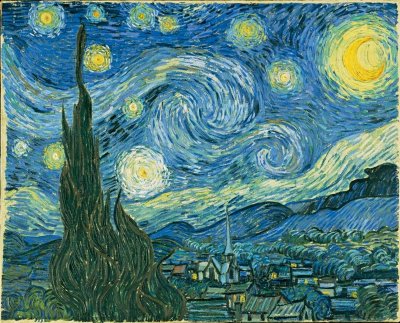
Van Gogh's Starry Night is perhaps his most famous painting, regarded for the post-impressionist technique and style (enhancing the same techniques Impressionist Painters; such as Monet, Henri de Toulouse-Lautrec, and Paul Gauguin).
Vincent Van Gogh is one of the most well-known artists of our time. However, he wasn't always so famous. In fact, throughout his life, he had painted over 2000 paintings and only one of those paintings was ever sold, until after his death.
Van Gogh's Starry Night is perhaps his most famous painting, regarded for the post-impressionist technique and style (enhancing the same techniques Impressionist Painters; such as Monet, Henri de Toulouse-Lautrec, and Paul Gauguin).
Impressionism: looking at common subject matter with an emphasis on the characteristics of natural light seen within its natural setting through thin lines, vivid colours, open composition, and the inclusion of movement that was percieved by the human eye, (Capturing one single moment in time).
Monet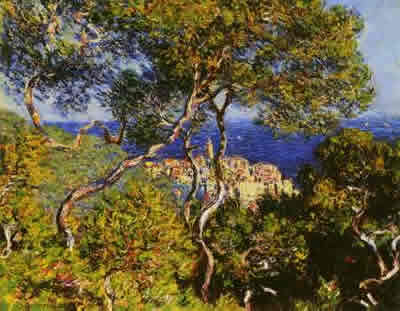
|
Henri de Toulouse-Lautrec
|
Paul Gauguin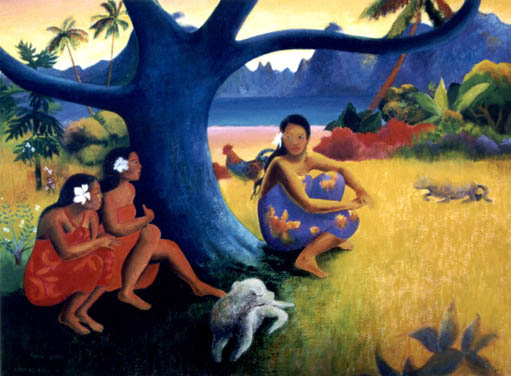
|
Post-Impressionism: extending on impressionist theory, technique and style of using vivid colours, thick application of paint, distinctive brush strokes, and real-life subject matter, however post-impressionists began to emphasize geometric forms, to change and distort forms to create the abstract illusion of expression whilst using colours not particularily found in nature, or colours that have been manipulated.
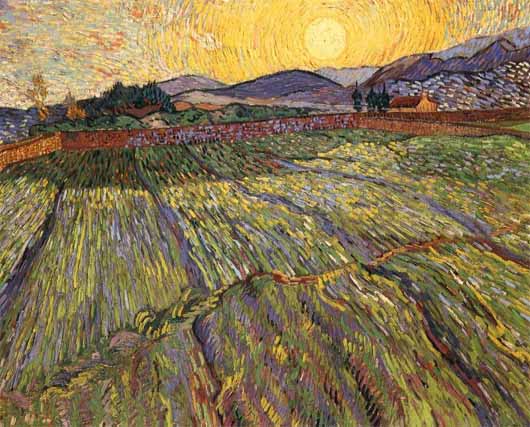
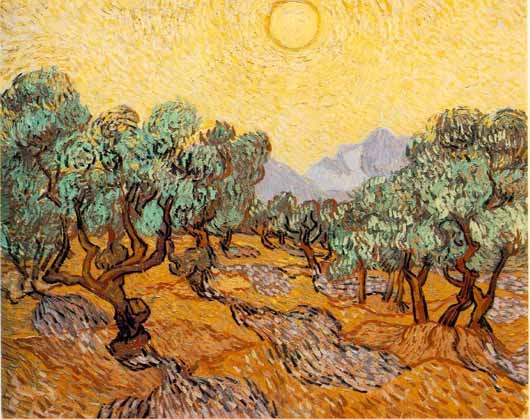
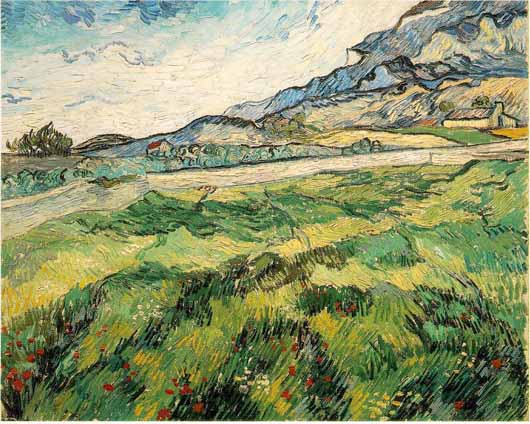
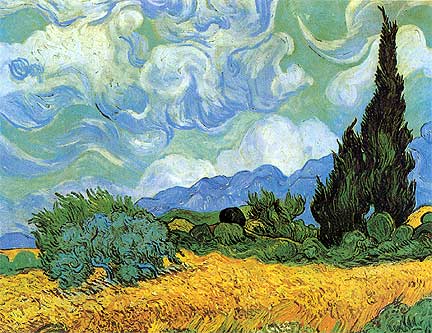
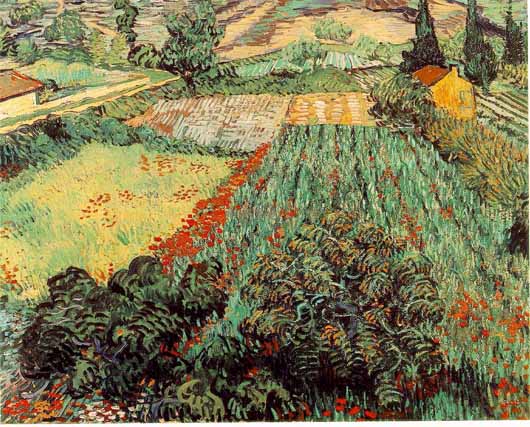
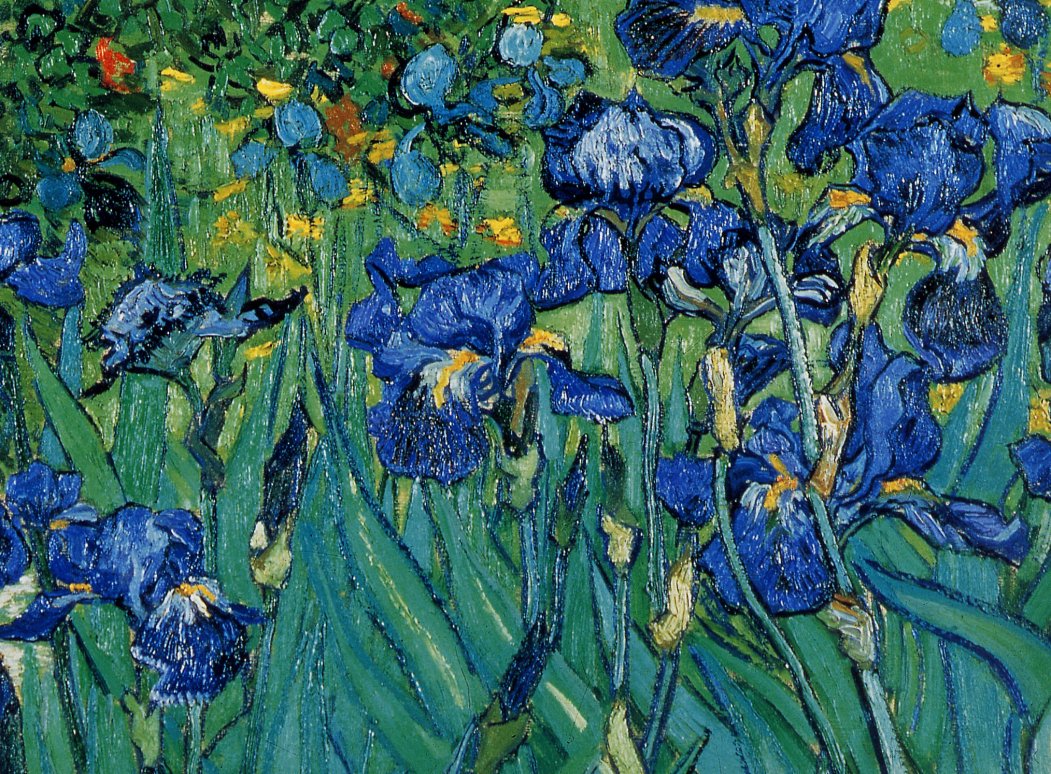
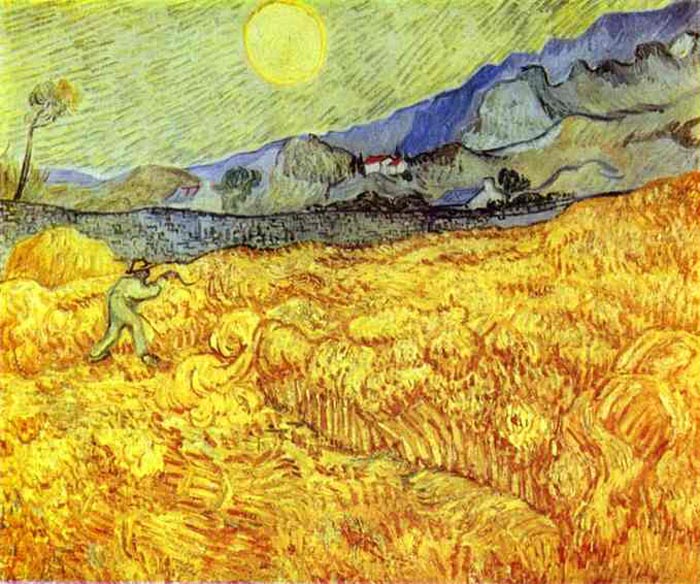
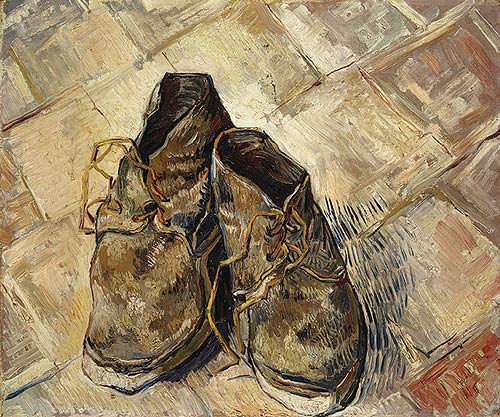
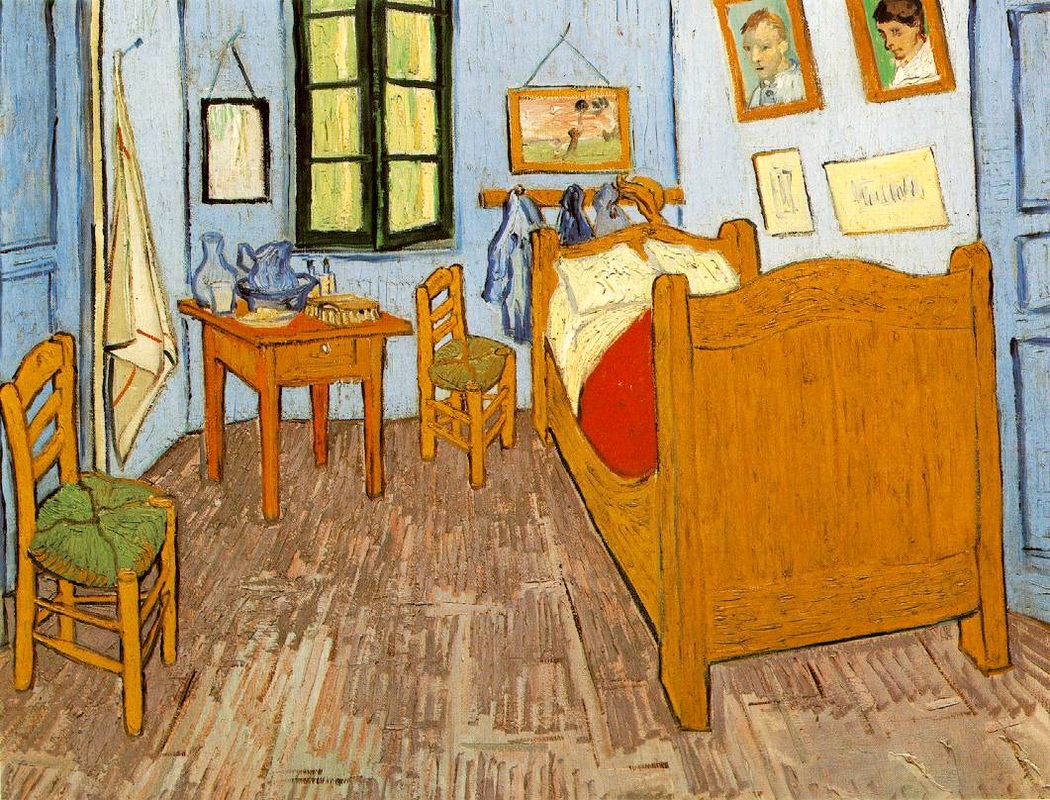
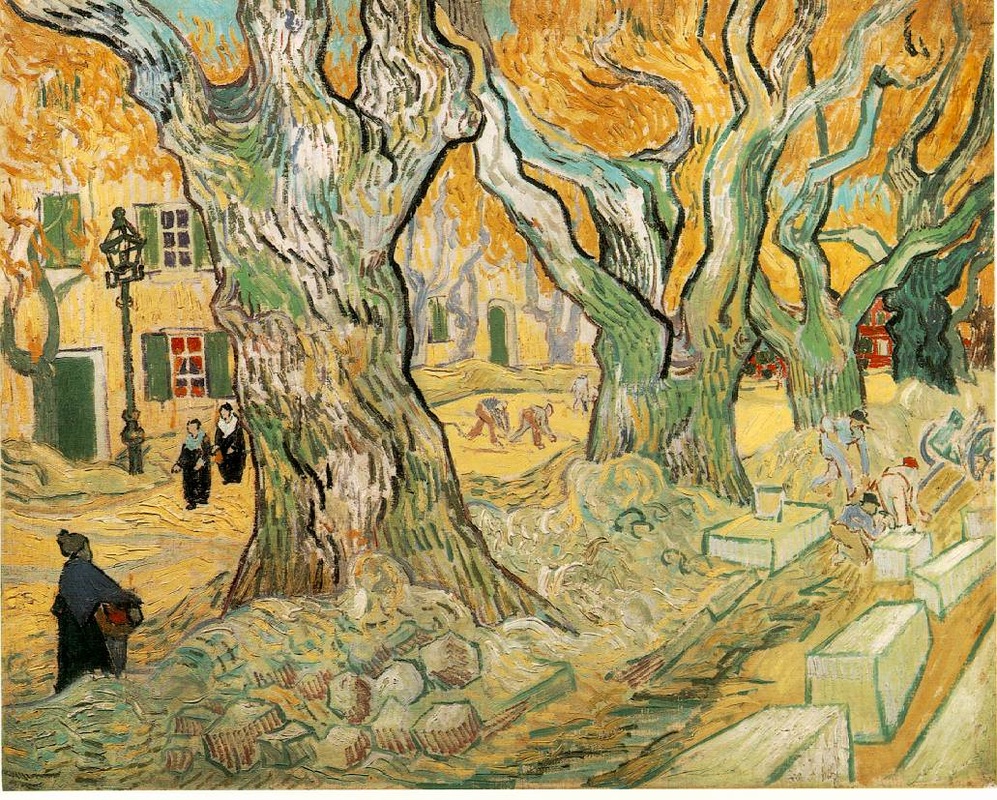
Van Gogh uses circular and energetic lines to create his work, varying the thick and thinness of line to create absracted elements of nature, by using large amounts of paint to create a very textured look as if the brushstrokes and paint are coming right off the canvas. This technique creates the principle of movement within his works of art.
http://artsmarts4kids.blogspot.co.uk/2007/10/vincent-van-gogh.html
Works of Art By Vincent Van Gogh: Post-Impressionist
|
|
|
|
|
|
|
|
|
|
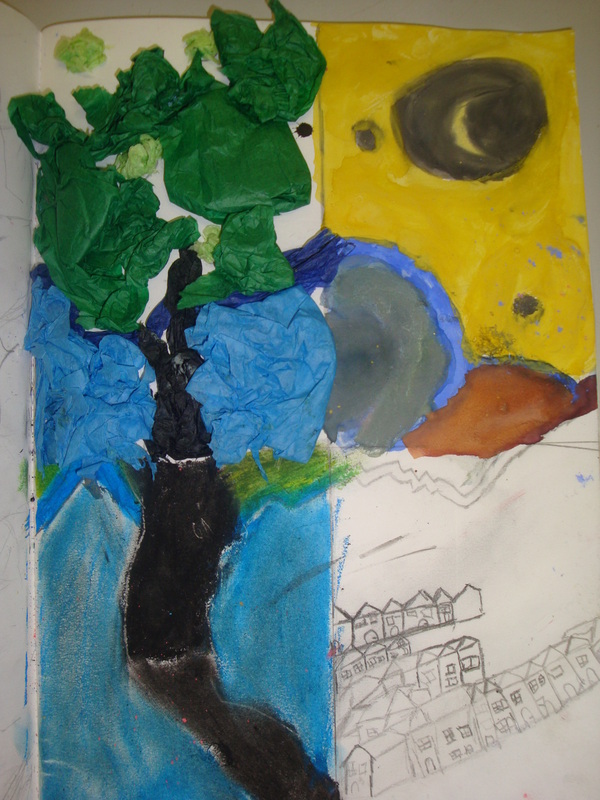
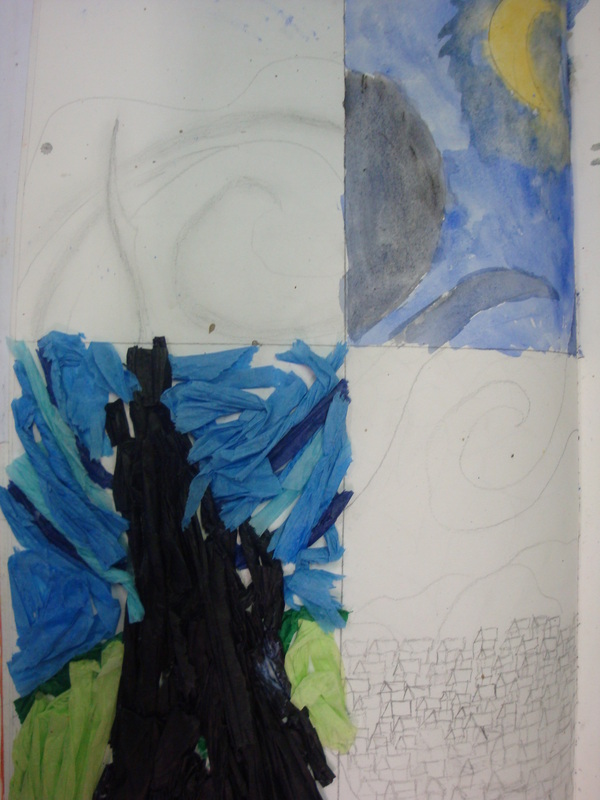
Lesson Objective: Can I re-create the various lines in a Vincent Van Gogh Painting, Using Mixed Media?
Key Term: |
|
Exploring Texture, Pattern and Value: Van Gogh Line Inspirations
Year 7
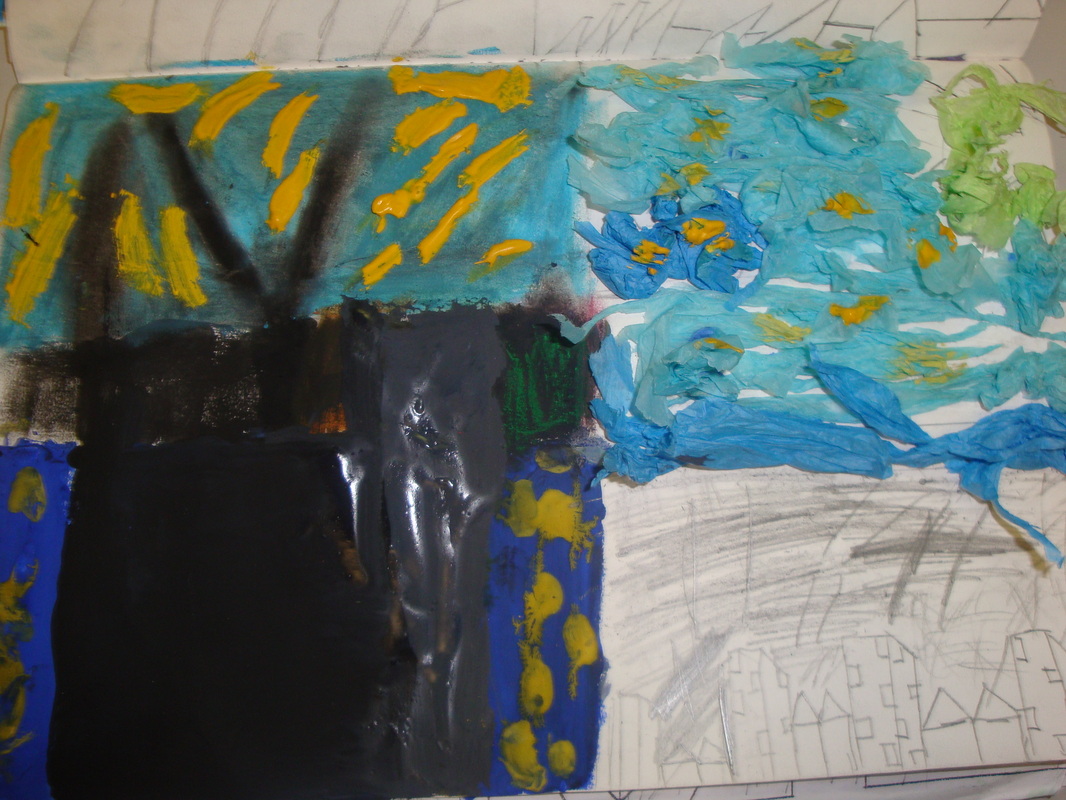
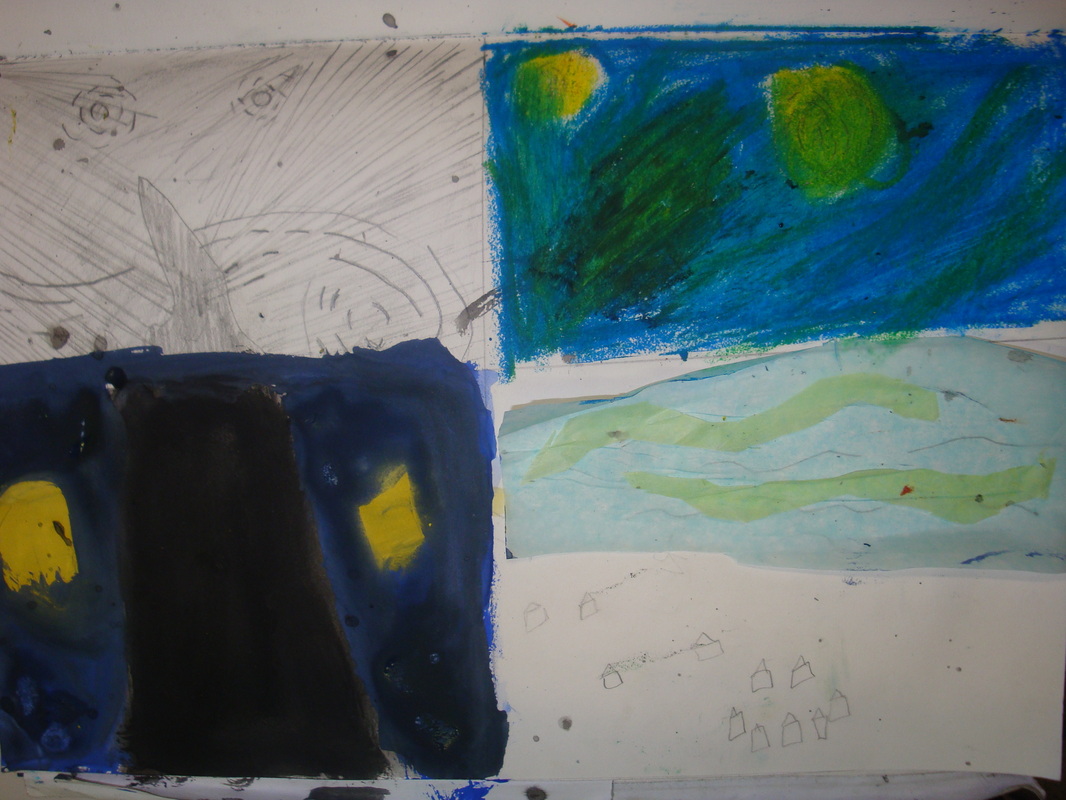
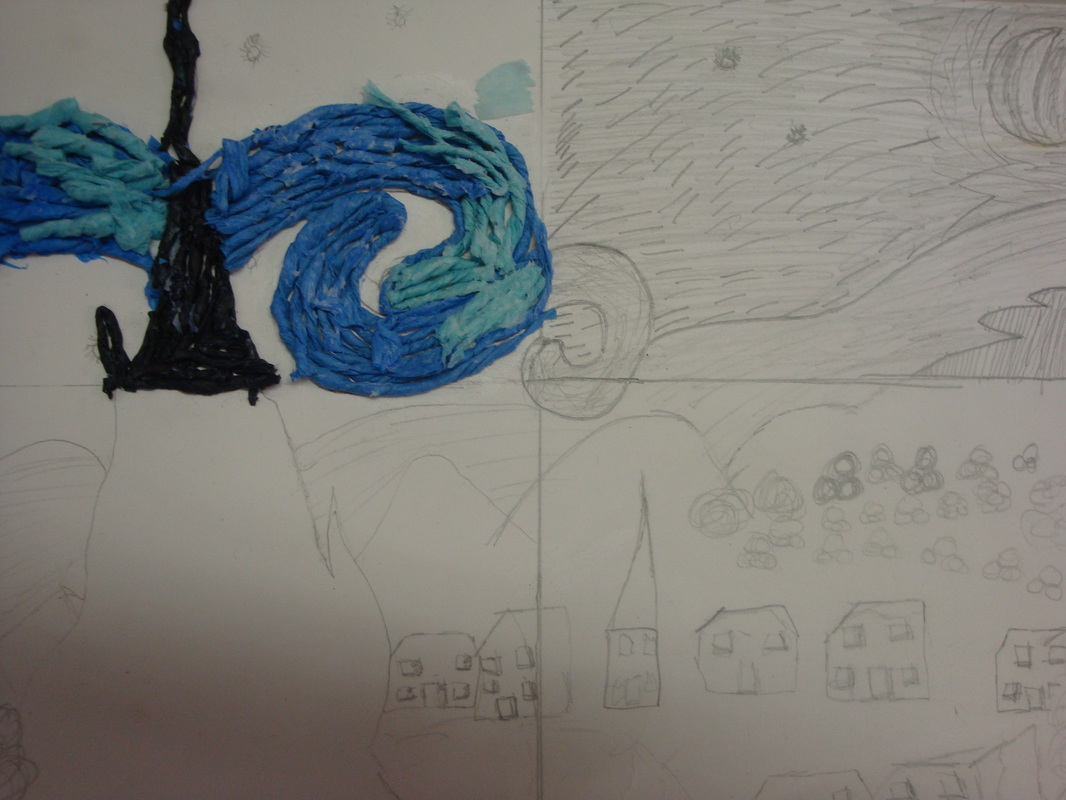
Step One: Divide a blank sheet of paper into four equal parts (one line horizantally, one line vertically)
Step Two: Choose one of the above Vincent Van Gogh paintings to draw
Step Three: Draw in the OUTLINES of the different features and objects within the drawing over the entire blank page.
Step Four: Each of your four equal squares will be completed in a different medium, (pastel, paint, pencil, tissue paper).
Step Four (a)
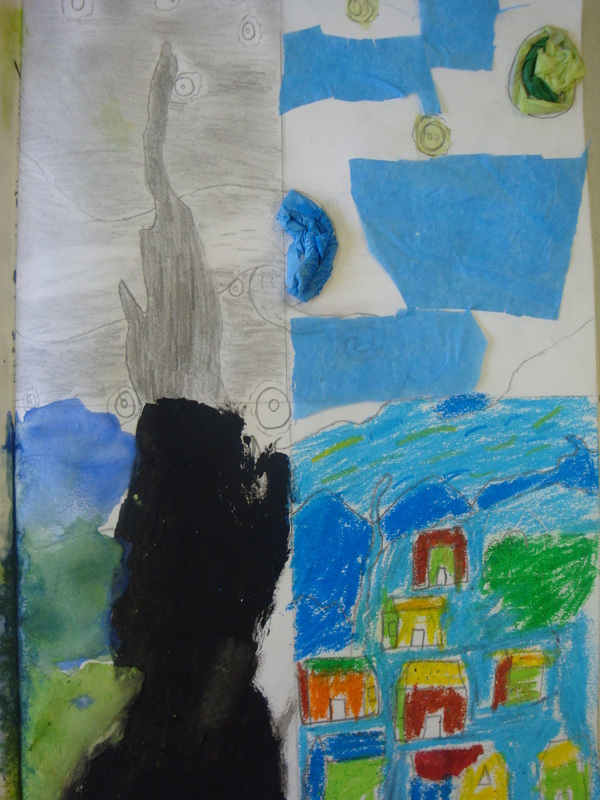
Four a) Beginning with your first equal part in the top left corner, begin to add in the various thick or thin lines as Van Gogh has executed within that particular section of his painting using the same colour paint as Van Gogh in his works. (Remember your colour wheel and blending skills).
Step Four (b)
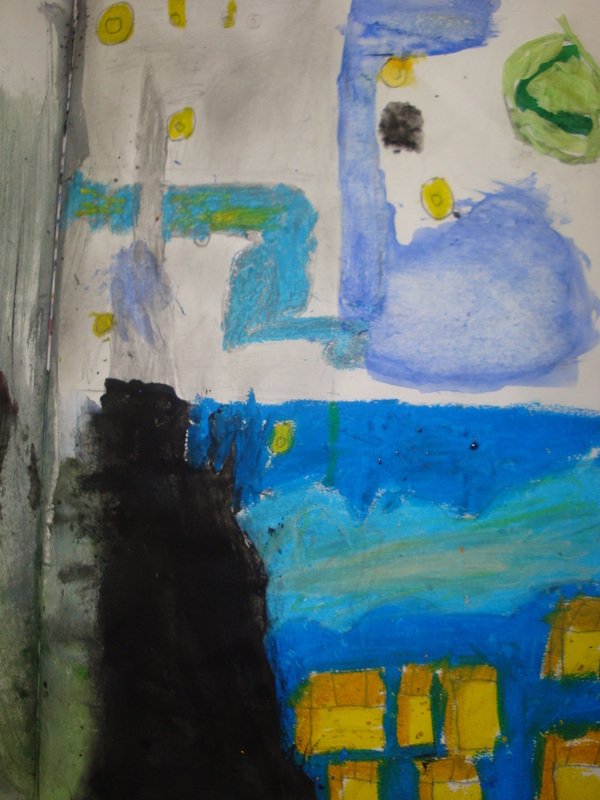
Four b) In the second equal part of your work (top right), begin using the skills you learned about value, tints and shades to create different lines within your pencil. (Be sure to vary the thickness and thinness of your lines while you are shading, use the light source shown in the work by Van Gogh).
Step Four (c)
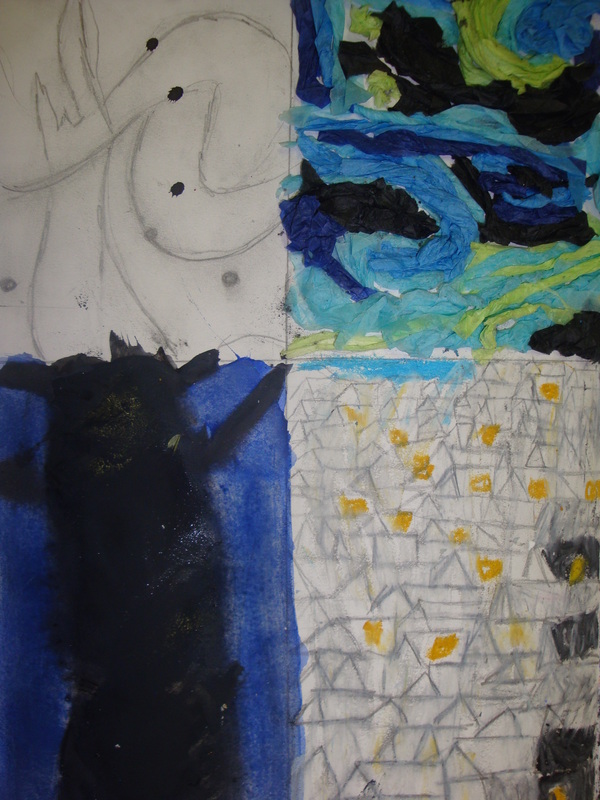
In the third equal part, complete the lines using the same coloured tissue paper, rolled up into different thick and thin lines to paste onto your work.
Step Four (d)

In your fourth and final box in the lower right corner, you will use the same colour pastel to complete the rest of the lines within the work.
*Remember, you are creating your own copy of the one whole painting by Van Gogh. Your lines and work should be presented NEATLY and your lines should all connect and flow,
as you are creating the same painting using different textured and patterned, divided sections*
A JOB WELL DONE IS HALF BEGUN*- Mary Poppins
as you are creating the same painting using different textured and patterned, divided sections*
A JOB WELL DONE IS HALF BEGUN*- Mary Poppins
|
|

|
|
|
|
Year 7s, Work in Progress!
What are some ways we can improve this workto create a more balanced and fluid composition?
Which elements of art are present within your works of art? How do you know?
Overlapping Patterns; Form and Line Work
|
|
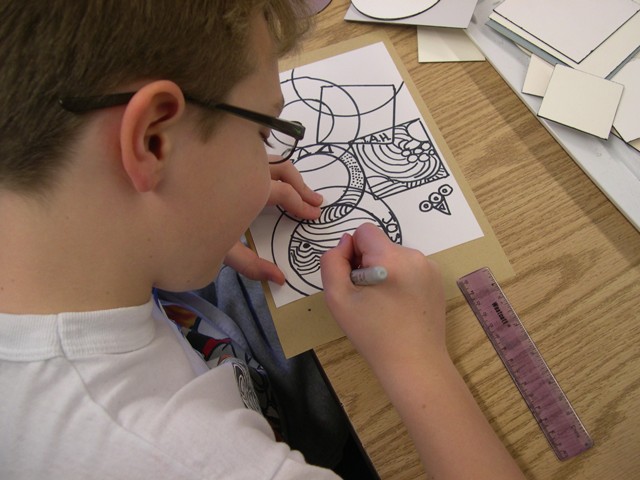
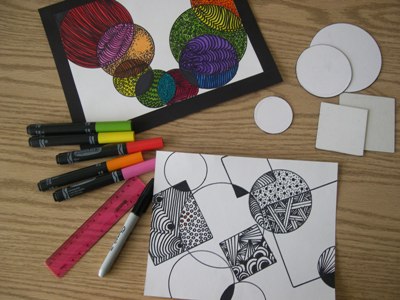
1. Begin with a blank sheet of sketchbook paper and a loose sheet of blank paper.
2. On the loose sheet of blank paper, create a series of shapes. They should alter in size and can be the same shape or different shapes; whichever you prefer.
3. Cut out the various shapes and place them one at a time on your blank sheet of sketchbook paper to trace. Use pencil first, allow your shapes to overlap.
* Think about your composition or design. Where should you place the different shapes so that your canvas shows balance and unity.
4. Complete your tracing of each shape.
*Think about the five different types of lines, what different patterns and repetitive effects could be created using different types of lines?
5. Be creative! Within the sections of the shapes, create different patterns and designs. As the shapes overlap, include a different pattern. Draw lightly in pencil first and complete your designs in ink pen.
6. Using felt tips, choose either primary or secondary colours only to colour and complete your designs.
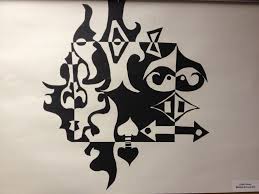
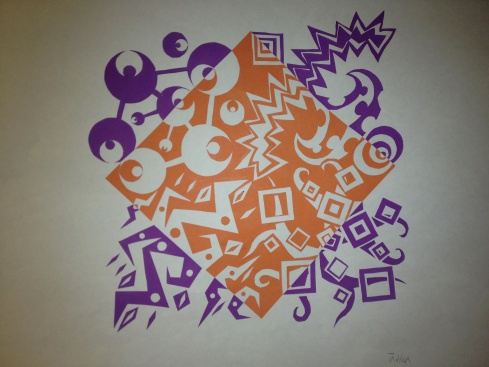
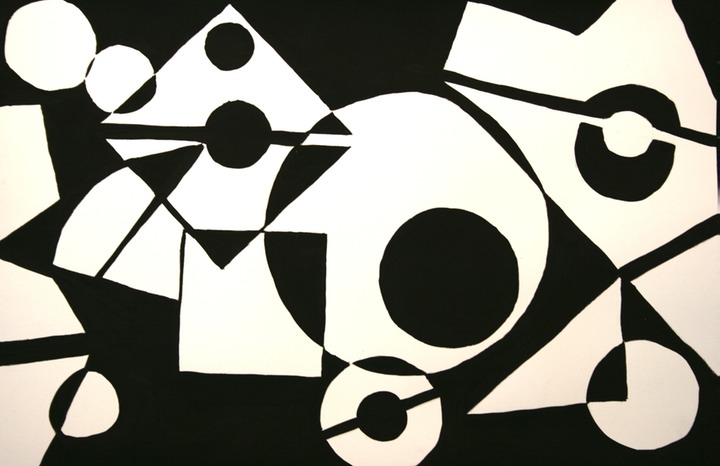
Discovering Negative and Positive Space
|
|
|
Create a square, 15cm by 15cm in the center of your sketchbook page.
On the inside of your square, draw in different shapes and designs of your choice.
*In either black and white felt-tips or two complimentary colour felt-tips, colour in the background of your designs within the square.
On the outside of the square, draw the symmetrical shape of your designs to look as though the designs are coming out of the page.
Colour these designs in the opposite colour from your square.
* Be sure to colour in your work solidly and neatly.
